Questa traduzione è stata generata automaticamente e non è stata ancora revisionata da una persona. Parli questa lingua? Dai un’occhiata.
Introduzione
Utilizza questa guida per rimuovere la fotocamera posteriore principale dell'iPhone.
Nota: Rimuovere la batteria consente un accesso migliore alla copertura che protegge il connettore della fotocamera posteriore. Tuttavia, non è assolutamente necessario rimuovere la batteria. Se la tua batteria è particolarmente difficile da rimuovere, lasciala inserita e lavora aggirandola.
Cosa ti serve
-
-
-
Spegni il tuo iPhone prima di iniziare lo smontaggio.
-
La cover posteriore del tuo iPhone 4 può avere due viti di tipo a croce Phillips #000 oppure tipo Apple "Pentalobe" con testa a cinque intagli (seconda immagine). Verifica quali viti usa il tuo telefono e se hai il cacciavite adatto per poterle svitare.
-
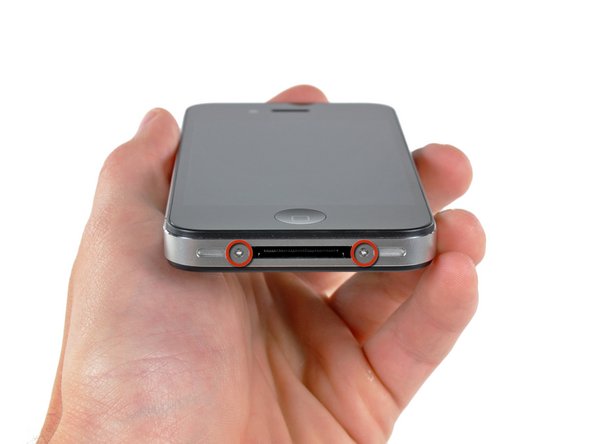
Rimuovi le due viti pentalobe o a croce Phillips #000 da 3,6 mm posizionate vicino al connettore dock.
 Chiedi a FixBot
-
-
-
Afferra la cover con le dita e sollevala dall'iPhone. In alternativa, puoi usare una ventosa piccola.
-
-
-
-
-
Rimuovi la singola vite a croce Phillips da 2,5 mm che fissa il connettore della batteria alla scheda logica.
-
-
-
-
Usa uno strumento di apertura in plastica per sollevare delicatamente il connettore della batteria dal suo zoccolo sulla scheda logica.
-
Rimuovi la clip metallica che copre il connettore dell'antenna.
-
-
-
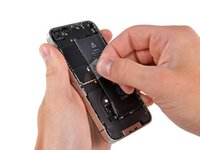
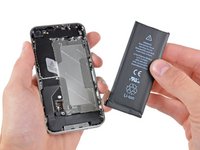
Usa la linguetta di plastica trasparente per sollevare delicatamente la batteria dall'iPhone.
-
Se è rimasto dell'alool nel telefono, puliscilo attentamente o lascialo asciugare prima di installare la nuova batteria.
-
Prima di ricollegare il connettore della batteria, accertati che la clip di contatto (mostrata in rosso) sia posizionata in modo corretto vicino al connettore della batteria.
-
-
-
-
-
Rimuovi le seguenti cinque viti che fissano la copertura del connettore all'iPhone:
-
Una vite a croce Phillips da 2,3 mm
-
Due viti a croce Phillips da 1,6 mm
-
Una vite a croce Phillips da 1,4 mm
-
Una vite a croce Phillips da 4,8 mm
-
Nota: per ricordare la loro posizione corretta, potrebbe essere utile disegnare 5 cerchi su un foglio di carta, posizionando ogni vite nel cerchio corrispondente.
-
-
-
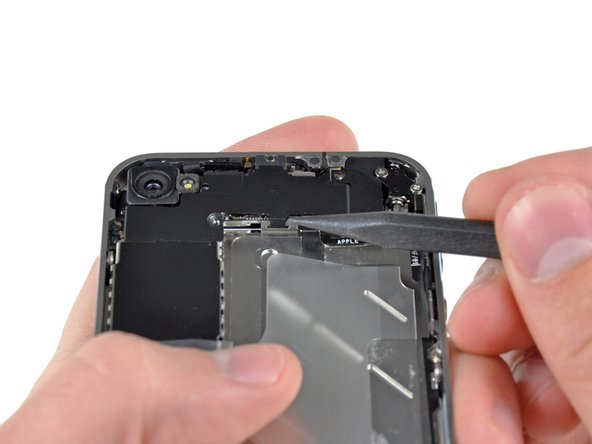
Usa uno strumento di apertura per sollevare leggermente il bordo superiore della copertura del connettore lontano dalla scheda logica.
-
Usa la punta di uno spudger per tirare i fermi della copertura del connettore lontano dal telaio interno.
-
Rimuovi la copertura del connettore dall'iPhone.
-
Prima del rimontaggio, assicurati di pulire tutti i punti di contatto metallo-metallo sulla copertura del connettore con uno sgrassatore come il Windex. Gli oli delle dita hanno il potenziale di causare problemi di interferenza wireless.
-
-
-
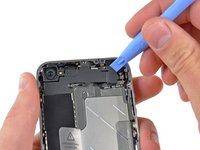
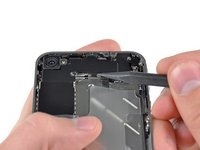
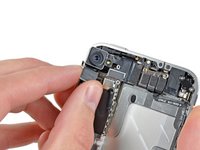
Usa uno strumento di apertura per sollevare delicatamente il connettore della fotocamera posteriore dalla sua presa sulla scheda logica.
-
-
-
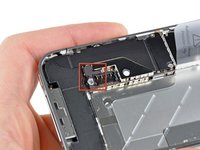
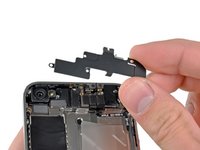
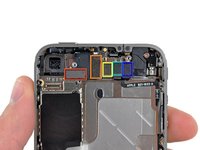
Rimuovi la fotocamera posteriore dall'iPhone evitando di spostare alcuni dei connettori a destra.
-
Dopo aver reinserito la nuova fotocamera, controlla questi connettori se l'iPhone non si accende.
-
Nota: la batteria (non mostrata nelle foto) dovrebbe essere scollegata, ma non deve essere rimossa completamente.
-
-







Per rimontare il dispositivo, segui queste istruzioni in ordine inverso.
Annulla: non ho completato questa guida.
Altre 194 persone hanno completato questa guida.
Documenti allegati

11Commenti sulla guida
This was super simple. My camera was not focusing after a previous company replaced it due to a faulty flash. I decided to take things into my own hands...no pun intended.
The instructions are super simple and easy to follow. Be aware of the loose clip under the connector - mine flew out - and I was worried I wouldn't figure out how to get it back in.
I also had to use a #0 screwdriver...#00 was too large.
I couldn't get the battery out...so, I was just super careful that the phone was off, and remained off during the repair.
Out with the defective camera...in with the functioning camera...replaced a couple of screws and the battery connector. Tested the camera prior to replacing everything.
Thank you ifixit!
You ROCK!!!
Hi guys. I just did it ! I would not describe it as super easy, but thanks to the screw template provided file, even the now famous pressure contact can not be lost ;-)
I just wanted to comment, not only to praise iFixit (and myself), but also to mention two side effects I had to overcome:
-First, when finished, the power button did not work (I had to plug the Dock Connector to start the phone). As I the power button is not so far from the rear camera, I figured out something went wrong in the reassembly. Since I had just done it once, I thought I could do it a second time, so I removed the newly assembled camera and reassembled it with extra caution. At the end, the power button worked as expected.
-Second: each time I restarted the phone after reassembly (twice, then), the SIM card would not unlock after the PIN code was entered. I had to remove and reinsert the SIM card for the PIN code to finally unlock it.
Otherwise, everything went smoothly, thanks again to the iFixit guys !
Fantastic!!! my problem was the rear camera, when i switch on the camera app the screen were completely black and the torch was not working at all! I buyed the tools and the rear camera everything arrived here in Italy in perfect time as scheduled and in one hour I did the job !!! now my iphone camera is perfectly up and running !!! thanks to IFIXIT.COM and their guides!
hello guys ! I have done the replacement correctly because my camera wasn't able to focus anymore ! But now the flash light isn't working anymore :(( what can i do ?
Sincerly,
Antoine
