Questa traduzione è stata generata automaticamente e non è stata ancora revisionata da una persona. Parli questa lingua? Dai un’occhiata.

Sostituzione pannello frontale iPhone 3GS

Ben Eisenman e 10 altri collaboratori
Ultimo aggiornamento il 30 lug 2026
Visualizzazioni: 415.579
Visualizza statistiche:
- Ultime 24 ore:
- 4
- Ultimi 7 giorni:
- 33
- Ultimi 30 giorni:
- 129
- Tutti i Tempi:
- 415.579
Commenti: 174
166 commenti sui passaggi, 8 commenti sulla guida.
Vai ai commenti della guidaCompletato: 541 542
541 persone hanno contrassegnato questa guida come "completata". Sarai il prossimo?
542 persone hanno contrassegnato questa guida come "completata". Compreso te, ottimo lavoro!
Preferiti: 302 303
302 persone hanno aggiunto ai preferiti (e si sono iscritte a) questa guida. Sarai il prossimo?
303 persone hanno aggiunto ai preferiti (e si sono iscritte a) questa guida, incluso te!
Introduzione
Vai al passo 1 ↓Utilizza questa guida per separare e sostituire il pannello frontale e il digitizer dell'iPhone 3GS.
Cosa ti serve


Panoramica video
-
-
-
Se il vetro del tuo schermo è rotto, applica del nastro adesivo per limitare ulteriori rotture ed evitare di ferirti durante la riparazione.
-
Applica delle strisce sovrapposte di nastro adesivo trasparente da imballaggio sullo schermo dell'iPhone fino a coprire l'intera superficie.
 Chiedi a FixBot
-
-
-
-
-
Rimuovi le due viti a croce Phillips #00 dal lato del connettore dock dell'iPhone.
-
-
-
Rimuovi il manico in metallo dalla ventosa. È più facile e sicuro afferrare la base della ventosa invece del manico in metallo.
-
Usa una piccola ventosa vicino al pulsante home per sollevare delicatamente la parte inferiore del gruppo schermo dell'iPhone.
-
-
-
Ruota il gruppo schermo verso l'alto fino a un'angolazione di circa 45 gradi.
-
-
-
Continua a tenere il gruppo schermo con una mano e usa l'altra mano e uno spudger per scollegare il cavo a nastro nero etichettato con "1."
-
Il cavo a nastro "1" è collegato con un connettore a innesto. Il blocco all'estremità del cavo è la spina, che viene semplicemente inserita a pressione in una presa sul circuito stampato. Non viene utilizzato alcun altro meccanismo di bloccaggio.
-
-
-
Ruota il gruppo schermo verso l'alto finché non è quasi verticale. Ciò consentirà un accesso più agevole per scollegare i cavi rimanenti.
-
Usa uno spudger per scollegare il cavo a nastro nero etichettato come "2."
-
-
-
Fai scorrere il cavo a nastro fuori dal connettore e rimuovi il gruppo schermo dall'iPhone.
-
-
-
Rimuovi l'unica vite a croce Phillips #00 dall'angolo del gruppo schermo.
-
-
-
Rimuovi le due viti a croce Phillips #00 dal lato destro del gruppo schermo.
-
-
-
Ruota il gruppo schermo e, se è presente una sottile striscia di nastro adesivo nero sul bordo, staccala con attenzione.
-
-
-
Rimuovi le tre viti a croce Phillips #00 dal lato sinistro del gruppo schermo.
-
-
-
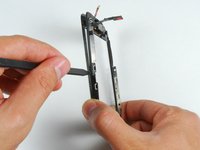
Capovolgi il gruppo schermo e inserisci di nuovo con cautela uno spudger in metallo tra le due guide metalliche lungo il bordo del gruppo schermo. Ruota delicatamente lo spudger per sollevare l'LCD dal vetro.
-
-
-
Separa l'LCD dal vetro facendo scorrere il pannello LCD lontano dai cavi a nastro sul vetro.
-
-
-
-
-
Questo è ciò che dovrebbe rimanere dopo aver rimosso l'LCD.
-
-
-
Se il vetro è infranto nella parte superiore o inferiore, sii particolarmente paziente e delicato durante la rimozione dei frammenti. In casi estremi, potresti dover rimuovere manualmente eventuali schegge di vetro rimaste incollate alla plastica.
-
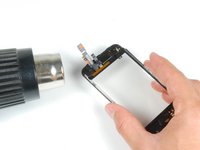
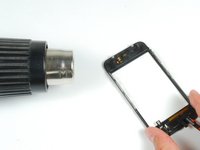
Utilizzando una pistola termica o un asciugacapelli, riscalda l'area in alto a sinistra del touch screen.
-
Usa le unghie per sollevare lentamente l'angolo sinistro. La plastica del touch screen è fissata al touch screen tramite adesivo. Potrebbe essere necessario un po' di lavoro per liberare gli angoli.
-
Riscalda e ripeti la procedura per il lato destro.
-
-
-
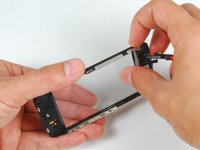
Una volta liberata la parte superiore, usa la pistola termica per riscaldare i lati del touch screen.
-
Usa uno spudger per liberare i lati della plastica del touch screen.
-
-
-
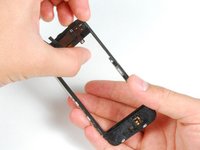
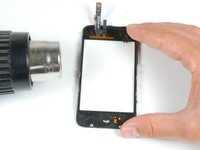
Riscalda gli angoli inferiori con la pistola termica.
-
Di nuovo, usa le unghie per liberare gli angoli.
-
Rimuovi le plastiche del touch screen dal touch screen.
-
-
-
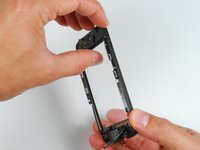
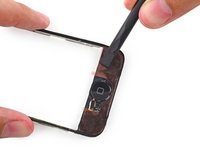
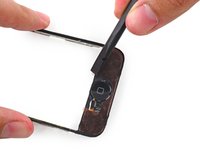
Per far aderire il nuovo pannello, rimuovi quanto più adesivo possibile dal telaio del pannello anteriore.
-
-
-
-
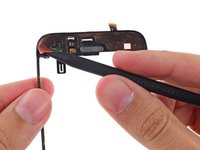
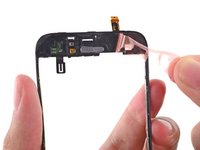
Applica delle strisce adesive su misura o del nastro biadesivo sull'area superiore della plastica del pannello frontale.
-
Usa l'estremità piatta di uno spudger per premere le strisce adesive sul telaio in plastica.
-
-
-
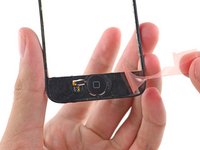
Posiziona la seconda striscia adesiva o il nastro biadesivo sull'estremità del pulsante home del telaio del pannello anteriore.
-
Passa l'estremità piatta di uno spudger sopra la striscia per farla aderire e spingere fuori le bolle d'aria da sotto l'adesivo.
-
-
-
Inizia usando la punta di uno spudger per sollevare le pellicole protettive delle strisce adesive sul pannello frontale in plastica.
-
-
-
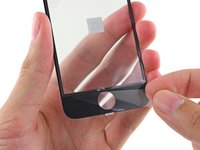
Rimuovi la pellicola protettiva in plastica dall'interno del vetro del pannello frontale.
-
-
-
Ripiega i cavi del pannello frontale verso l'incavo del pulsante home per tenerli lontani.
-
-
-
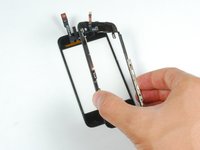
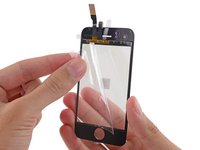
Assicurandoti che i cavi superiori siano ripiegati e fuori intralcio, allinea la parte superiore del vetro anteriore con il telaio del pannello frontale.
-
-
-
Premi insieme il pannello anteriore e il telaio del pannello anteriore, assicurandoti che le estremità del pulsante home siano allineate.
-
-
-
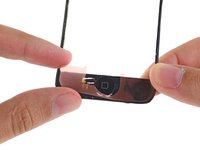
Premi con decisione su entrambe le estremità del telefono per assicurare l'adesione dell'adesivo.
-
-


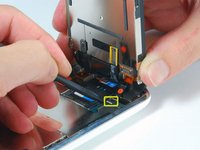
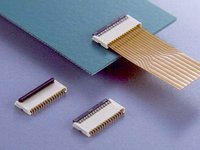


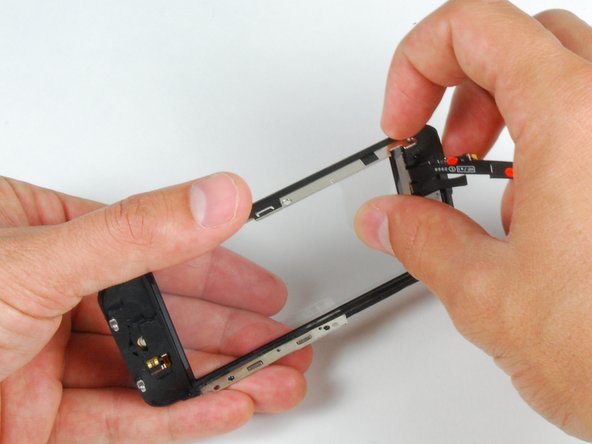
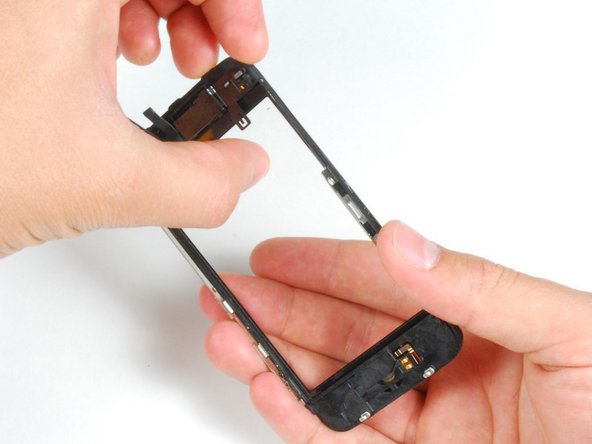






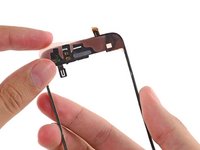
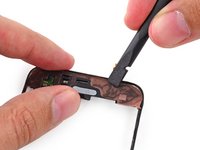
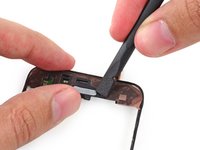
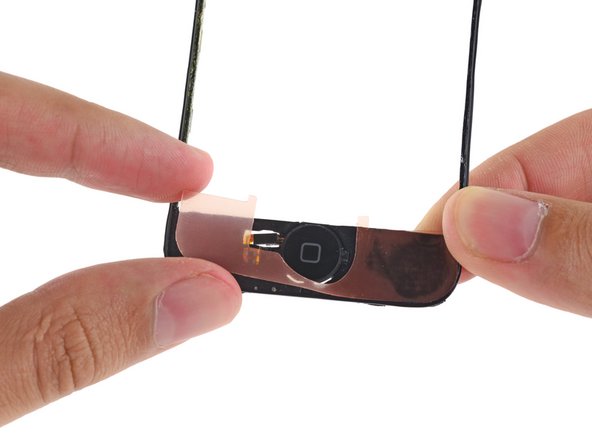






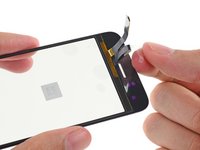


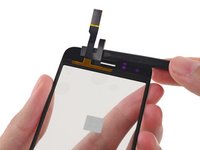
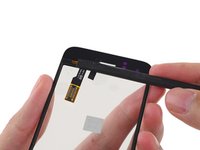
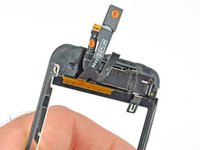


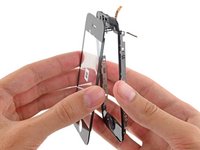
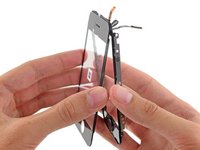


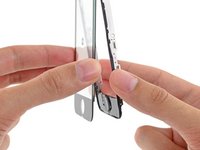
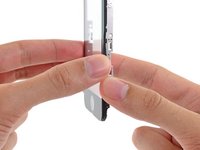

Per rimontare il dispositivo, segui queste istruzioni in ordine inverso.
Annulla: non ho completato questa guida.
Altre 541 persone hanno completato questa guida.

8Commenti sulla guida
Step 15:
the screen sort of sits in the plastic because of the band of material running around the perimeter of the assembly being more firmly attached to the plastic than the screen. I found this step much easier to complete the second time around because i knew to dig my nail in between the screen and the material running around the perimeter of the assembly in a front to back motion. Then i pivoted my nail up 90 degrees so it was between the plastic and the screen and was able to gently pry them apart while heating.
i second that, it should really be another bulletpoint because its really hard to see if you are not looking for it. Something like:
Push gently on the thin plastic bezel surrounding the frontpanel, do not try to push into the side of the assembly. It can look like there is a seam but there is not!
Its really the only way to get it done without ripping off any parts of the plastic bezel... it does not show when reassembled but its creating a wide portal for dust particles.
NOTE: Just completed the installation and was supremely frustrated when the screen didn't turn back on. My first inclination was that the 3rd connector wasn't seated properly...so I opened up and re-attached 3 times. With girlfriend peering over my 'soon to be a failure of a bf' shoulder, I asked her to google up a 'hard reset'. Eureka. Hold down the black nav button and the top power button at the same time until the silver apple reappears. Crisis averted, great tutorial otherwise!
When removing the broken glass, be sure to remove adhesive from the side rails of the iPhone front panel assembly, otherwise your front panel won't fit as snugly as it should.
When reassembling, take care to properly insert ribbon cable 3, as it is much easier to remove it than it is to install it. Having an extra set of hands was invaluable for this repair.
I wish the instructions warned me to make sure a sim card is in the socket before reassembling, and/or they gave detailed reassembly instructions, and/or had higher quality pictures (I zoomed in on the pictures multiple times while reassembling, and could not see exactly how things were supposed to fit back together). My replacement went well, and all was working perfectly, but a piece of the cable was apparently sticking down into the sim card socket, and when my 21 yr old son forced the sim card it, it destroyed the cable that is attached to the plastic speaker assembly. Now I get to buy the more expensive repair kit that includes that part, and try again. D amn, I'm frustrated. -Bill
