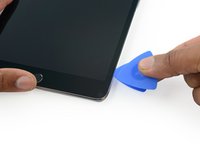
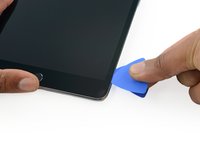
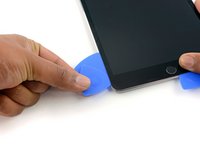
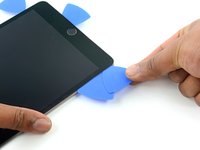
Introduzione
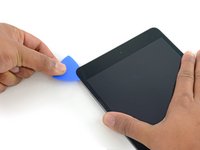
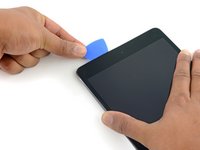
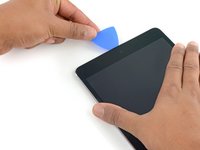
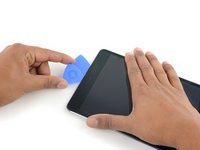
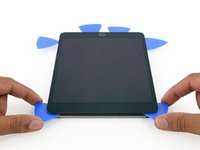
Segui i passaggi in questa guida per sostituire la batteria usurata di un iPad mini 4 Wi-Fi.
Se la tua batteria si è gonfiata, prendi le dovute precauzioni.
Cosa ti serve
-
-
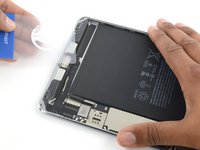
Scalda un iOpener e appoggialo al bordo sinistro per due minuti.
-
-
-
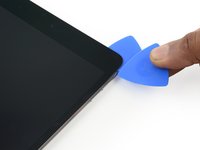
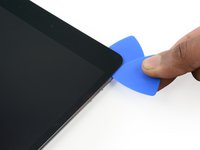
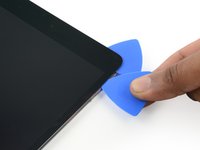
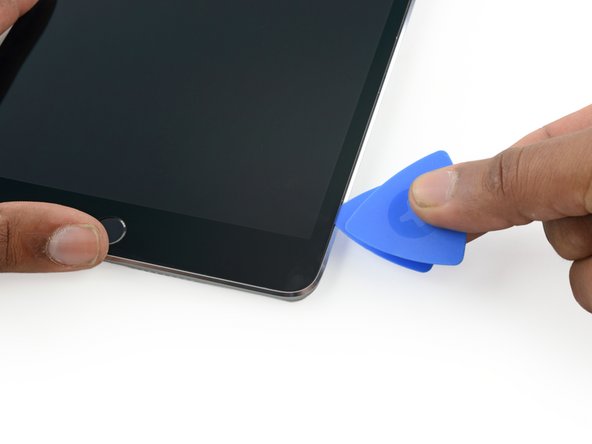
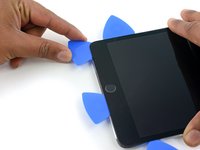
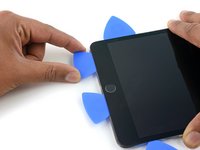
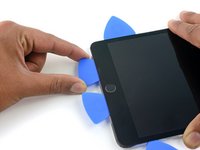
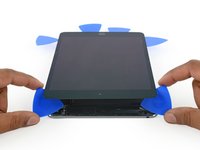
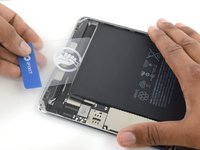
Lascia il plettro infilato nell'iPad leggermente dopo la fotocamera.
-
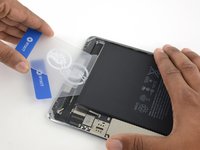
Prendi un secondo plettro ed infilalo a sinistra della fotocamera, dove sei già passato col primo plettro. Fallo scorrere verso l'angolo in alto a sinistra per tagliare del tutto l'adesivo rimasto.
-
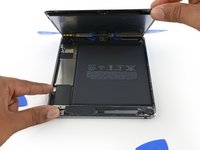
Lascia il secondo plettro sotto l'angolo per evitare che l'adesivo si reincolli raffreddandosi.
-
-
-
-
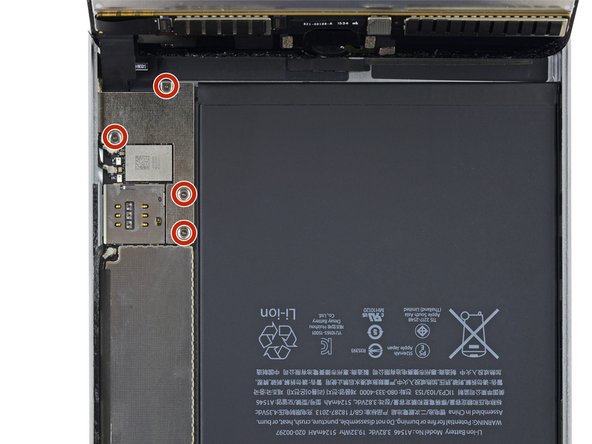
Rimuovi le quattro viti Phillips da 1,2 mm sopra la staffa del connettore della batteria/schermo.
-
-
-
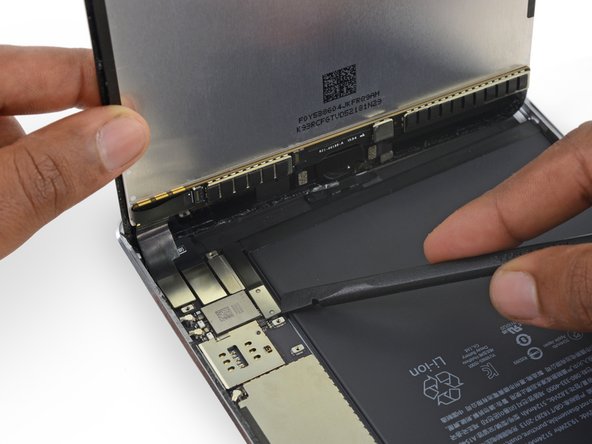
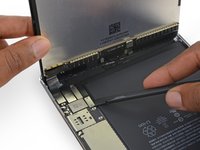
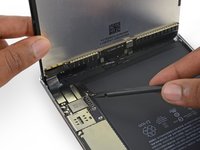
Usa l'estremità appuntita di uno spudger per scollegare il connettore dei dati dello schermo dal suo alloggiamento sulla scheda logica.
-
Usa l'estremità appuntita di uno spudger per scollegare il connettore del digitalizzatore dal suo alloggiamento sulla scheda logica.
-
-
-
Riscalda il tuo iOpener.
-
Appoggia l'iPad a faccia in giù sulla tua superficie di lavoro ed appoggia l'iOpener sul retro della copertura, dove si trova il bordo inferiore della batteria.
-
-
-
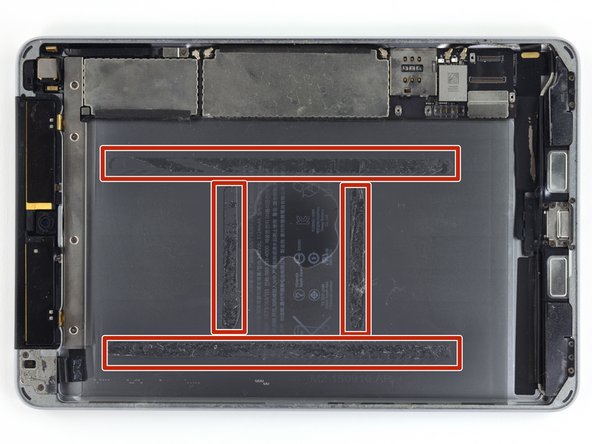
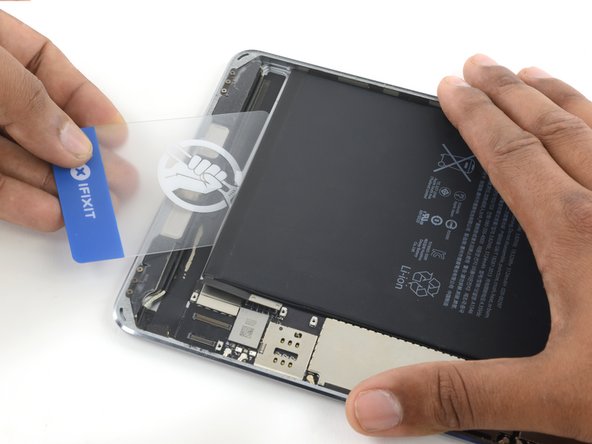
Nei prossimi passaggi dovrai tagliare l'adesivo sotto la batteria e rimuoverla dalla copertura posteriore.
-
L'adesivo è disposto come mostrato in questa immagine: due strisce lungo i bordi lunghi, e due più corte perpendicolari nel centro.
-
Per evitare di danneggiare la batteria, usa degli strumenti in plastica, calore e pazienza. Non forare, piegare, o surriscaldare la batteria.
-
Non fare leva vicino alla scheda madre, o potresti danneggiare il tuo iPad.
-
-
-
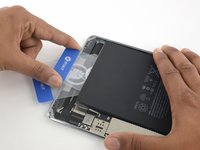
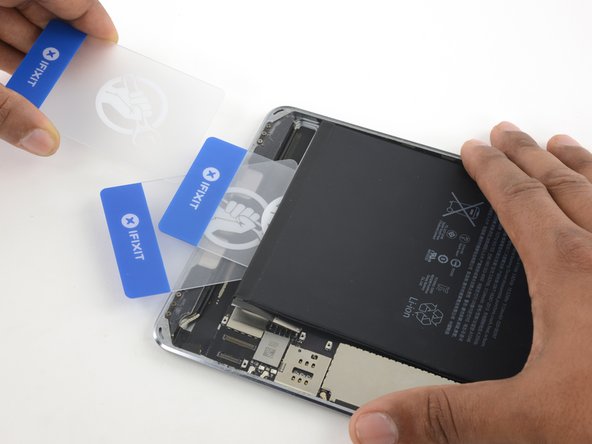
Infila una terza scheda in plastica tra la prima e la seconda, questa volta allineata con il bordo sinistro della batteria.
-
Continua a tagliare l'adesivo sotto la batteria fino a liberarla.
-
Scalda di nuovo e riappoggia il tuo iOpener quando sollevare diventa difficile. Assicurati di aspettare che l'iOpener si raffreddi tra un riscaldamento e l'altro.
-
Per riassemblare il dispositivo, segui le istruzioni nell'ordine inverso.
Per riassemblare il dispositivo, segui le istruzioni nell'ordine inverso.
Annulla: non ho completato questa guida.
Altre 73 persone hanno completato questa guida.
Un ringraziamento speciale a questi traduttori:
100%
Questi traduttori ci stanno aiutando ad aggiustare il mondo! Vuoi partecipare?
Inizia a tradurre ›
22 Commenti
This guide is great for disassembly. I’ve just successfully removed the battery from my device by following these instructions. However, it does not provide any guidance for applying the new adhesive strips before assembling the screen. For that reason, this guide seems incomplete.
[can’t edit the guide]
Cleaningoff the old adhesive:
Remove the old adhesive from underside of the glass and the edges of the case. This was the most time consuming part. Took 2-3 hours, because the original adhesive was really gummy and i didn’t want to damage any parts with harsh solvents. (I used a series of methods": citrus oil adhesive remover, methylated spirits, sticky tape stick and lift off.)
Making sure the edges of the glass and case are spotless ensures a good result when applying the new adhesive strips. New strips can be gently applied, peeled back and reapplied to make 100% sure they are in the right place. If adhesive residue is still present the new strips could get stuck in the wrong place and be impossible to reposition.
[can’t edit the guide]
Reassembly:
Replacement double sided adhesive strips are applied to the case first. Figure which strips go top, bottom and sides. Start with the top or bottom corner. Apply the side strips last so you can figure which side is which.
Make sure the front camera and its window are clean. Use a strong magnifying glass and air duster. You won’t be able to get any dirt out unless you have more adhesive strips to use.
When you are ready to assemble, peel the backing off the double sided adhesive.
Support the screen at 90deg to case. Reattach cable connectors. Attach new battery connector then carefully position new battery with exposed adhesive into position in the case.
Attach connector clamp plate with 4 screws.
Carefully position the screen in case starting from the bottom edge. When it fits all the way around, press firmly round the edges to seal.
The guide is rated at a medium difficulty, which is out of step with a few iPhone battery replacement guides that are at a hard difficulty. Compared to the iPhone, the iPad is significantly more difficult to service. Even though there are few steps, it’s far easier to damage the device.
I’d rate it the hardest repair in earth!
cheongi -


