Introduzione
Use this guide to replace your iHome iP1's damaged or faulty command buttons. These buttons are located on the front of the iPod/iPhone dock and are used pause/play music and change the volume of the speakers.
Cosa ti serve
-
-
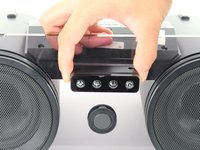
Orient the iHome upside down with the speakers facing you.
 Chiedi a FixBot
-
-
-
-
Remove the dock cover by grabbing its sides and pulling it up and away from the faceplate.
-
-
-
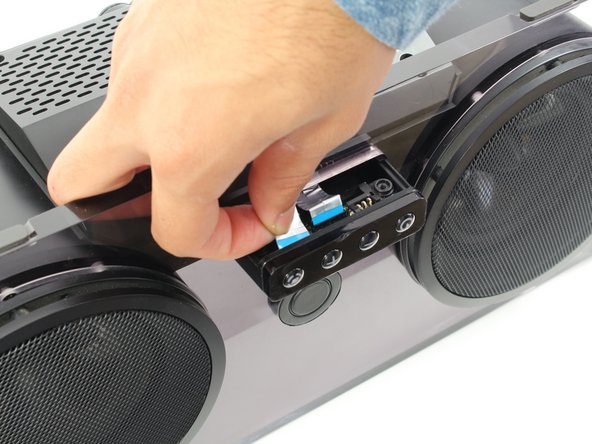
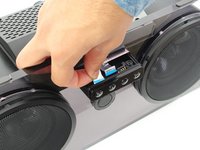
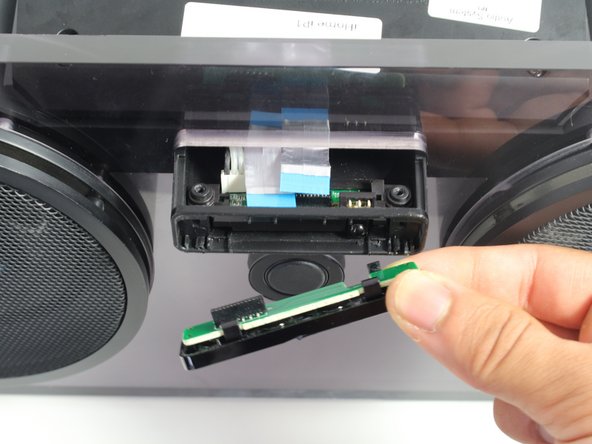
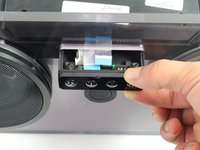
Disconnect the silver ribbon cable on the left-hand side by pulling away from the command buttons.
-
-
-
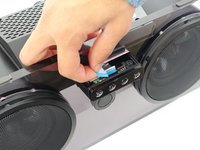
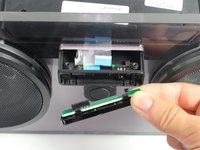
Remove the command buttons by pulling the small black panel containing them downward and away from the faceplate.
-


To reassemble your device, follow these instructions in reverse order.
Annulla: non ho completato questa guida.
Un'altra persona ha completato questa guida.
Team

Cal Poly, Team 20-1, Livingston Fall 2016 Membro di Cal Poly, Team 20-1, Livingston Fall 2016
CPSU-LIVINGSTON-F16S20G1
4 Membri
7 guide realizzate