Questa traduzione è stata generata automaticamente e non è stata ancora revisionata da una persona. Parli questa lingua? Dai un’occhiata.
Introduzione
I pulsanti sulla parte superiore dell'iHome controllano la maggior parte delle funzioni del dispositivo. Possono usurarsi o rompersi semplicemente a causa dell'uso e potrebbero dover essere sostituiti. Dovrai smontare gran parte dell'iHome per accedere ai pulsanti.
Cosa ti serve
-
-
-
Scollega il dispositivo dalla presa a muro e giralo in modo che i pulsanti poggino su una superficie piana.
-
Usa le dita per premere la linguetta nella direzione della freccia "Open" finché non è allentata. Tira la linguetta verticalmente per rimuoverla.
-
Rimuovi la copertura della batteria e le batterie.
 Chiedi a FixBot
-
-
-
Fai scorrere uno spudger sotto i due gommini anteriori per esporre due viti nascoste.
-
-
-
Rimuovi le seguenti otto viti:
-
Quattro viti a croce Phillips da 15,1 mm vicino alla parte anteriore del dispositivo.
-
Quattro viti a croce Phillips da 12,7 mm vicino alla parte posteriore del dispositivo.
-
-
Strumento utilizzato in questo passaggio:Tweezers$4.99
-
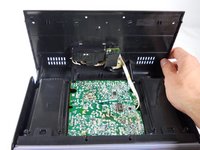
Ruota l'iHome di 180 gradi in modo che la griglia altoparlante sia rivolta verso di te. Solleva con attenzione il case inferiore dal resto del corpo e inclinalo come mostrato.
-
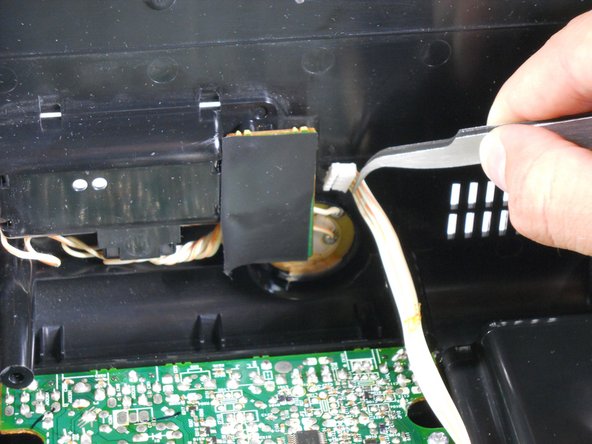
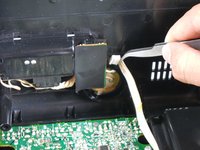
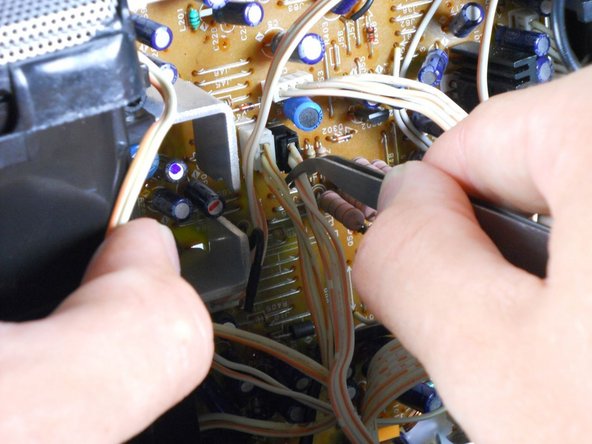
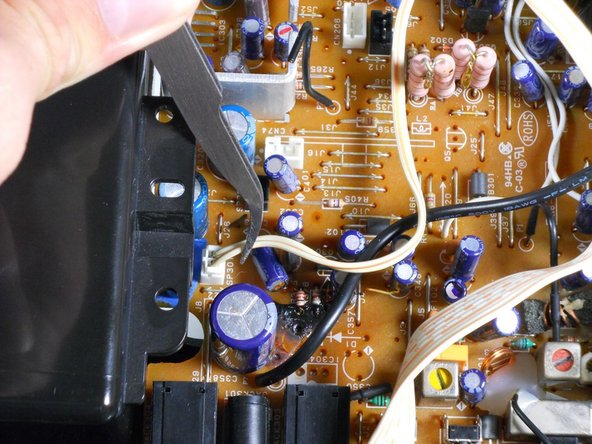
Utilizzando un paio di pinzette, scollega il cavo a nastro bianco. Assicurati di tirare il nastro, non la testa del connettore.
-
Il case inferiore può ora essere completamente rimosso dal dispositivo!
-
-
-
-
-
-
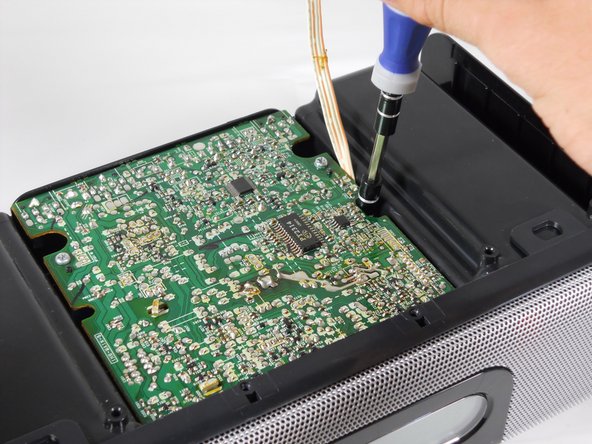
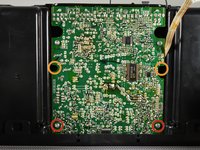
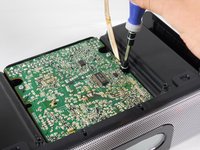
Rimuovi le quattro viti che fissano la parte superiore della scocca alla scheda madre:
-
Due viti a croce Phillips da 9,5 mm vicino alla griglia altoparlante.
-
Due viti a croce Phillips da 14,3 mm posizionate negli incavi sotto la scheda madre.
-
-
-
Ruota l'iHome di 180 gradi e tira con attenzione verso l'alto le coperture degli altoparlanti per staccarle dal guscio inferiore.
-
Tirare verso l'esterno i lati della copertura superiore può aiutare ad allentare il gruppo.
-
Se la rimozione sembra troppo difficile, è probabile che una vite sia ancora fissata. Assicurati di aver rimosso ogni vite elencata prima di procedere con questo passaggio.
-
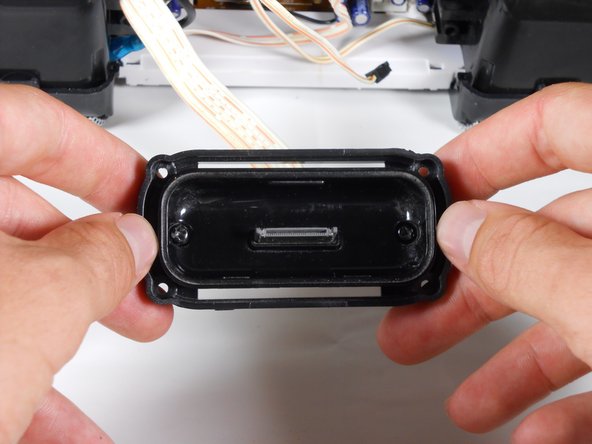
Sfila la cover posteriore dell'adattatore.
-
-
-
Rimuovi le quattro viti a croce Phillips #1 da 6,4 mm che fissano l'adattatore al case esterno.
-
Due viti a croce Phillips #1 da 6,4 mm vicino al centro dell'adattatore. Queste viti hanno rondelle integrate.
-
Una vite a croce Phillips #1 da 4,0 mm vicino al centro dell'adattatore.
-
L'adattatore iPod dovrebbe ora essere separato dal case superiore.
-
-
Strumento utilizzato in questo passaggio:Tweezers$4.99
-
Con il retro del iHome rivolto verso di te, inclina il gruppo scheda madre verso l'alto come mostrato.
-
Usa le pinzette per rimuovere i 6 cavi a nastro.
-
-
-
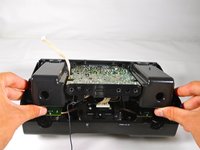
Tira gli altoparlanti, la scheda madre e l'adattatore per iPod verso l'alto e lontano dal telaio inferiore.
-
Ora hai separato i componenti interni del tuo iHome dal suo telaio protettivo!
-
-
-
-
Strumento utilizzato in questo passaggio:Tweezers$4.99
-
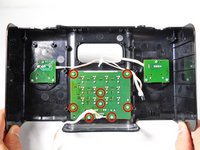
Rimuovi le otto viti a croce Phillips #1 da 7,9 mm dalla scheda centrale.
-
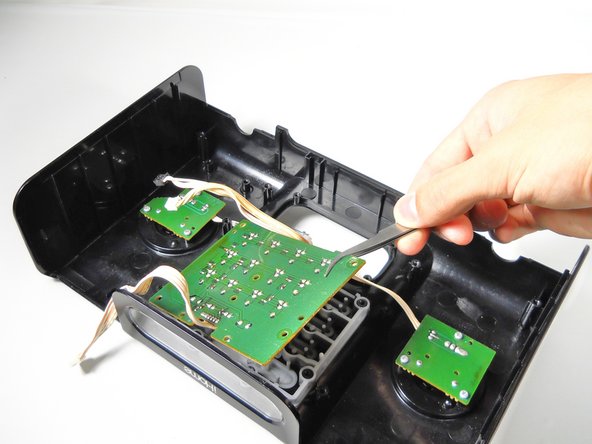
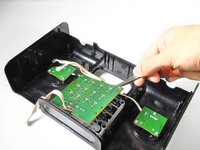
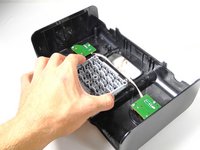
Usa le pinzette per rimuovere con attenzione il circuito stampato più grande.
-
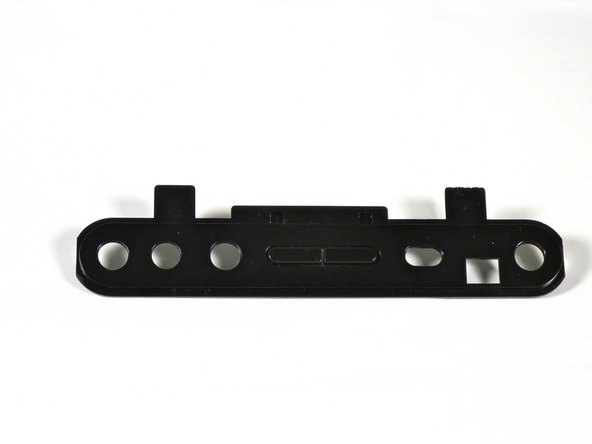
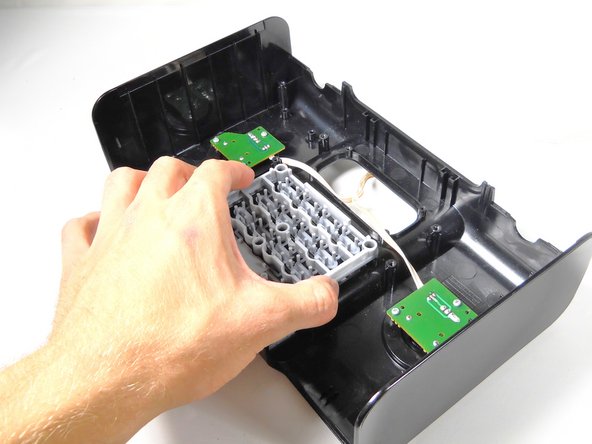
Dovresti riuscire a sollevare facilmente la scheda tasti.
-
-





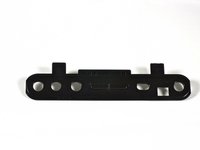

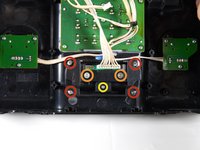



Per rimontare il dispositivo, segui queste istruzioni in ordine inverso.
Annulla: non ho completato questa guida.
Altre 3 persone hanno completato questa guida.

Team

Cal Poly, Team 12-33, Amido Spring 2013 Membro di Cal Poly, Team 12-33, Amido Spring 2013
CPSU-AMIDO-S13S12G33
4 Membri
84 guide realizzate
