Salta al contenuto principale
eufy Clean RoboVac G32 Pro Power Control Buttons Replacement

eufy Clean RoboVac G32 Pro Power Control Buttons Replacement

Gabe Moore

Gabe Moore e un altro collaboratore

Ultimo aggiornamento il January 7, 2025

10 - 15 minuti
Moderato

Introduzione

Vai al passo 1

If your Eufy Robovac G32 Pro's power and control buttons aren't working, then follow this guide to replace them. There are three main power and control buttons, a spot cleaning button, a recharge button, and an auto cleaning start/pause button. The power and control buttons could not be working due to something blocking the sensor, or the board itself is broken.

Cosa ti serve

Strumenti

Mostra di più…

  1. eufy Clean RoboVac G32 Pro Power Control Buttons Replacement, Rolling Brush: passo 1, immagine 1 di 1
    • Make sure your device is turned off.

    • Flip the device upside down on a flat surface.

  2. eufy Clean RoboVac G32 Pro Power Control Buttons Replacement: passo 2, immagine 1 di 1
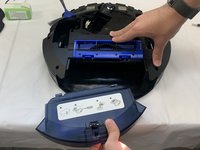
    • Press the clips at the bottom of the device that are indicated by the downward facing arrows.

    • Take off the rolling brush cover.

  3. eufy Clean RoboVac G32 Pro Power Control Buttons Replacement: passo 3, immagine 1 di 1
    • Pull the rolling brush up on the right side. Remove the rolling brush.

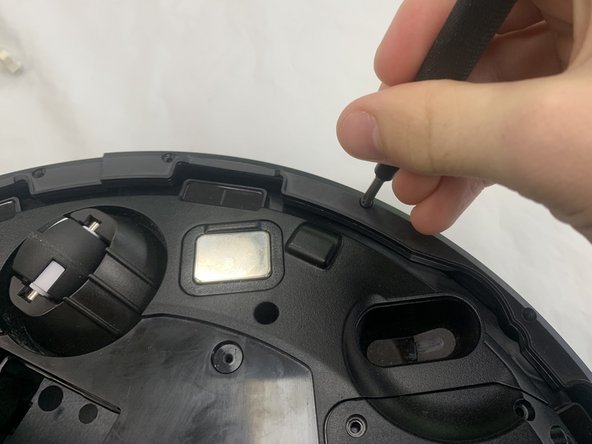
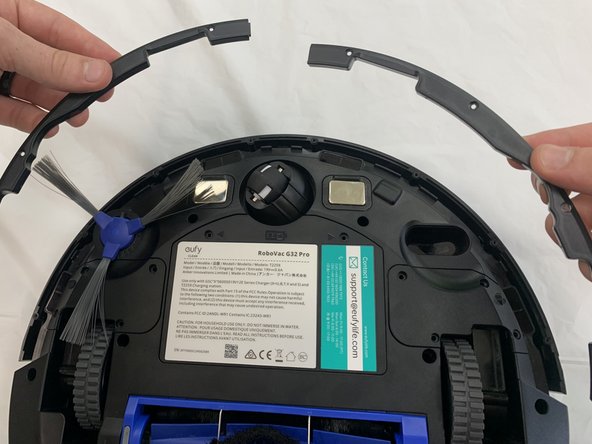
  4. eufy Clean RoboVac G32 Pro Power Control Buttons Replacement, Bump Sensor: passo 4, immagine 1 di 3 eufy Clean RoboVac G32 Pro Power Control Buttons Replacement, Bump Sensor: passo 4, immagine 2 di 3 eufy Clean RoboVac G32 Pro Power Control Buttons Replacement, Bump Sensor: passo 4, immagine 3 di 3
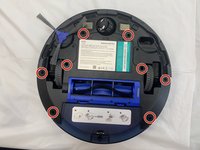
    • Orient the device so the underside is facing up.

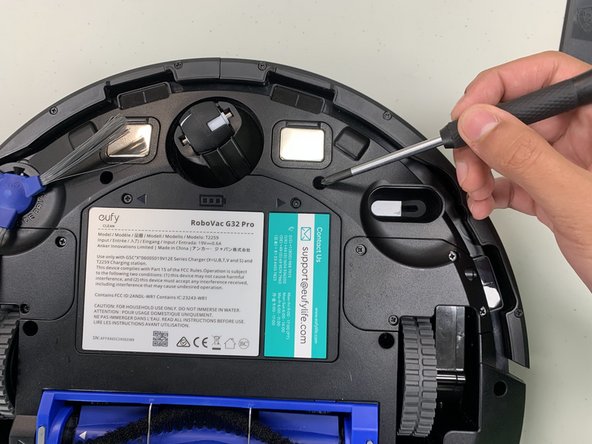
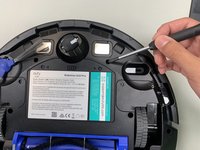
    • Remove the eight 9.3 mm screws securing the bumper brackets using a Phillips #1 screwdriver.

    • Remove the bumper brackets.

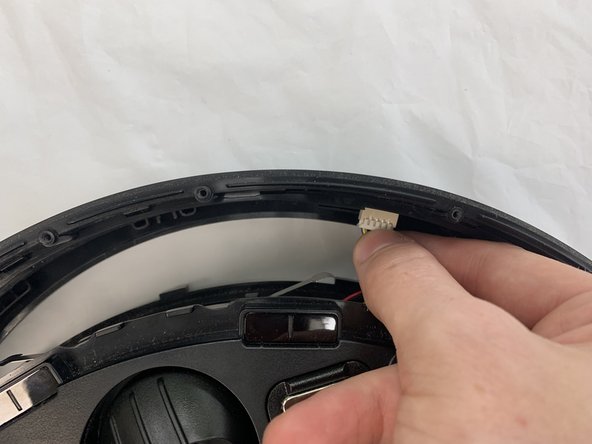
  5. eufy Clean RoboVac G32 Pro Power Control Buttons Replacement: passo 5, immagine 1 di 2 eufy Clean RoboVac G32 Pro Power Control Buttons Replacement: passo 5, immagine 2 di 2
    • Lift the bumper off of the device gently.

    • Use your fingers to disconnect the 8 pin connector.

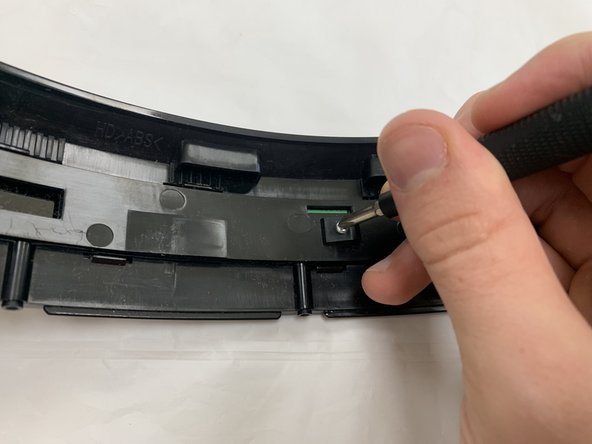
  6. eufy Clean RoboVac G32 Pro Power Control Buttons Replacement: passo 6, immagine 1 di 2 eufy Clean RoboVac G32 Pro Power Control Buttons Replacement: passo 6, immagine 2 di 2
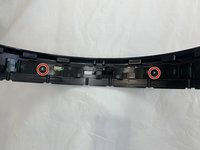
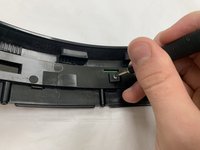
    • Remove the two 10 mm screws using a Philips #1 screwdriver.

  7. eufy Clean RoboVac G32 Pro Power Control Buttons Replacement: passo 7, immagine 1 di 1
    • Lift the bump sensor off using your fingers.

  8. eufy Clean RoboVac G32 Pro Power Control Buttons Replacement, Power Control Buttons: passo 8, immagine 1 di 2 eufy Clean RoboVac G32 Pro Power Control Buttons Replacement, Power Control Buttons: passo 8, immagine 2 di 2
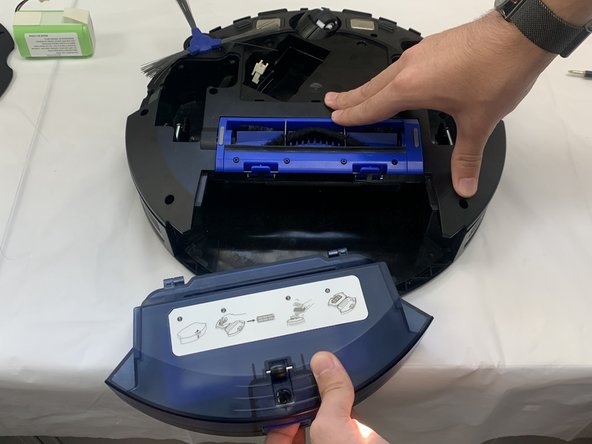
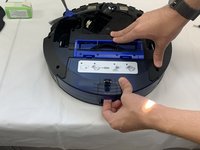
    • Remove the dust collector by grabbing under the lip and pulling it out.

  9. eufy Clean RoboVac G32 Pro Power Control Buttons Replacement: passo 9, immagine 1 di 1
    • Remove the two 5.5 mm screws using a Philips #1 screwdriver.

  10. eufy Clean RoboVac G32 Pro Power Control Buttons Replacement: passo 10, immagine 1 di 2 eufy Clean RoboVac G32 Pro Power Control Buttons Replacement: passo 10, immagine 2 di 2
    • Remove the eight 14 mm screws using a Philips #1 screwdriver.

  11. eufy Clean RoboVac G32 Pro Power Control Buttons Replacement: passo 11, immagine 1 di 1
    • Lift the bottom housing towards the front.

  12. eufy Clean RoboVac G32 Pro Power Control Buttons Replacement: passo 12, immagine 1 di 2 eufy Clean RoboVac G32 Pro Power Control Buttons Replacement: passo 12, immagine 2 di 2
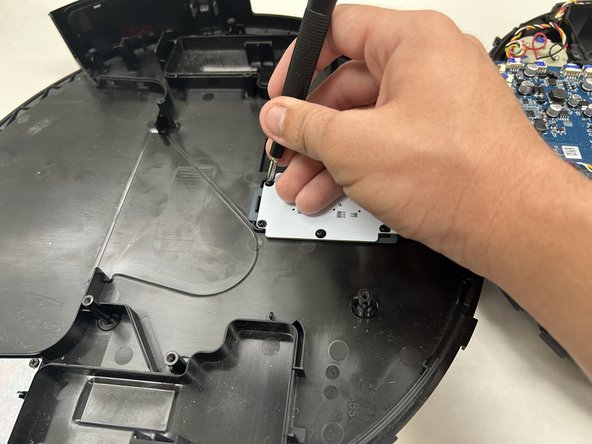
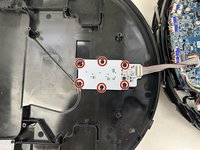
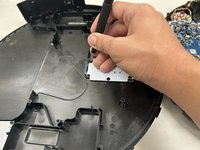
    • Remove the six 5.5 mm screws securing the button board with a Phillips #1 screwdriver.

  13. eufy Clean RoboVac G32 Pro Power Control Buttons Replacement: passo 13, immagine 1 di 1
    • Grab the 8 pin connector with your hands and firmly pull it away from the board.

    • Remove the board.

Conclusione

To reassemble your device, follow the above steps in reverse order.
Take your e-waste to an R2 or e-Stewards certified recycler.
Repair didn’t go as planned? Try some basic troubleshooting or ask our Answers community for help.

Gabe Moore

Membro da: 09/19/24

133 Reputazione

1 Guida realizzata

0Commenti sulla guida

Aggiungi Commento

Visualizza Statistiche:

Ultime 24 Ore: 0

Ultimi 7 Giorni: 3

Ultimi 30 Giorni: 3

Tutti i Tempi: 54