Introduzione
If the face buttons on the Xbox Duke Controller aren't working properly, sticking when you press them, not registering input, or delaying the input, use this guide to replace them.
Before using this guide, check to see if there is dirt or debris that is interfering with the buttons. Spraying a small amount of contact cleaner into the button can potentially fix the problem. Otherwise, the problem may lie in the silicone pads or the double-sided graphite tape that contacts the motherboard.
Before beginning, make sure to disconnect your Duke controller from the Xbox or any other console it may be plugged into.
Cosa ti serve
-
-
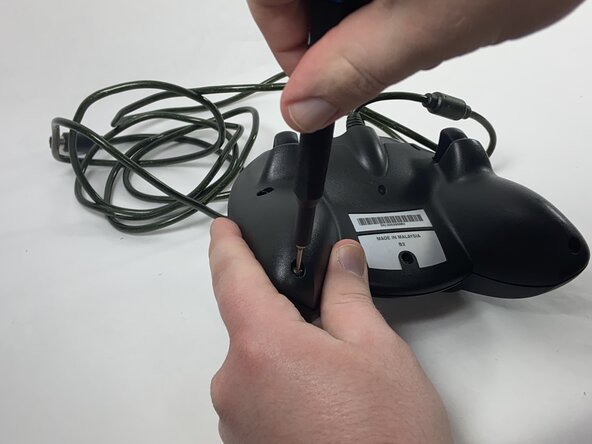
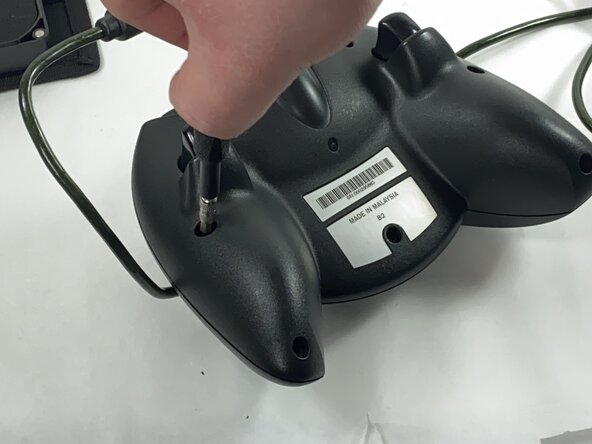
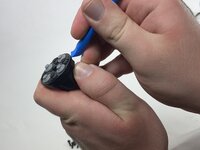
Remove the seven black 8 mm screws holding the two halves of the Duke together using a Phillips #1 screwdriver.
 Chiedi a FixBot
-
-
-
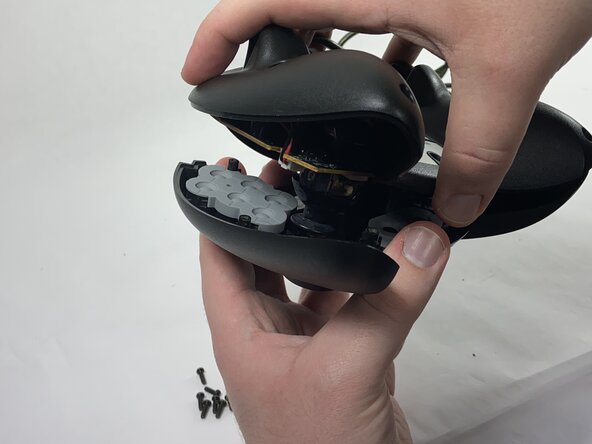
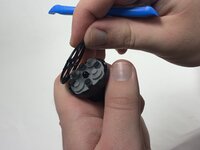
Remove the two halves of the Duke, placing the top plate face-down so the buttons don't fall out.
-
-
-
-
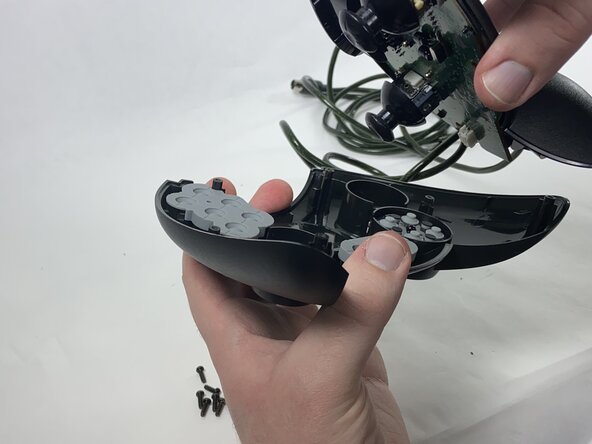
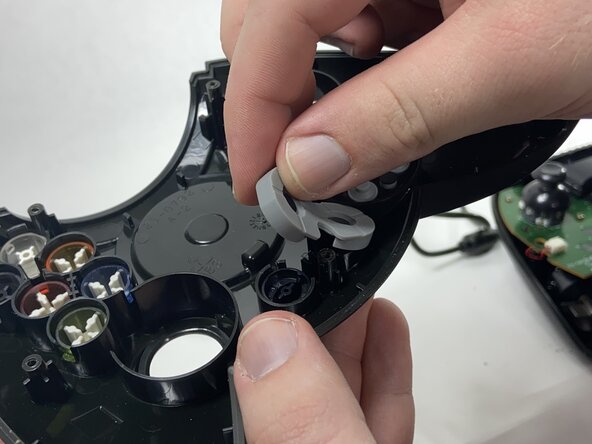
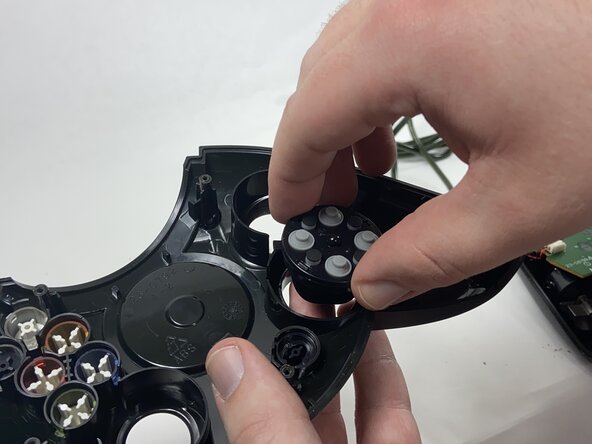
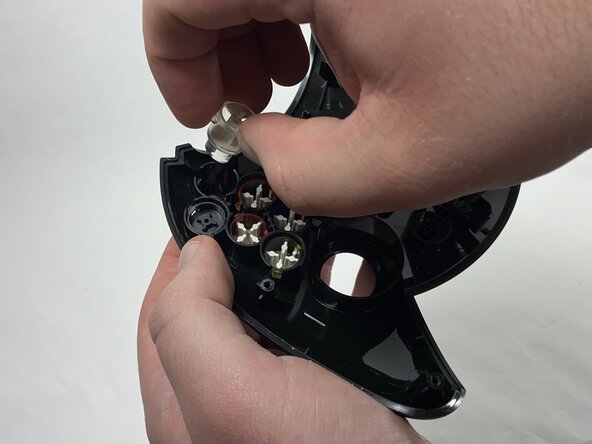
Remove the silicone pads and pull out the directional pad assembly.
-
-
-
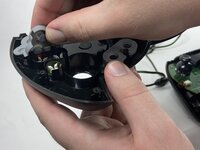
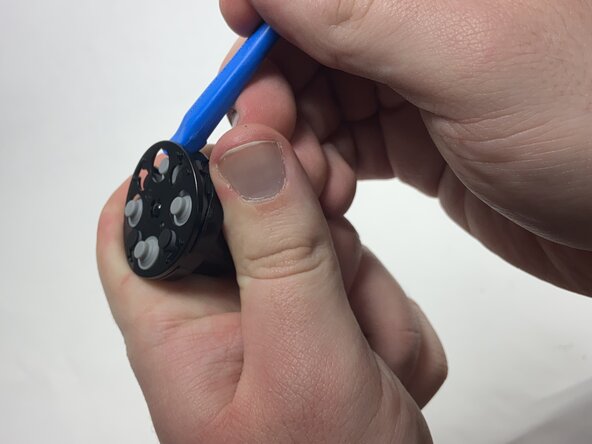
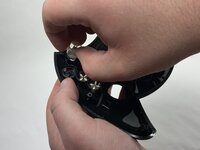
Using a plastic opening tool, remove the plastic plate from the bottom of the directional pad assembly.
-
Pull out the silicone pad.
-
-
-
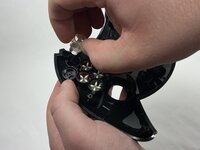
Remove the silicone pads from the top plate of the controller and remove all of the face buttons.
-


To reassemble your device, follow these instructions in reverse order.
Annulla: non ho completato questa guida.
Un'altra persona ha completato questa guida.

Team

UMass Dartmouth, Team 1-1, Gulbrandsen Spring 2025 Membro di UMass Dartmouth, Team 1-1, Gulbrandsen Spring 2025
UMASSD-GULBRANDSEN-S25S1G1
Membro di 1
4 guide realizzate