Introduzione
This guide will help users replace their Vizio CT15 keyboard when the whole keyboard is not responding.
Cosa ti serve
-
-
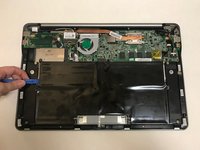
Turn the laptop off and remove all power cables.
-
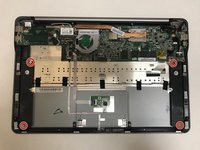
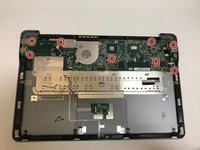
Remove the six Phillips #0 screws.
-
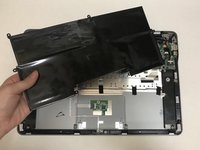
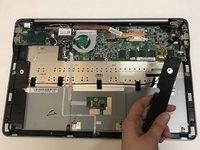
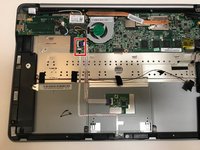
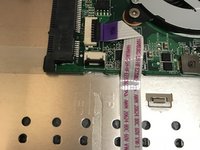
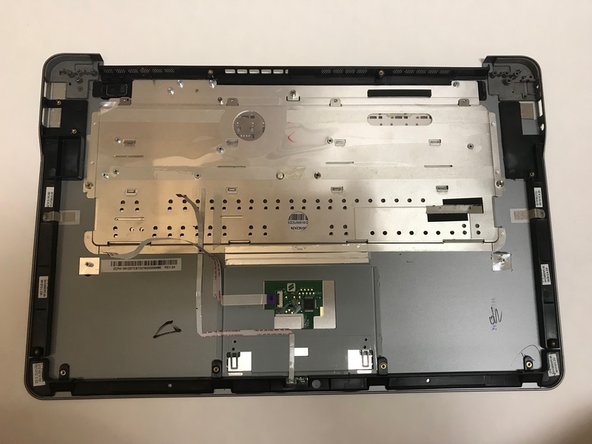
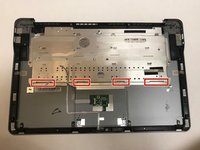
Pull the back cover off.
-
-
-
-
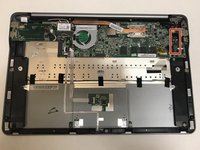
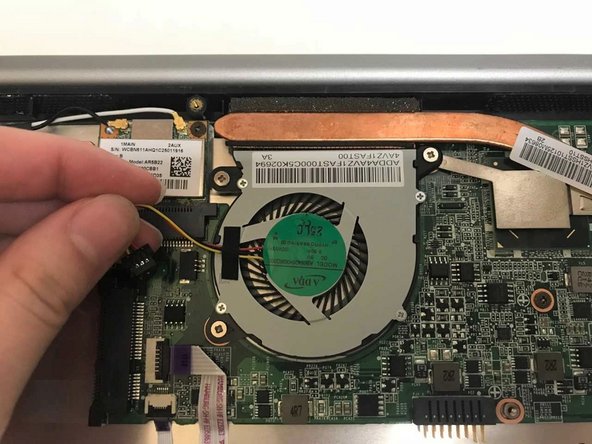
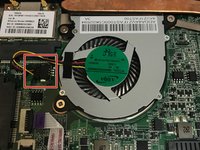
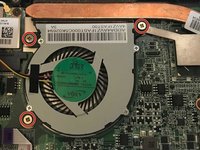
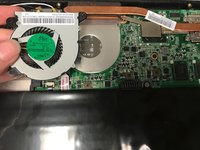
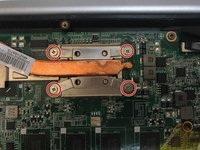
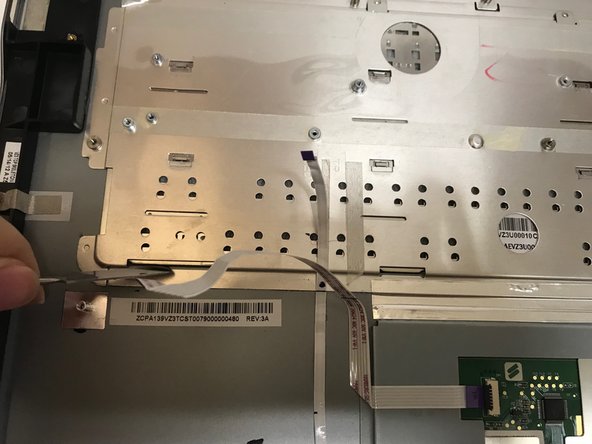
Remove the four Philips #0 screws from the heatsink.
-
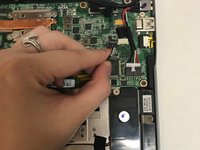
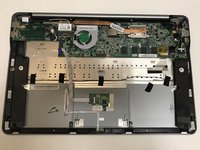
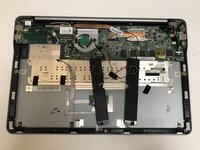
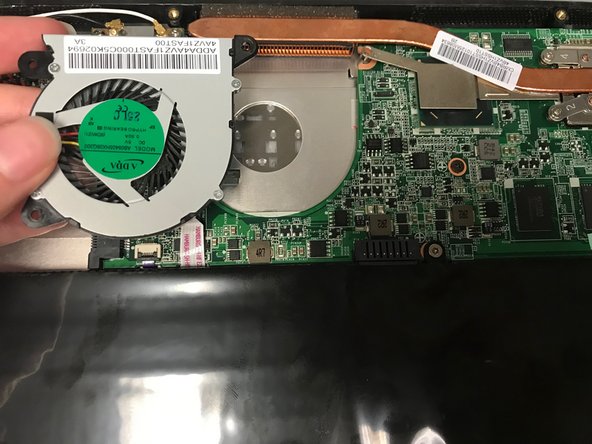
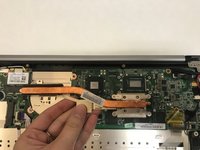
Pull up and out to remove the heatsink from the laptop.
-


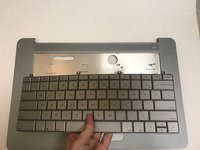
To reassemble your device, follow these instructions in reverse order.
Annulla: non ho completato questa guida.
Altre 3 persone hanno completato questa guida.
Team

University of North Texas, Team S1-G2, Thompson Spring 2018 Membro di University of North Texas, Team S1-G2, Thompson Spring 2018
UNT-THOMPSON-S18S1G2
4 Membri
12 guide realizzate