Salta al contenuto principale
Unisciti alla Community delle riparazioni - Crea un account

Vivitar XO 7 Camera Replacement

Cosa ti serve

    1. Vivitar XO 7 Camera Replacement, Back Cover: passo 1, immagine 1 di 1
      • Remove the two 3mm Phillips #00 screws on the bottom of the tablet.

      Chiedi a FixBot

      Aggiungi Commento

    2. Vivitar XO 7 Camera Replacement: passo 2, immagine 1 di 1
      • With the plastic opening tools, pry open the back cover.

      Chiedi a FixBot

      Aggiungi Commento

    3. Vivitar XO 7 Camera Replacement: passo 3, immagine 1 di 1
      • Remove the back cover from the tablet.

      Chiedi a FixBot

      Aggiungi Commento

    1. Vivitar XO 7 Camera Replacement, Battery: passo 4, immagine 1 di 2 Vivitar XO 7 Camera Replacement, Battery: passo 4, immagine 2 di 2
      • Peel off the black pieces of tape from the internal components.

      Chiedi a FixBot

      Aggiungi Commento

    2. Vivitar XO 7 Camera Replacement: passo 5, immagine 1 di 2 Vivitar XO 7 Camera Replacement: passo 5, immagine 2 di 2
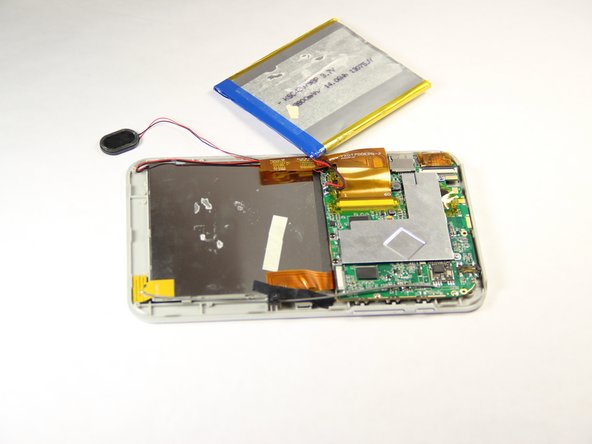
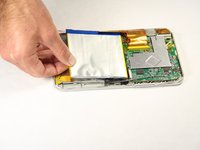
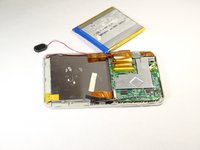
      • Carefully remove the battery from the tablet.

      Chiedi a FixBot

      Aggiungi Commento

    3. Vivitar XO 7 Camera Replacement: passo 6, immagine 1 di 2 Vivitar XO 7 Camera Replacement: passo 6, immagine 2 di 2
      Strumento utilizzato in questo passaggio:
      Tweezers
      $4.99
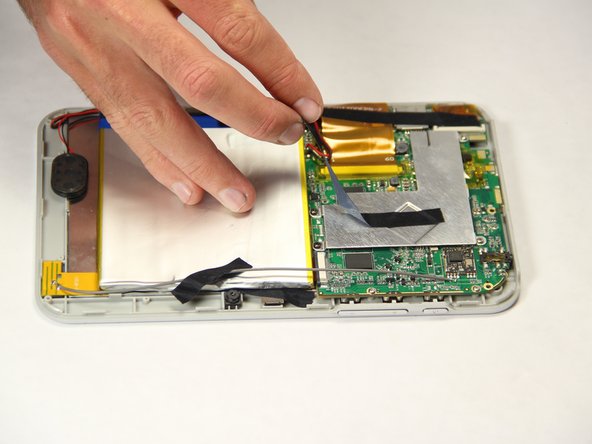
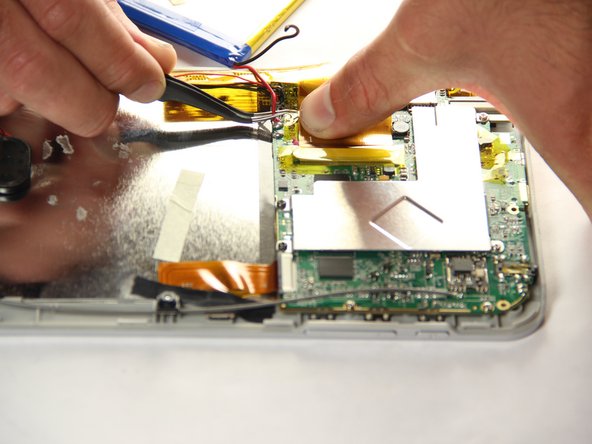
      • With the tweezers, firmly grab the wire at the base and pull to disconnect the battery from the motherboard.

      Chiedi a FixBot

      Aggiungi Commento

    1. Vivitar XO 7 Camera Replacement, Camera: passo 7, immagine 1 di 1
      • Peel off black tape that is holding the camera in place.

      Chiedi a FixBot

      Aggiungi Commento

    2. Vivitar XO 7 Camera Replacement: passo 8, immagine 1 di 1
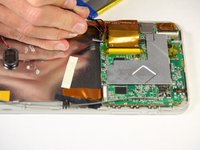
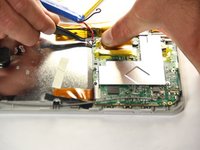
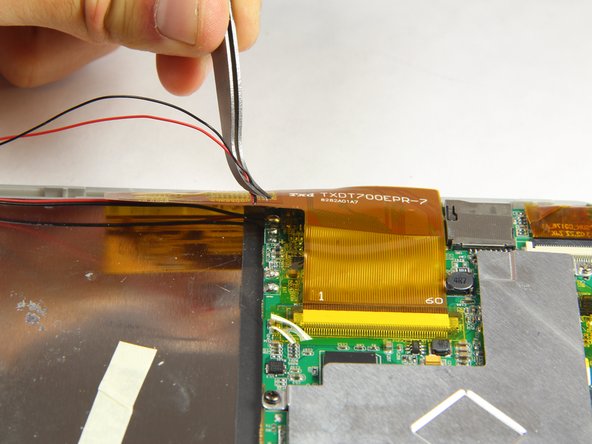
      • Carefully disconnect the ribbon cables from the motherboard.

      Chiedi a FixBot

      Aggiungi Commento

    3. Vivitar XO 7 Camera Replacement: passo 9, immagine 1 di 2 Vivitar XO 7 Camera Replacement: passo 9, immagine 2 di 2
      Strumento utilizzato in questo passaggio:
      Tweezers
      $4.99
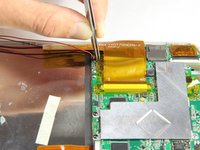
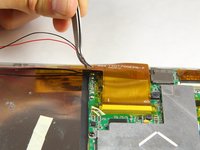
      • Using the tweezers, firmly grab wires and pull to disconnect them from the motherboard.

      Chiedi a FixBot

      Aggiungi Commento

Conclusione

To reassemble your device, follow these instructions in reverse order.

Annulla: non ho completato questa guida.

Team

USF Tampa, Team 11-1, Blackwell Winter 2015 Membro di USF Tampa, Team 11-1, Blackwell Winter 2015

USFT-BLACKWELL-W15S11G1

4 Membri

10 guide realizzate

0Commenti sulla guida

Aggiungi Commento

Visualizza statistiche:

Ultime 24 ore: 1

Ultimi 7 giorni: 6

Ultimi 30 giorni: 22

Tutti i Tempi: 448