Introduzione
This guide provides step by step instructions for removal of the display from the 781HD DVR camcorder. Replacement of the display requires soldering and should only be considered if the reader is comfortable with soldering on small electrical boards.
Cosa ti serve
-
-
Begin with the camcorder lens up on a clear working surface.
-
Remove the two 4mm Phillips #1 screws holding the switch plate in place. Rotate the device 180 degrees and repeat for the screws on the opposite side.
 Chiedi a FixBot
-
-
-
Slide the plastic opening tool into the seam between the front and back sections of the case and apply a small amount of force to pop the case open.
-
-
-
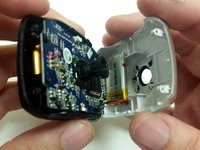
Move the plastic opening tool around the seam and apply force at each step to separate the front plate from the back plate and motherboard.
-
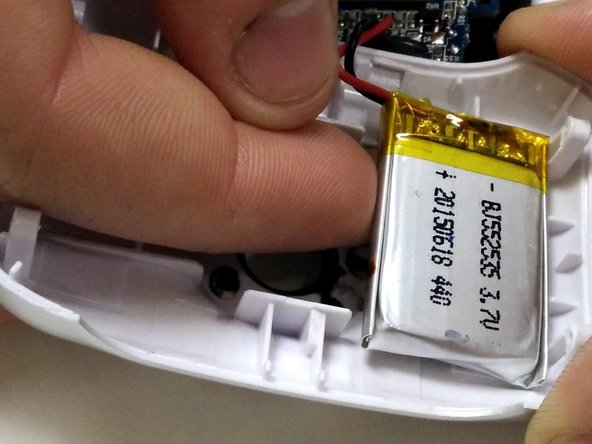
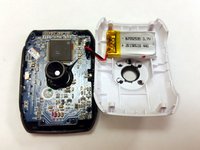
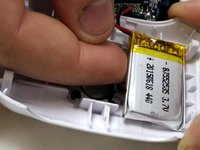
The battery is held to the front half of the case with double-sided tape. Peel it up with a finger, being careful not to damage the battery.
-
-
-
-
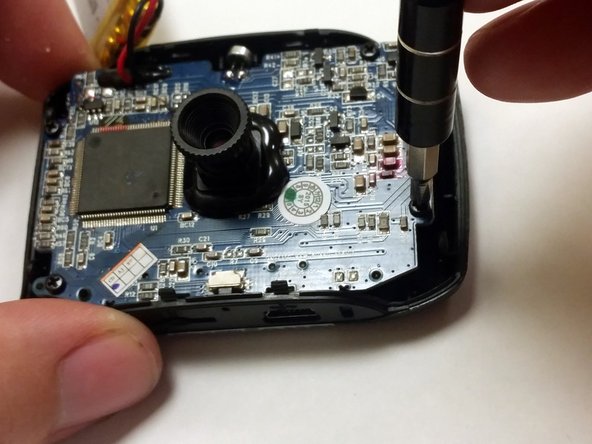
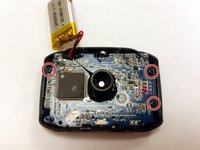
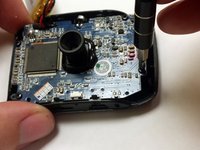
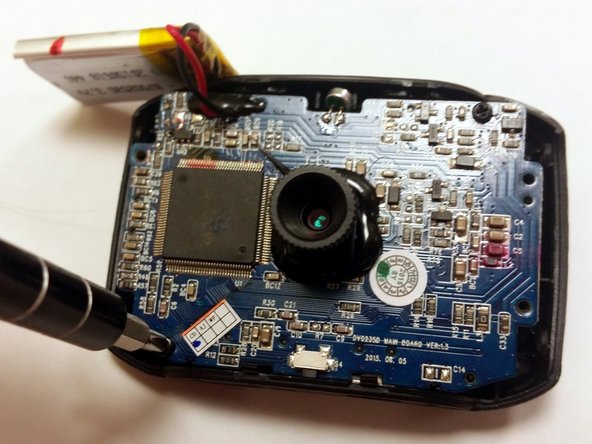
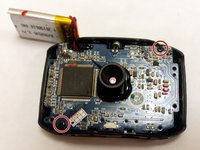
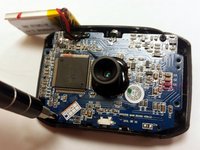
Using a P1 screwdriver, remove the 4mm screws holding the motherboard into the case.
-
-
-
Remove the two 4mm Phillips #1 screws holding the screen assembly to the motherboard.
-
-
-
Turn the motherboard and screen over.
-
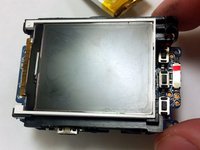
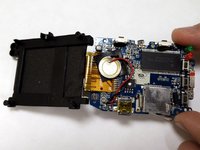
Gently lift the screen from the motherboard, handling it by the edges of the black plastic holder.
-
-
-
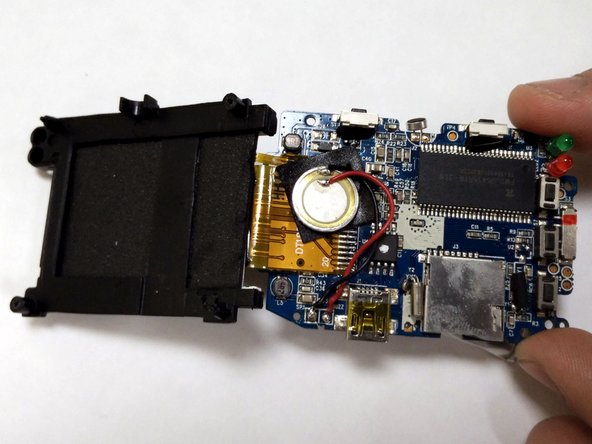
Using a soldering iron, melt the solder connection between the screen's ribbon cable and the motherboard. Pull the ribbon cable away before the solder solidifies.
-







To reassemble your device, follow these instructions in reverse order.
Annulla: non ho completato questa guida.
Altre 2 persone hanno completato questa guida.

Team

IUPUI, Team 54-6, Wilson Spring 2016 Membro di IUPUI, Team 54-6, Wilson Spring 2016
IUPUI-WILSON-S16S54G6
3 Membri
13 guide realizzate
