Introduzione
This guide is designed to provide you with simple steps to remove and replace the Verizon Ellipsis 10 Camera.
Cosa ti serve
-
-
Open the SD/SIM card cover to start prying off the back cover.
 Chiedi a FixBot
-
-
-
Start using the iFixit Opening Tool in the SD/SIM area to release the clips holding the back panel on.
-
-
-
Follow along the edge of the device to undo all of the retaining clips.
-
-
-
Once all the clips are undone, the back panel should come off with little effort.
-
-
-
Remove the bottom piece of tape securing the battery making sure you are not peeling up anything else in the process.
-
-
-
-
Once you have a hold on the tape, carefully remove it making sure you aren’t damaging the battery in the process.
-
-
-
Unplug the battery power connector by sliding the white plastic plug down away from the board.
-
-
-
The battery should be free to come out of the device. Make sure not to bend or damage the battery.
-
-
-
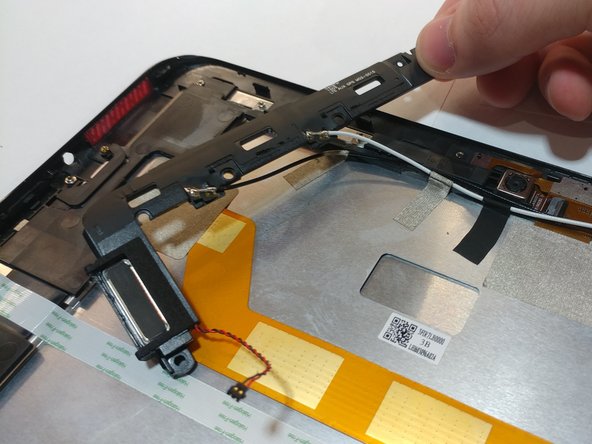
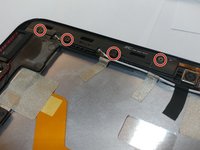
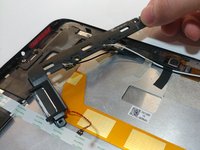
Remove the 4 M1.5 screws holding in the labeled auxiliary LTE/GPS module.
-
The module should come up with a little resistance.
-
-
Strumento utilizzato in questo passaggio:Tweezers$4.99
-
Use a pair of tweezers to lift up the front camera off its locating post.
-
-
-
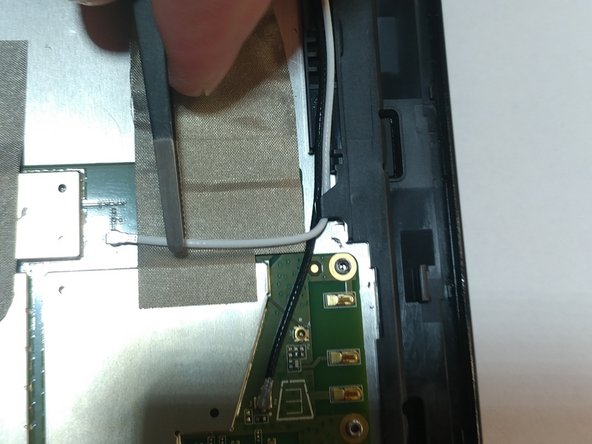
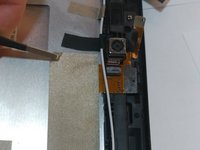
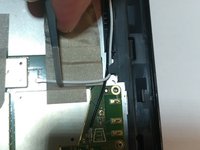
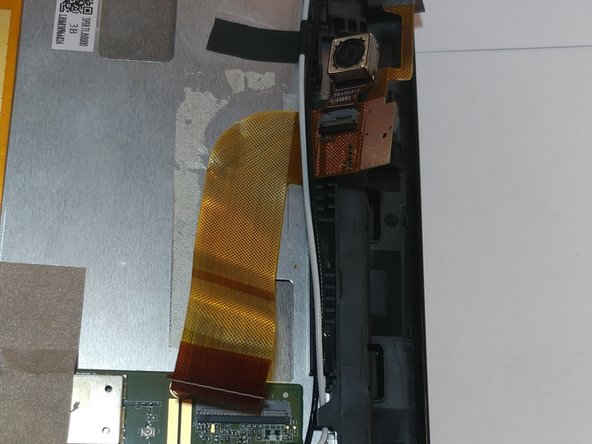
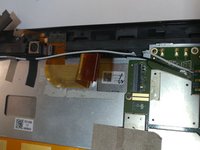
Remove the non-conductive tape covering the camera ribbon cable.
-
You may need to remove the white antenna cable to remove the tape.
-
-
-
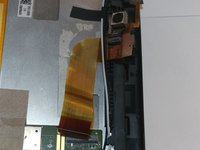
Peel up the ribbon cable carefully as it is glued to the device.
-
After having peeled up the cable, the cameras should be free to come out of the device.
-






To reassemble your device, follow these instructions in reverse order.
Annulla: non ho completato questa guida.
Un'altra persona ha completato questa guida.

Team

Oregon Institute of Technology, Team S2-G10, Lancaster Spring 2019 Membro di Oregon Institute of Technology, Team S2-G10, Lancaster Spring 2019
OIT-LANCASTER-S19S2G10
4 Membri
7 guide realizzate
