Salta al contenuto principale
Unisciti alla Community delle riparazioni - Crea un account

VTech InnoTab Max Motherboard Replacement

Cosa ti serve

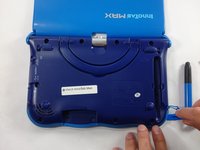
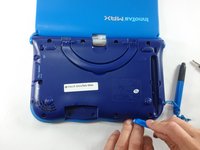
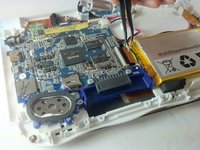
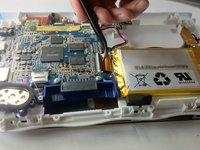
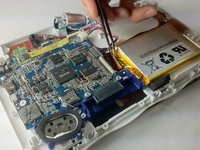
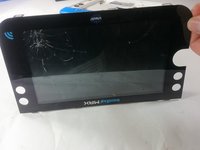
  1. VTech InnoTab Max Motherboard Replacement, Cover: passo 1, immagine 1 di 3 VTech InnoTab Max Motherboard Replacement, Cover: passo 1, immagine 2 di 3 VTech InnoTab Max Motherboard Replacement, Cover: passo 1, immagine 3 di 3
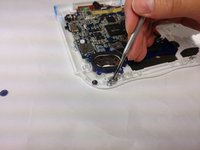
    • Remove all screw caps from the back panel using a metal spudger.

    Chiedi a FixBot
  2. VTech InnoTab Max Motherboard Replacement: passo 2, immagine 1 di 3 VTech InnoTab Max Motherboard Replacement: passo 2, immagine 2 di 3 VTech InnoTab Max Motherboard Replacement: passo 2, immagine 3 di 3
    • Next remove all of the now uncovered screws.

    • If there is a cartridge in the device make sure to remove it.

    Chiedi a FixBot
  3. VTech InnoTab Max Motherboard Replacement: passo 3, immagine 1 di 2 VTech InnoTab Max Motherboard Replacement: passo 3, immagine 2 di 2
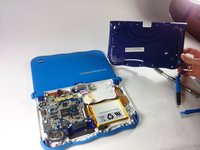
    • Now that all of the screws have been removed, pry the back cover off using a plastic opening tool.

    Chiedi a FixBot
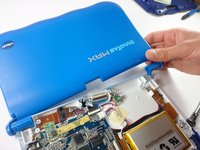
  4. VTech InnoTab Max Motherboard Replacement: passo 4, immagine 1 di 2 VTech InnoTab Max Motherboard Replacement: passo 4, immagine 2 di 2
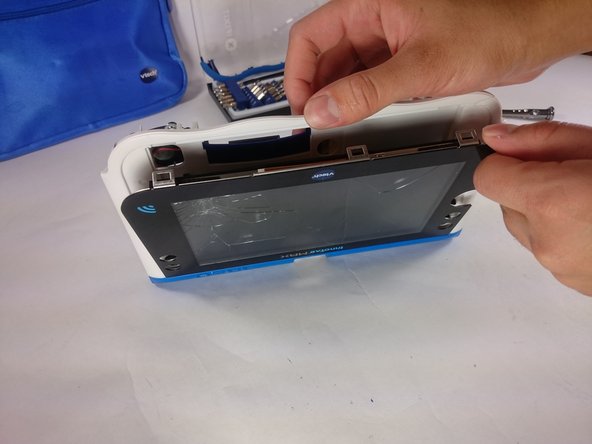
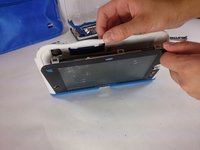
    • Here you can see the back cover has been fully removed and you can now access the front cover.

    • To remove the front cover, remove the springs holding the pictured brackets in place, then pull it away.

    Chiedi a FixBot
  5. VTech InnoTab Max Motherboard Replacement, Battery: passo 5, immagine 1 di 1
    • Once the back cover is removed the battery will be located in the bottom right as you can see in the image to the right.

    Chiedi a FixBot
  6. VTech InnoTab Max Motherboard Replacement: passo 6, immagine 1 di 3 VTech InnoTab Max Motherboard Replacement: passo 6, immagine 2 di 3 VTech InnoTab Max Motherboard Replacement: passo 6, immagine 3 di 3
    Strumento utilizzato in questo passaggio:
    Plastic Cards
    $2.99
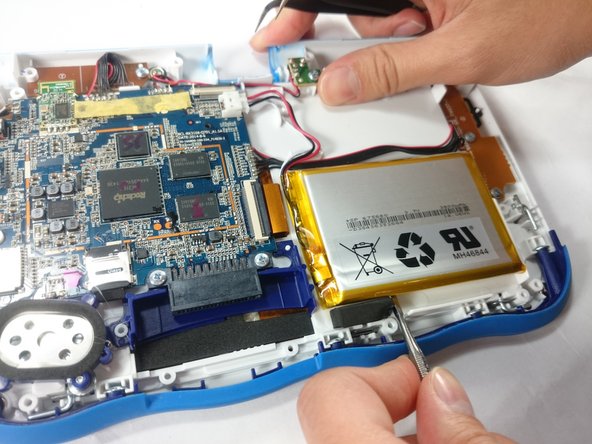
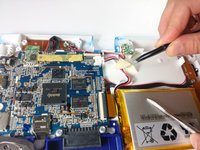
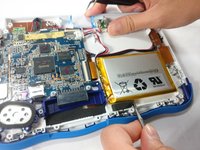
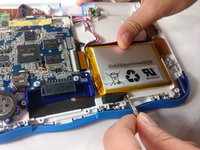
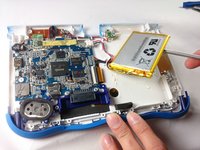
    • Remove the tape holding down the wires, and carefully pry the battery off of the base of the device.

    • Pry carefully to avoid damaging the battery. The battery may start to bend slightly, this is normal and not a cause for concern.

    • It is best to use a plastic card or nylon spudger to remove the battery. Metal tools can puncture a battery, potentially causing a fire.

    Chiedi a FixBot
  7. VTech InnoTab Max Motherboard Replacement: passo 7, immagine 1 di 3 VTech InnoTab Max Motherboard Replacement: passo 7, immagine 2 di 3 VTech InnoTab Max Motherboard Replacement: passo 7, immagine 3 di 3
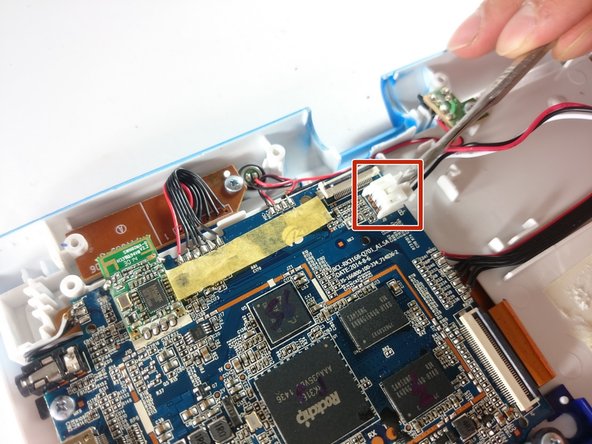
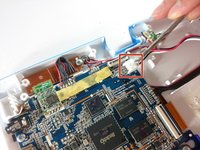
    • Now that the battery is free to be moved, unplug the wire connecting the battery to the motherboard.

    Chiedi a FixBot
  8. VTech InnoTab Max Motherboard Replacement: passo 8, immagine 1 di 1
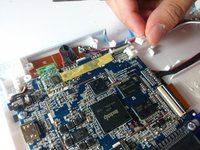
    • The battery is now fully disconnected.

    Chiedi a FixBot
  9. VTech InnoTab Max Motherboard Replacement, Camera: passo 9, immagine 1 di 1
    • The camera is not held down by anything, so simply remove it from it's spot to prepare for unplugging it.

    Chiedi a FixBot
  10. VTech InnoTab Max Motherboard Replacement: passo 10, immagine 1 di 2 VTech InnoTab Max Motherboard Replacement: passo 10, immagine 2 di 2
    • Carefully remove the wire connecting the camera to the motherboard, using a tool to grip it if needed.

    • Be careful to only pull from the end of the connector (closest to the motherboard), as the strip is easy to tear.

    Chiedi a FixBot
  11. VTech InnoTab Max Motherboard Replacement: passo 11, immagine 1 di 1
    • The camera is now removed completely removed from the device.

    Chiedi a FixBot
  12. VTech InnoTab Max Motherboard Replacement, Screen: passo 12, immagine 1 di 2 VTech InnoTab Max Motherboard Replacement, Screen: passo 12, immagine 2 di 2
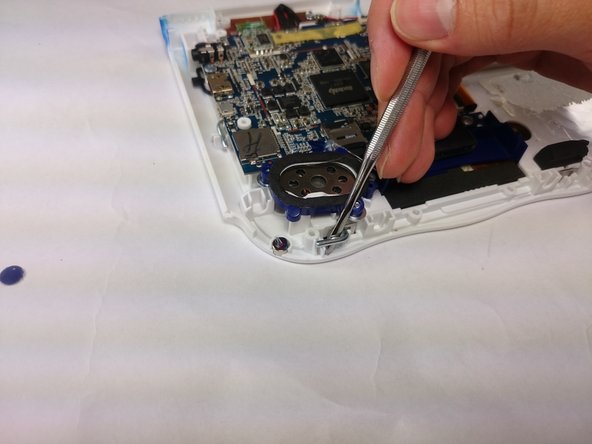
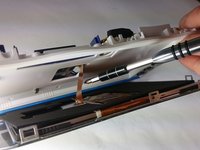
    • In order to unlock the screen you need to remove the 4 pins that can be seen in the picture.

    • To remove simply just turn and pull them out. Use a metal or nylon spudger if they are too small to grip.

    Chiedi a FixBot
  13. VTech InnoTab Max Motherboard Replacement: passo 13, immagine 1 di 3 VTech InnoTab Max Motherboard Replacement: passo 13, immagine 2 di 3 VTech InnoTab Max Motherboard Replacement: passo 13, immagine 3 di 3
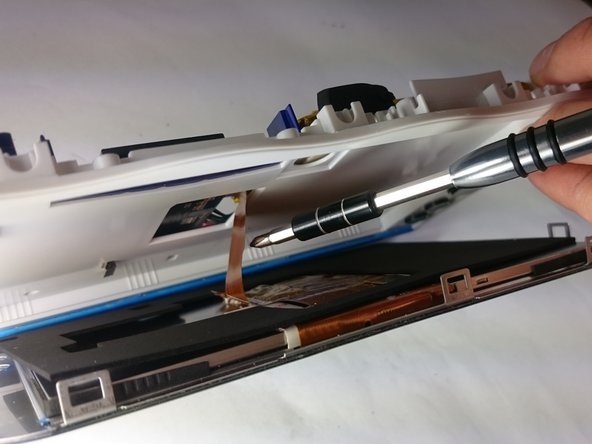
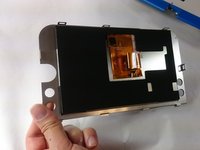
    • Once the pins are removed the screen should be loose from the frame and only connected by the brown film pictured.

    Chiedi a FixBot
  14. VTech InnoTab Max Motherboard Replacement: passo 14, immagine 1 di 3 VTech InnoTab Max Motherboard Replacement: passo 14, immagine 2 di 3 VTech InnoTab Max Motherboard Replacement: passo 14, immagine 3 di 3
    Strumento utilizzato in questo passaggio:
    Tweezers
    $4.99
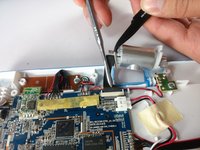
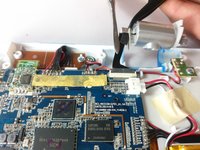
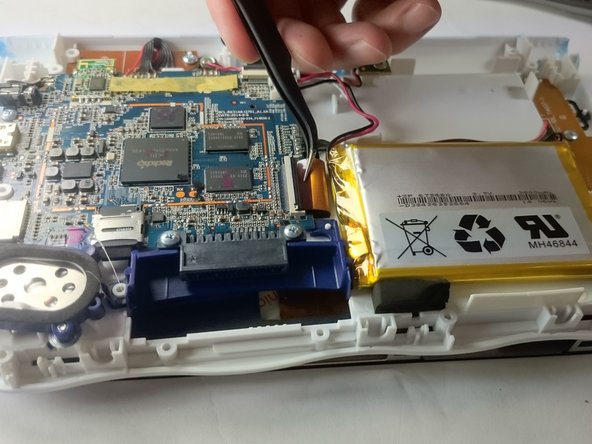
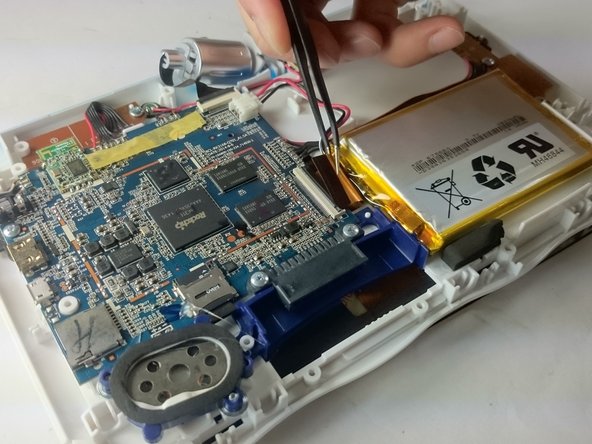
    • In order to completely remove the screen you need to unclip the film from the motherboard by simply using a pair of tweezers and gently pulling.

    • Be careful not to tear the film when pulling.

    Chiedi a FixBot
  15. VTech InnoTab Max Motherboard Replacement: passo 15, immagine 1 di 2 VTech InnoTab Max Motherboard Replacement: passo 15, immagine 2 di 2
    • Once unclipped from the motherboard the screen should be entirely free from the device

    Chiedi a FixBot
  16. VTech InnoTab Max Motherboard Replacement, Motherboard: passo 16, immagine 1 di 1
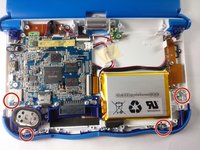
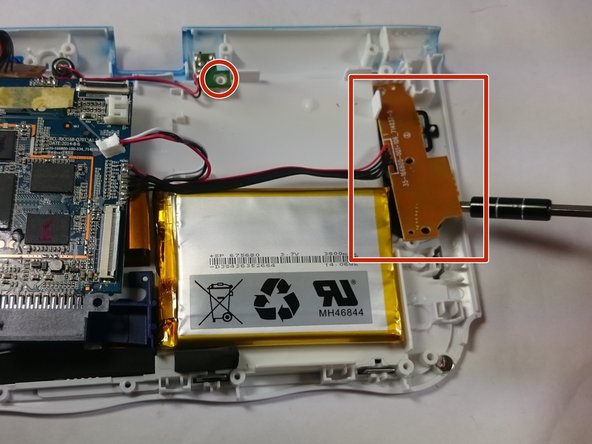
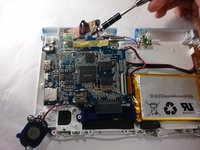
    • Remove the circled screws that are holding down the motherboard and components.

    • Every component that will need to be unscrewed will have wires running to it from the motherboard. These wires will not be disconnected.

    Chiedi a FixBot
  17. VTech InnoTab Max Motherboard Replacement: passo 17, immagine 1 di 3 VTech InnoTab Max Motherboard Replacement: passo 17, immagine 2 di 3 VTech InnoTab Max Motherboard Replacement: passo 17, immagine 3 di 3
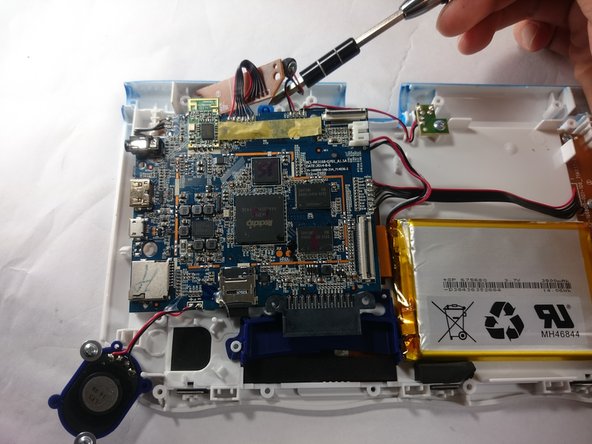
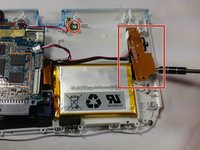
    • With all of the screws out, lift up the speaker, the two visible bronze plates, and the small green chip at the top.

    • Do not try to disconnect any of the wires running to these devices, as you will not be able to reconnect them.

    • All of these components can be located by following wires leaving the motherboard.

    Chiedi a FixBot
  18. VTech InnoTab Max Motherboard Replacement: passo 18, immagine 1 di 1
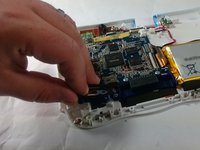
    • With all of these components out of their place, lift up the motherboard to reveal one more bronze plate.

    • Remove the screws holding down this plate, and remove it with the rest of the motherboard.

    Chiedi a FixBot
  19. VTech InnoTab Max Motherboard Replacement: passo 19, immagine 1 di 1
    • All components should be free from the device, and you can now completely remove the motherboard.

    Chiedi a FixBot
Conclusione

To reassemble your device, follow these instructions in reverse order.

Altre 3 persone hanno completato questa guida.

Team

USF Tampa, Team S5-G5, Lacy Spring 2017 Membro di USF Tampa, Team S5-G5, Lacy Spring 2017

USFT-LACY-S17S5G5

3 Membri

10 guide realizzate

0Commenti sulla guida

Aggiungi Commento

Visualizza Statistiche:

Ultime 24 Ore: 1

Ultimi 7 Giorni: 3

Ultimi 30 Giorni: 40

Tutti i Tempi: 2,454