Introduzione
The ABXY buttons are crucial for game and menu control, making them essential for gaming consoles. These buttons are easily accessible once the motherboard is removed. If your ABXY buttons are sticking or unresponsive, it might be time to consider cleaning or replacing them.
This guide will show you how to access the REACT-R and replace the ABXY buttons. The only tool needed for this guide is a Phillips #00 screwdriver.
Cosa ti serve
-
-
Place the controller face down.
-
Use a Phillips #00 screwdriver to remove the seven 9.2 mm Phillips screws that secure the rear case.
-
Use both hands to lift the backplate away from the controller.
 Chiedi a FixBot
-
-
-
-
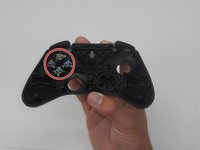
Use a Phillips #00 to remove the four 9.2 mm screws that secure the motherboard.
-
Gently lift the motherboard up and out of the chassis.
-


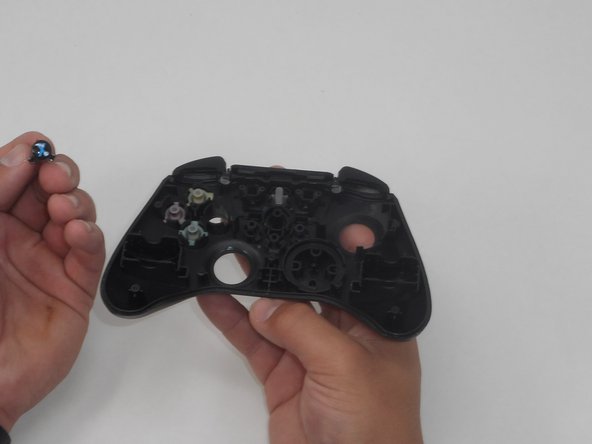

To reassemble your device, follow these instructions in reverse order.
Annulla: non ho completato questa guida.
Un'altra persona ha completato questa guida.
Team

University of Memphis, Team 1-5, Sneed Spring 2024 Membro di University of Memphis, Team 1-5, Sneed Spring 2024
UM-SNEED-S24S1G5
4 Membri
6 guide realizzate