Salta al contenuto principale
Unisciti alla Community delle riparazioni - Crea un account

Turtle Beach Elite Pro Left Speaker Replacement

Cosa ti serve

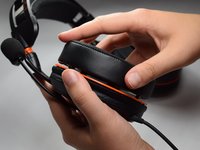
  1. Turtle Beach Elite Pro Left Speaker  Replacement, Ear Cushion: passo 1, immagine 1 di 1
    • Firmly pinch ear cushion between thumb and forefinger.

    • Using the hand not holding the ear cushion, grasp the orange plate that is below the ear cushion.

    • If the black rubber lining on the orange plate is grasped, then the rubber lining on the ear piece may tear.

    Chiedi a FixBot
  2. Turtle Beach Elite Pro Left Speaker  Replacement: passo 2, immagine 1 di 2 Turtle Beach Elite Pro Left Speaker  Replacement: passo 2, immagine 2 di 2
    • Rotate ear cushion counter-clockwise about half an inch.

    • The ear cushion should audibly snap out of place.

    • After it has audibly snapped out of place, lift the ear cushion off of the device.

    • During reassembly, rotate the ear cushion clockwise.

    Chiedi a FixBot
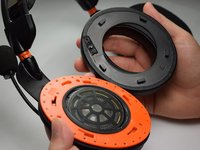
  3. Turtle Beach Elite Pro Left Speaker  Replacement: passo 3, immagine 1 di 2 Turtle Beach Elite Pro Left Speaker  Replacement: passo 3, immagine 2 di 2
    • Using the new cushion, align the pegs located on both the orange plate and ear cushion.

    • Make sure that both the ear cushion and the orange plate have the same designation.

    • Once the pegs are aligned, push the new ear cushion in place.

    Chiedi a FixBot
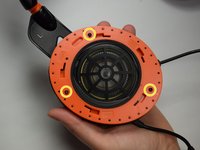
  4. Turtle Beach Elite Pro Left Speaker  Replacement, Left Speaker: passo 4, immagine 1 di 1
    • Remove the left ear cushion completely from the headset.

    • The left ear cushion will be on the side of the headset where the microphone and audio control is attached.

    Chiedi a FixBot
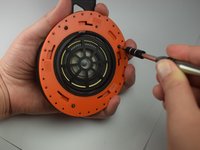
  5. Turtle Beach Elite Pro Left Speaker  Replacement: passo 5, immagine 1 di 2 Turtle Beach Elite Pro Left Speaker  Replacement: passo 5, immagine 2 di 2
    • Using the Phillips #0 screwdriver, remove the 6.0 mm screws on the orange plate.

    Chiedi a FixBot
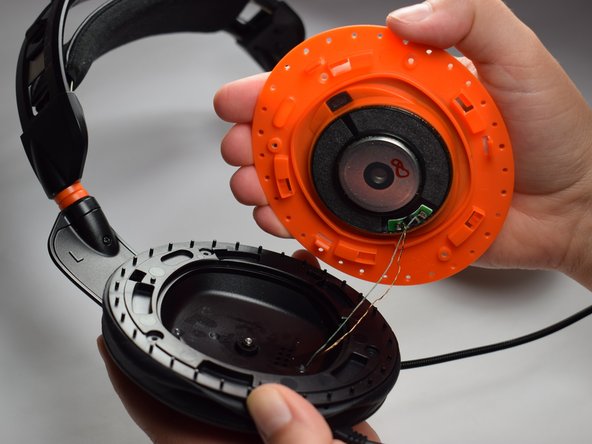
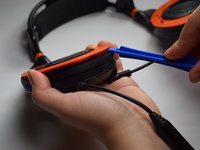
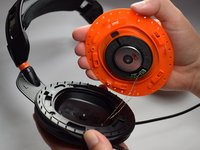
  6. Turtle Beach Elite Pro Left Speaker  Replacement: passo 6, immagine 1 di 2 Turtle Beach Elite Pro Left Speaker  Replacement: passo 6, immagine 2 di 2
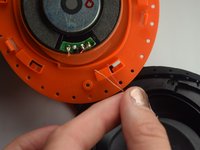
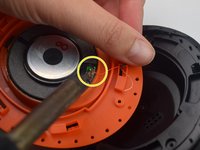
    • Use the opening tool to separate the orange plate from the black base plate.

    • Focus on the wires that are connected to the speaker.

    Chiedi a FixBot
  7. Turtle Beach Elite Pro Left Speaker  Replacement: passo 7, immagine 1 di 1
    • Using wire cutters, cut the two wires that are attached to the speaker.

    • Make sure to cut the wires as close to the speaker as possible, because these wires will be used in the next step.

    Chiedi a FixBot
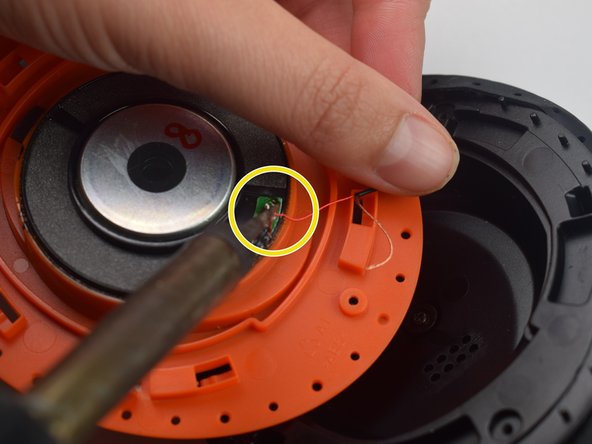
  8. Turtle Beach Elite Pro Left Speaker  Replacement: passo 8, immagine 1 di 2 Turtle Beach Elite Pro Left Speaker  Replacement: passo 8, immagine 2 di 2
    • Replace the old speaker with the new speaker.

    • Using the soldering iron, solder the wires to the new speaker.

    • Make sure to solder the wires to their original locations on the speaker.

    Chiedi a FixBot
Conclusione

To reassemble your device, follow these instructions in reverse order.

Un'altra persona ha completato questa guida.

Team

Baylor, Team S5-G1, Williams Spring 2017 Membro di Baylor, Team S5-G1, Williams Spring 2017

BU-WILLIAMS-S17S5G1

3 Membri

8 guide realizzate

0Commenti sulla guida

Aggiungi Commento

Visualizza Statistiche:

Ultime 24 Ore: 2

Ultimi 7 Giorni: 9

Ultimi 30 Giorni: 45

Tutti i Tempi: 3,591