Introduzione
This guide will show you how to replace the camera on your Toshiba Excite 7c. The camera itself plugs directly into the motherboard and can be slightly more difficult to replace than other componants.
Cosa ti serve
-
-
-
Place an iFixit opening tool in the seam between the screen and back casing.
-
Apply pressure down all four sides to separate the back casing from the screen.
-
Place the tablet face down and carefully remove the back panel.
 Chiedi a FixBot
-
-
-
Strumento utilizzato in questo passaggio:Tweezers$4.99
-
Use a Phillips screwdriver to remove the five 6 mm screws from the motherboard.
-
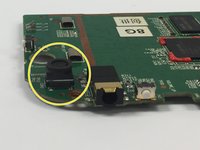
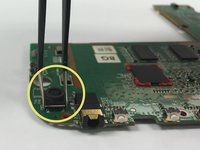
Use tweezers to gently disconnect the two ribbon cables.
-
Pull straight up to remove the board.
-
-
-
-
Strumento utilizzato in questo passaggio:Tweezers$4.99
-
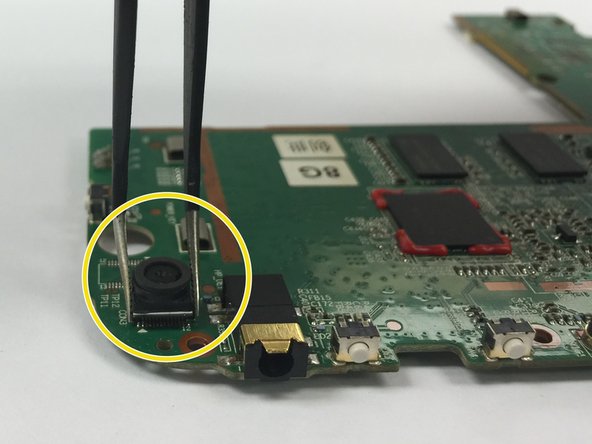
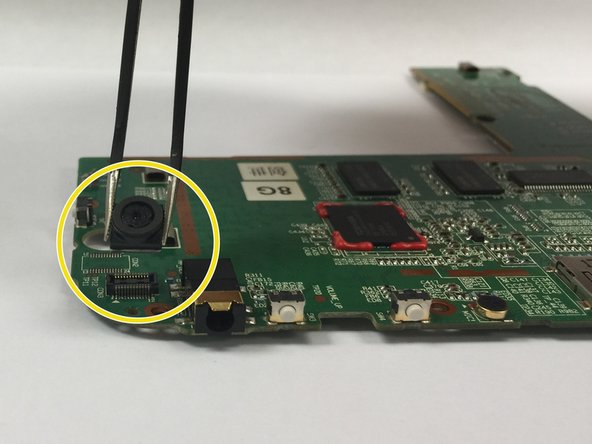
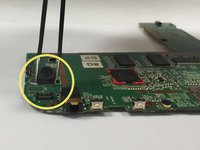
Locate the camera on the top portion of the motherboard as seen here.
-
Grip using the tweezers and pull directly up applying as much force as necessary to remove the camera.
-
-


To reassemble your device, follow these instructions in reverse order.
Annulla: non ho completato questa guida.
Un'altra persona ha completato questa guida.
Team

Gateway, Team 1-2, Johnson Fall 2014 Membro di Gateway, Team 1-2, Johnson Fall 2014
GCC-JOHNSON-F14S1G2
2 Membri
10 guide realizzate