Questa traduzione è stata generata automaticamente e non è stata ancora revisionata da una persona. Parli questa lingua? Dai un’occhiata.
Introduzione
Le membrane della tastiera sono occasionalmente soggette a usura. Anche sporco e detriti potrebbero accumularsi sulla membrana. Questa guida ti aiuterà ad accedere alla membrana della tastiera per pulirla o sostituirla.
Cosa ti serve
-
-
-
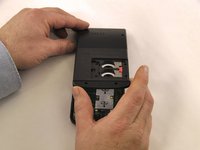
Individua il coperchio della batteria sul retro del case.
-
Far scorrere il coperchio della batteria verso destra per rivelare le batterie.
 Chiedi a FixBot
-
-
-
Rimuovere il coperchio della batteria.
-
Fai scorrere il lucchetto rosso verso il basso.
-
Fai scorrere la linguetta di metallo a destra della batteria superiore.
-
Rimuovere la batteria a bottone al litio da 3 volt.
-
Fai scorrere il lucchetto rosso verso l'alto.
-
Fai scorrere la linguetta di metallo a destra della batteria inferiore.
-
Rimuovere la batteria a bottone al litio da 3 volt.
-
-
-
-
-
-
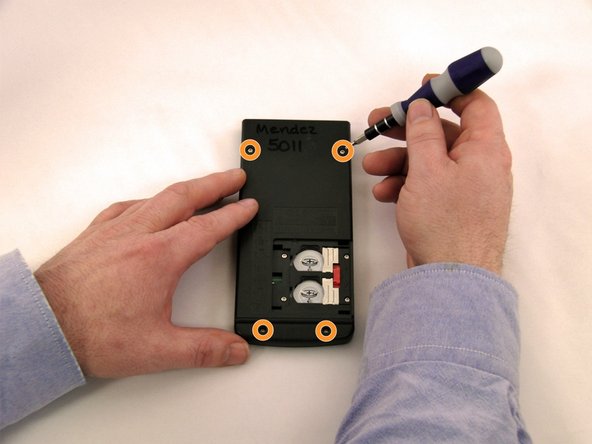
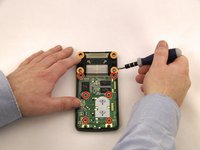
Utilizzando un cacciavite Torx con punta a stella T6, svita quattro viti da 7,38 mm dall'alloggiamento della batteria.
-
Svitare le quattro viti da 7,15 mm dal rivestimento posteriore.
-
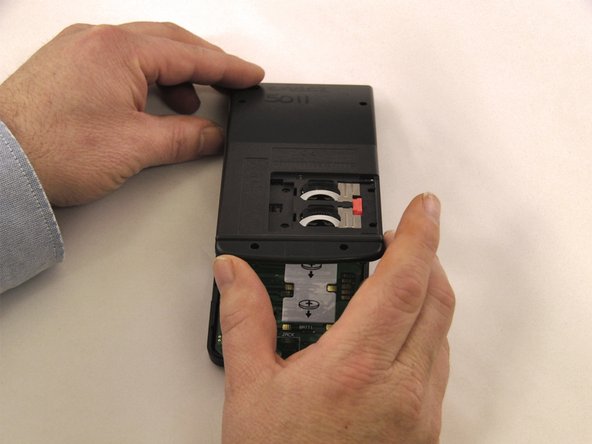
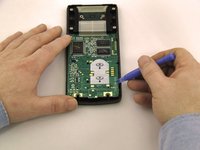
Usando lo strumento di apertura in plastica blu lungo la cucitura della custodia, fai leva sul rivestimento anteriore.
-
-
-
-
-
Utilizzando un cacciavite Philips #0, rimuovere le 6 viti. 2 dalla parte superiore della scheda madre, 2 dal centro e 2 dalla parte inferiore della scheda madre.
-
Utilizzando un cacciavite Phillips #0, rimuovere 4 viti dal supporto dello schermo.
-
Usando lo strumento di apertura in plastica blu, fai leva sulla scheda madre.
-
Usando lo strumento di apertura in plastica blu, solleva lo schermo dal supporto dello schermo.
-
-
-
-
-
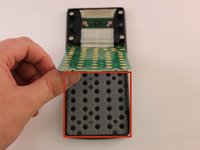
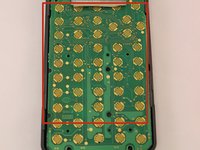
Controlla se il tappetino in gomma presenta danni o ostruzioni in corrispondenza dei tasti non funzionanti.
-
Capovolgi il tappetino per verificare la presenza di sporco e danni.
-
-






Per rimontare il dispositivo, segui queste istruzioni in ordine inverso.

Team

Eastern Washington University, Team 1-1, Carnegie Winter 2015 Membro di Eastern Washington University, Team 1-1, Carnegie Winter 2015
EWU-CARNEGIE-W15S1G1
4 Membri
60 guide realizzate
