Salta al contenuto principale
Unisciti alla Community delle riparazioni - Crea un account

Tagital T7X Camera Replacement

Cosa ti serve

  1. Tagital T7X Camera  Replacement, Case: passo 1, immagine 1 di 3 Tagital T7X Camera  Replacement, Case: passo 1, immagine 2 di 3 Tagital T7X Camera  Replacement, Case: passo 1, immagine 3 di 3
    • Place the Tagital T7X on a sturdy surface.

    • Insert the plastic opening tool into the crack and pry open the tablet. Move the tool along the edge, while continuing to pry up the casing.

    Chiedi a FixBot
  2. Tagital T7X Camera  Replacement, Camera: passo 2, immagine 1 di 3 Tagital T7X Camera  Replacement, Camera: passo 2, immagine 2 di 3 Tagital T7X Camera  Replacement, Camera: passo 2, immagine 3 di 3
    • Use a spudger to hold the cameras in place.

    • Gently pull the black tape away using your finger.

    Chiedi a FixBot
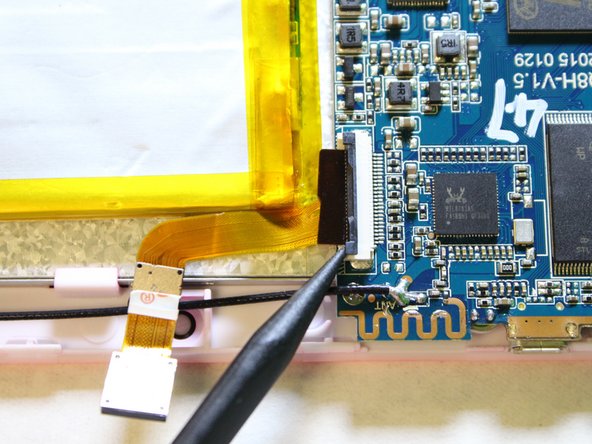
  3. Tagital T7X Camera  Replacement: passo 3, immagine 1 di 3 Tagital T7X Camera  Replacement: passo 3, immagine 2 di 3 Tagital T7X Camera  Replacement: passo 3, immagine 3 di 3
    • Remove the ribbon cable from the motherboard.

    • Use a spudger to lift the two tabs, freeing the ribbon cable from the socket.

    Chiedi a FixBot
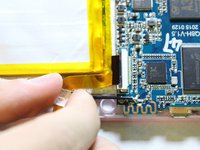
  4. Tagital T7X Camera  Replacement: passo 4, immagine 1 di 3 Tagital T7X Camera  Replacement: passo 4, immagine 2 di 3 Tagital T7X Camera  Replacement: passo 4, immagine 3 di 3
    • Gently pull the ribbon cable away from the motherboard.

    • Don't be afraid to use some force to pull the ribbon cable.

    Chiedi a FixBot
Conclusione

To reassemble your device, follow these instructions in reverse order.

Un'altra persona ha completato questa guida.

Team

USF Tampa, Team 2-1, Sullivan Spring 2016 Membro di USF Tampa, Team 2-1, Sullivan Spring 2016

USFT-SULLIVAN-S16S2G1

4 Membri

12 guide realizzate

0Commenti sulla guida

Aggiungi Commento

Visualizza statistiche:

Ultime 24 ore: 1

Ultimi 7 giorni: 4

Ultimi 30 giorni: 38

Tutti i Tempi: 358