Salta al contenuto principale
Unisciti alla Community delle riparazioni - Crea un account

TI-84 Plus Disassembly

Cosa ti serve

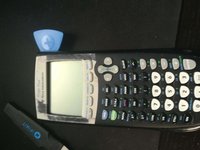
    1. TI-84 Plus Disassembly, flip: passo 1, immagine 1 di 2 TI-84 Plus Disassembly, flip: passo 1, immagine 2 di 2
      • Be sure the calculator is powered off before proceeding.

      • Take off the sliding cover, and flip your calculator to the back side.

      Chiedi a FixBot

      Aggiungi Commento

    2. TI-84 Plus Disassembly, battery plate.: passo 2, immagine 1 di 2 TI-84 Plus Disassembly, battery plate.: passo 2, immagine 2 di 2
      • Press down on the latch, then remove the battery cover.

      Chiedi a FixBot

      Aggiungi Commento

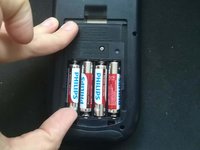
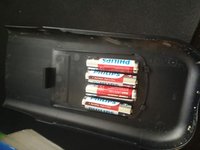
    3. TI-84 Plus Disassembly, take out the batteries: passo 3, immagine 1 di 2 TI-84 Plus Disassembly, take out the batteries: passo 3, immagine 2 di 2
      • Remove the batteries.

      • You can use the battery cover as a plate to keep the batteries.

      Chiedi a FixBot

      Aggiungi Commento

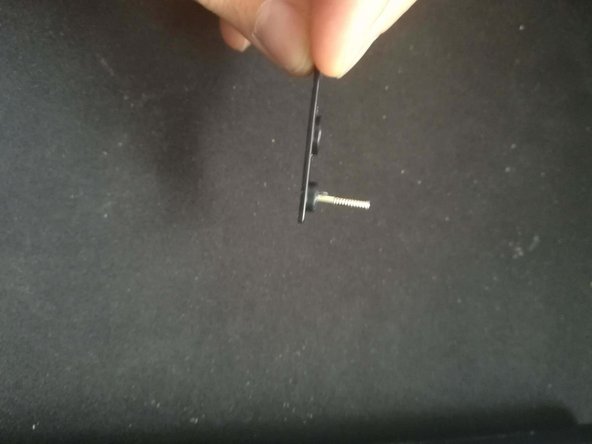
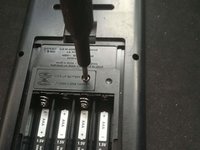
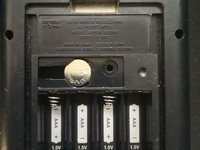
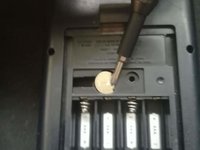
    4. TI-84 Plus Disassembly, back up battery: passo 4, immagine 1 di 3 TI-84 Plus Disassembly, back up battery: passo 4, immagine 2 di 3 TI-84 Plus Disassembly, back up battery: passo 4, immagine 3 di 3
      • Removing this battery will clear your RAM, so be sure that you have made any backups of important data.

      • Use a Phillips #0 to remove the plate from the back up battery.

      Chiedi a FixBot

      Aggiungi Commento

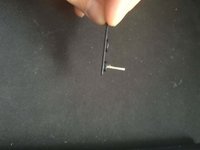
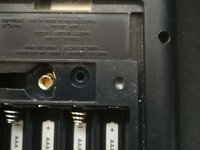
    5. TI-84 Plus Disassembly, backup battery: passo 5, immagine 1 di 2 TI-84 Plus Disassembly, backup battery: passo 5, immagine 2 di 2
      • Remove the backup battery with either a screwdriver or the spudger.

      Chiedi a FixBot

      Aggiungi Commento

    6. TI-84 Plus Disassembly, Remove the back cover: passo 6, immagine 1 di 1
      • Use a T6 Torx screwdriver to remove the six screws securing the back cover.

      Chiedi a FixBot

      Aggiungi Commento

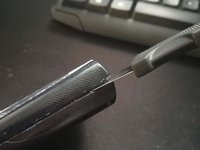
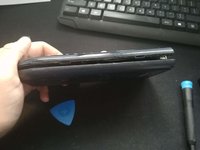
    7. TI-84 Plus Disassembly, cracking the case: passo 7, immagine 1 di 3 TI-84 Plus Disassembly, cracking the case: passo 7, immagine 2 di 3 TI-84 Plus Disassembly, cracking the case: passo 7, immagine 3 di 3
      • Use a prying tool to get a pick into the side and then move it down until it's open.

      Chiedi a FixBot

      Aggiungi Commento

Conclusione

To reassemble your device, follow these instructions in reverse order.

Annulla: non ho completato questa guida.

Altre 12 persone hanno completato questa guida.

1Commento della guida

Nice! My calculator wasn't turning on, took it apart and rebent the contacts for the batteries, works great now!

Noah Molla - Rispondi Condividi

Aggiungi Commento

Visualizza statistiche:

Ultime 24 ore: 8

Ultimi 7 giorni: 38

Ultimi 30 giorni: 126

Tutti i Tempi: 13,844