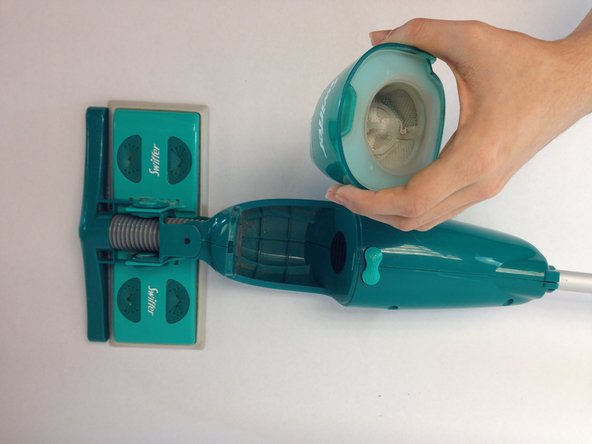
Salta al contenuto principale
Unisciti alla Community delle riparazioni - Crea un account

Swiffer SweeperVac Filter Replacement

  1. Swiffer SweeperVac Filter Replacement, Dirt Container: passo 1, immagine 1 di 1
    • Place Swiffer SweeperVac on a flat surface.

    Chiedi a FixBot

    Aggiungi Commento

  2. Swiffer SweeperVac Filter Replacement: passo 2, immagine 1 di 1
    • Press the release button.

    Chiedi a FixBot

    Aggiungi Commento

  3. Swiffer SweeperVac Filter Replacement: passo 3, immagine 1 di 2 Swiffer SweeperVac Filter Replacement: passo 3, immagine 2 di 2
    • Lift the dirt container out of the device housing.

    Chiedi a FixBot

    Aggiungi Commento

  4. Swiffer SweeperVac Filter Replacement, Filter: passo 4, immagine 1 di 2 Swiffer SweeperVac Filter Replacement, Filter: passo 4, immagine 2 di 2
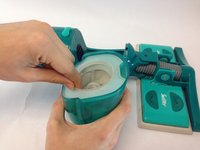
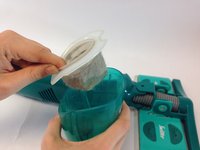
    • Once the dirt container is removed, hold the dirt container firmly with one hand and use your other hand to gently lift the filter out of the dirt container.

    Chiedi a FixBot

    Aggiungi Commento

Conclusione

To reassemble your device, follow these instructions in reverse order.

Annulla: non ho completato questa guida.

Un'altra persona ha completato questa guida.

Adeoluwa

Membro da: 09/22/14

236 Reputazione

Una guida realizzata

Team

USF Tampa, Team 10-3, Brown Fall 2014 Membro di USF Tampa, Team 10-3, Brown Fall 2014

USFT-BROWN-F14S10G3

3 Membri

10 guide realizzate

0Commenti sulla guida

Aggiungi Commento

Visualizza statistiche:

Ultime 24 ore: 1

Ultimi 7 giorni: 12

Ultimi 30 giorni: 39

Tutti i Tempi: 1,307