Salta al contenuto principale
Unisciti alla Community delle riparazioni - Crea un account

Swagtron T3 Gyroscope Replacement

Cosa ti serve

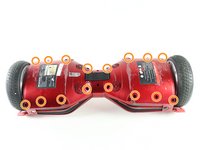
    1. Swagtron T3 Gyroscope Replacement, Cover: passo 1, immagine 1 di 2 Swagtron T3 Gyroscope Replacement, Cover: passo 1, immagine 2 di 2
      • Make sure the hoverboard is completely powered off and unplugged from any outlets.

      • Flip the Swagtron so that the footpads are facing the ground.

      • Unscrew the sixteen 9.4 mm Phillips #1 machine screws on the side of the Swagtron that is now facing upwards.

      Chiedi a FixBot

      Aggiungi Commento

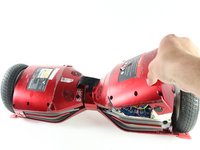
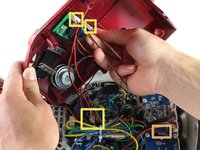
    2. Swagtron T3 Gyroscope Replacement: passo 2, immagine 1 di 3 Swagtron T3 Gyroscope Replacement: passo 2, immagine 2 di 3 Swagtron T3 Gyroscope Replacement: passo 2, immagine 3 di 3
      • Be careful with the small blue capacitors indicated by the orange box. There are many of these capacitors in the device.

      • Slowly lift the backside cover.

      • Both sides lift up the same way, but the motherboard is under one side and the battery is under the other.

      • Detach the four cables connected to the cover by pinching the connector clips and pulling the cables out:

      • Three cables on the motherboard side.

      • Two red cables with white connectors and one white cable with a white connector.

      • One yellow cable with a black connector on the battery side.

      • After detachment, you should be able to completely remove the backside cover.

      Chiedi a FixBot

      Aggiungi Commento

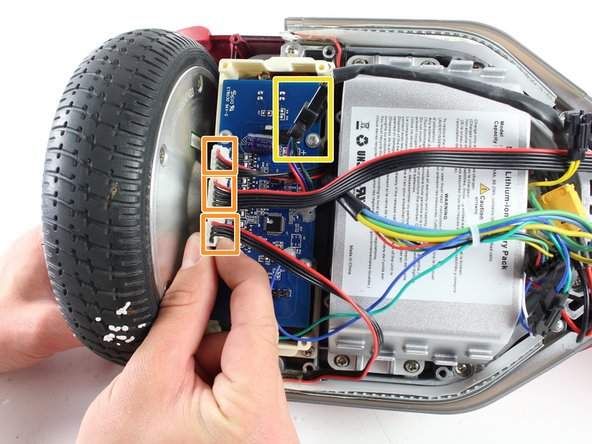
    1. Swagtron T3 Gyroscope Replacement, Gyroscope: passo 3, immagine 1 di 1
      • The gyroscope is a blue rectangular circuit board on top of a white base and is closest to the wheel.

      • Detach the four cables connecting the gyroscope to the hoverboard by pinching the connector clips and pulling the cables out:

      • Three red and black cables with white connectors.

      • One multicolored cable with a black connector.

      Chiedi a FixBot

      Aggiungi Commento

    2. Swagtron T3 Gyroscope Replacement: passo 4, immagine 1 di 1
      • Uncrew the four 7.2 mm Phillips #1 self-drilling screws connecting the blue gyroscope to the white plastic holding piece.

      Chiedi a FixBot

      Aggiungi Commento

    3. Swagtron T3 Gyroscope Replacement: passo 5, immagine 1 di 2 Swagtron T3 Gyroscope Replacement: passo 5, immagine 2 di 2
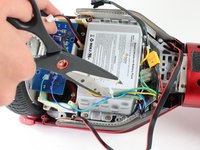
      • Cut the plastic cable tie holding the cables together with utility scissors.

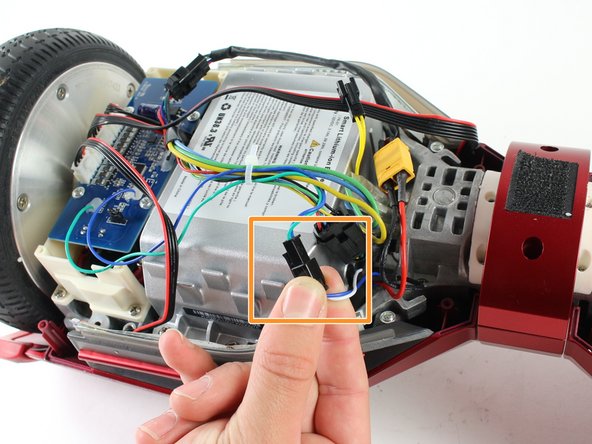
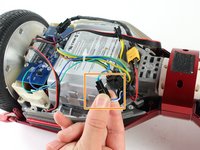
      • Disconnect the blue/green cable from the blue/white cable by pinching the connector clips and pulling the cables apart.

      Chiedi a FixBot

      Aggiungi Commento

    4. Swagtron T3 Gyroscope Replacement: passo 6, immagine 1 di 1
      • Gently lift the blue gyroscope off of the white plastic holder piece.

      • After reassembling the Swagtron with the new gyroscope, check to make sure your Swagtron is balancing properly.

      • If it is still unbalanced, repeat all steps in this guide with the gyroscope by the other wheel.

      Chiedi a FixBot

      Aggiungi Commento

Conclusione

To reassemble your device, follow these instructions in reverse order.

Annulla: non ho completato questa guida.

Altre 3 persone hanno completato questa guida.

Emily Richter

Membro da: 04/10/17

351 Reputazione

Una guida realizzata

Team

Cal Poly, Team S13-G3, Forte Spring 2017 Membro di Cal Poly, Team S13-G3, Forte Spring 2017

CPSU-FORTE-S17S13G3

4 Membri

4 guide realizzate

3Commenti sulla guida

Where can one buy the new gyroscope?

Mike - Rispondi Condividi

Where is the best place to buy the gyroscope for the T3?

I see Ebay sells complete kits with motherboards and all.

Are they compatible?

Mike - Rispondi Condividi

where can I buy new gyroscope

roccovalletta - Rispondi Condividi

Aggiungi Commento

Visualizza statistiche:

Ultime 24 ore: 0

Ultimi 7 giorni: 7

Ultimi 30 giorni: 46

Tutti i Tempi: 5,530