Questa traduzione è stata generata automaticamente e non è stata ancora revisionata da una persona. Parli questa lingua? Dai un’occhiata.
Introduzione
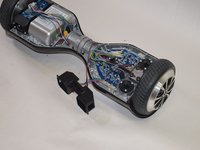
Questa guida illustrerà come sostituire la ruota dell'hoverboard SwagTron T1. Ciò potrebbe essere necessario in caso di danni gravi alla ruota dell'hoverboard.
Cosa ti serve
-
-
-
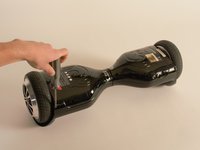
Capovolgi lo SwagTron per vedere il lato inferiore.
 Chiedi a FixBot
-
-
-
Svita le diciotto viti Phillips da 10 mm che fissano i pannelli posteriori utilizzando un cacciavite a croce Phillips #2.
-
Solleva con attenzione i pannelli
-
-
-
Segui i cavi dai pannelli alla scheda madre.
-
Potrebbe essere necessario tagliare le eventuali fascette che tengono insieme i cavi.
-
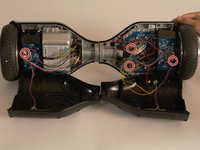
È presente un collegamento sul lato della batteria e tre sull'altro lato che devono essere rimossi.
-
I pannelli posteriori sono ora completamente rimossi.
-
-
-
-
-
-
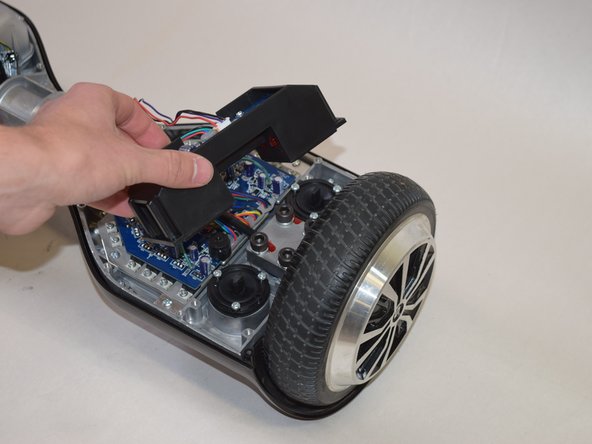
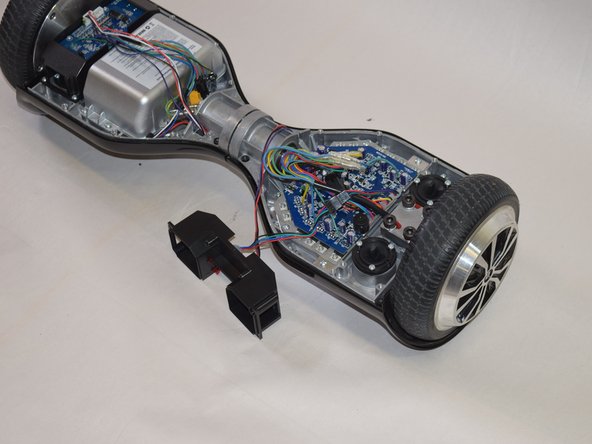
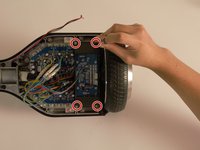
Utilizzando il tuo cacciavite a croce Phillips #2, rimuovi le quattro viti da 1 cm che fissano il giroscopio e la sua custodia nera all'hoverboard.
-
Rimuovi con attenzione questo componente e mettilo da parte.
-
-
-
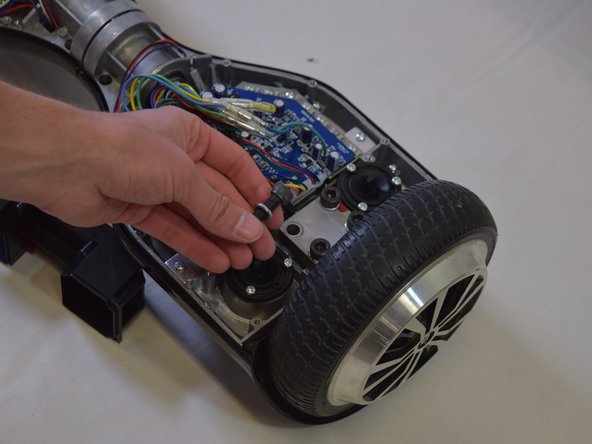
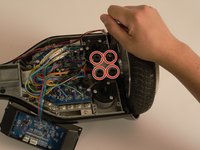
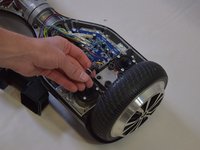
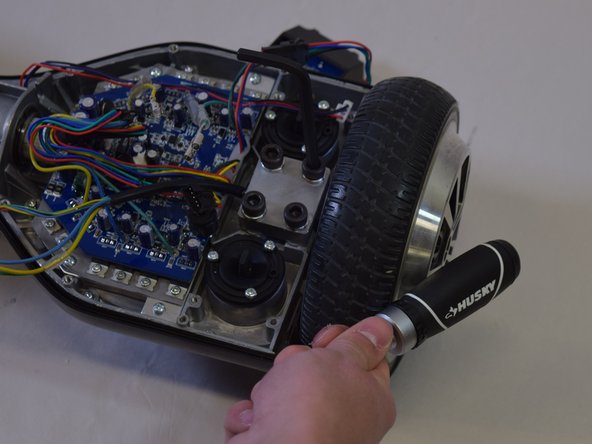
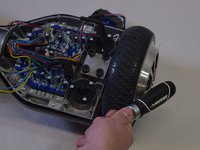
Usando la tua chiave inglese a brugola H 6.0, rimuovi i quattro bulloni neri da 20 mm mostrati nell'immagine.
-
Togli la piastra in ferro che tiene in posizione la ruota.
-
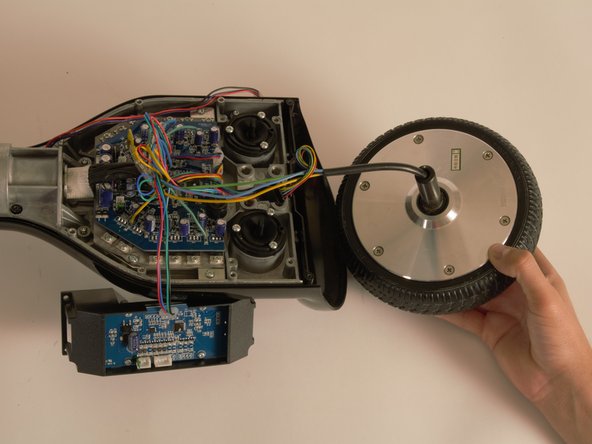
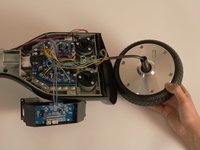
Rimuovi il gruppo motore/ruota e mettilo da parte vicino all'hoverboard.
-
-
Strumento utilizzato in questo passaggio:Tweezers$4.99
-
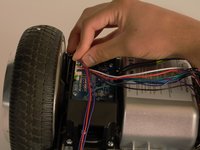
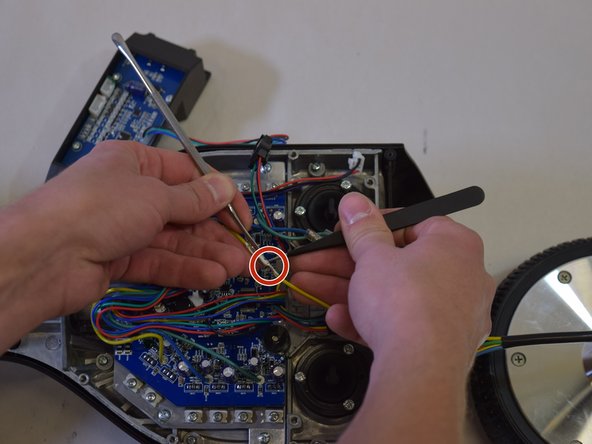
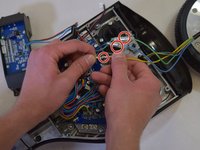
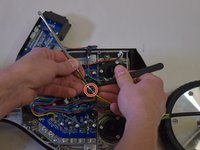
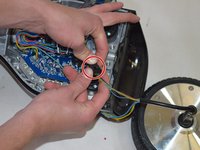
Fai scorrere via la plastica protettiva dai connettori sui cavi contrassegnati (verde, blu e giallo) usando le mani o un paio di pinzette.
-
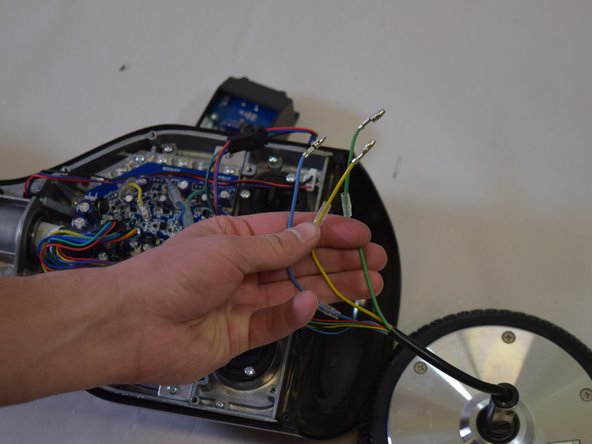
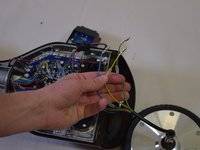
Separa la serie di cavi contrassegnati verde, blu e giallo dai relativi connettori.
-
-
-
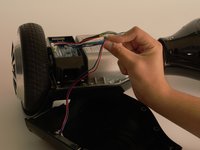
Infine, scollega l'ultimo connettore mostrato a sinistra.
-
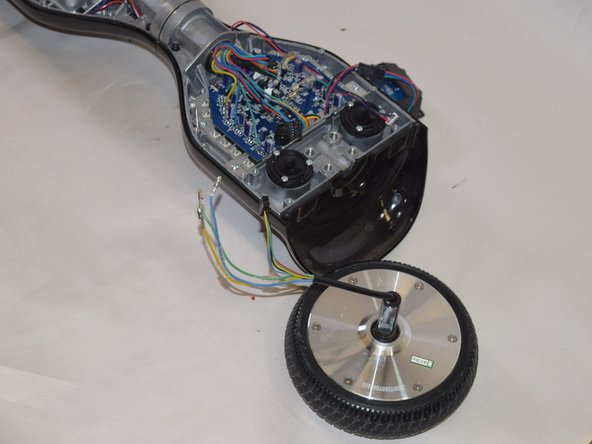
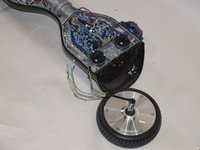
La ruota è completamente rimossa; inserisci un nuovo motore/ruota nell'alloggiamento e segui i passaggi precedenti nell'ordine inverso.
-
-









Per rimontare il dispositivo, segui queste istruzioni in ordine inverso.
Annulla: non ho completato questa guida.
Altre 5 persone hanno completato questa guida.

Team

Cal Poly, Team S17-G5, Banghart Spring 2017 Membro di Cal Poly, Team S17-G5, Banghart Spring 2017
CPSU-BANGHART-S17S17G5
4 Membri
35 guide realizzate
3Commenti sulla guida
Where do you get replacement wheels?
Mine won't stop beeping?? Fully charged.
