Introduzione
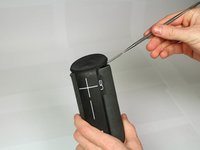
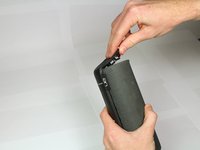
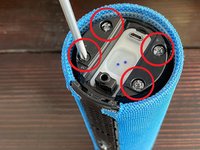
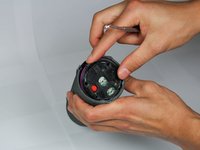
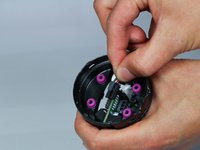
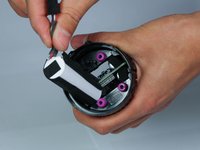
La batteria è posizionata sotto la copertura superiore della UE BOOM 2. è tenuta ferma da 4 viti e può essere sostituita usando solo un cacciavite ed uno spudger.
Cosa ti serve
-
-
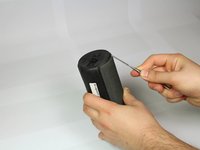
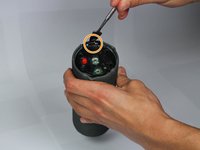
Per iniziare, rimuovi l'anello a D sul fondo della UE Boom 2, dalla parte opposta del tasto di accensione.
-
Rimuovilo ruotandolo in senso antiorario.
-
-


Per prestazioni ottimali, calibra la tua nuova batteria installata dopo aver completato questa guida.
Confronta il nuovo pezzo di ricambio con il pezzo originale—potrebbe essere necessario trasferire i componenti rimanenti o rimuovere i supporti adesivi dal nuovo pezzo prima dell'installazione.
Per rimontare il dispositivo, segui queste istruzioni in ordine inverso.
Porta i tuoi rifiuti elettronici presso un riciclatore certificato R2 o e-Stewards.
Annulla: non ho completato questa guida.
Altre 50 persone hanno completato questa guida.
Un ringraziamento speciale a questi traduttori:
100%

Questi traduttori ci stanno aiutando ad aggiustare il mondo! Vuoi partecipare?
Inizia a tradurre ›
Team

Cal Poly, Team S1-G3, Zimmerman Spring 2020 Membro di Cal Poly, Team S1-G3, Zimmerman Spring 2020
CPSU-ZIMMERMAN-S20S1G3
5 Membri
11 Guide realizzate
27 Commenti
I was looking for a battery replacement all over the place. Came up with this site that carries parts for the Boom 2:
Why is this set to difficult though? It doesn’t look THAT hard… And will this affect waterproofing of the feature?
Because you do not simply stick the plunger in and pop those tabs. They are a force of evil and I even bent my metal tools to open mine.
It isn't that hard if you've done a couple of repairs, although you gotta work slow and really make sure you got yourself like 3-4 spudger like items (butter knife) and look at reference images where the tabs are. Btw. You don't need to remove more than the bottom plastics and the plate with 4 screws to change the battery. Managed to change my battery while not damaging a single plastic tab