Introduzione
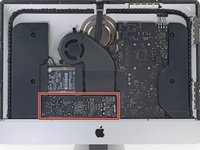
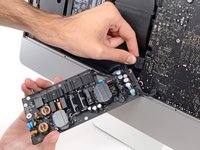
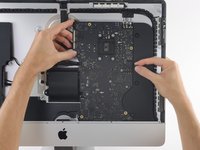
Questa guida mostra come rimuovere la scheda madre dell'iMac Retina 4K 2017.
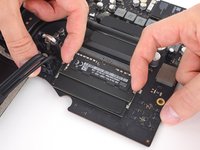
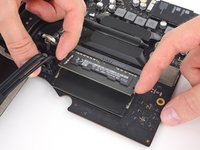
Alcune immagini in questa guida usano un iMac 2015, che ha alcune differenze visive minori. Queste differenze non influiscono su questa procedura.
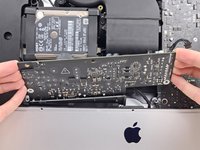
Questa guida è valutata come "potenzialmente pericolosa" poiché richiede di maneggiare un alimentatore che contiene condensatori ad alta carica. Scollega l'iMac dalla corrente e tieni premuto il tasto di accensione per almeno 10 secondi per lasciar scaricare i condensatori. Tocca la scheda solo sui bordi e non toccare le componenti saldate.
Cosa ti serve
-
Attrezzo utilizzato in questo passaggio:iMac Intel 21.5" Cardboard Service Wedge$4.99
-
Attrezzo utilizzato in questo passaggio:Plastic Cards$2.99
-
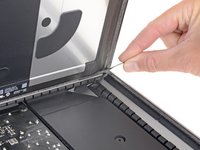
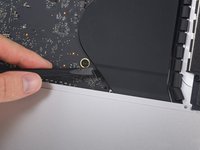
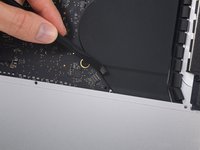
A partire dall'angolo superiore destro dell'iMac, inserire una scheda di plastica fra il display e il telaio.
-
-
-
-
Svita le seguenti viti a croce Phillips che tengono ferma la staffa di supporto inferiore:
-
Quattro viti da 3,2 mm
-
Una vite da 1,7 mm
-
-
-
Rimuovi le seguenti viti Torx T10 che tengono ancorato il supporto del'hard drive sull'iMac:
-
Due viti da 21 mm
-
Una vite da 9 mm
-
Una vite da 27 mm
-
-
-
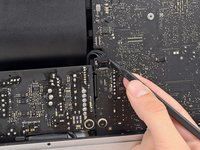
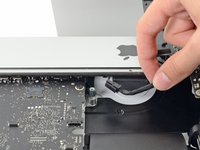
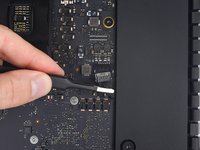
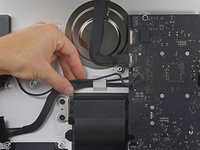
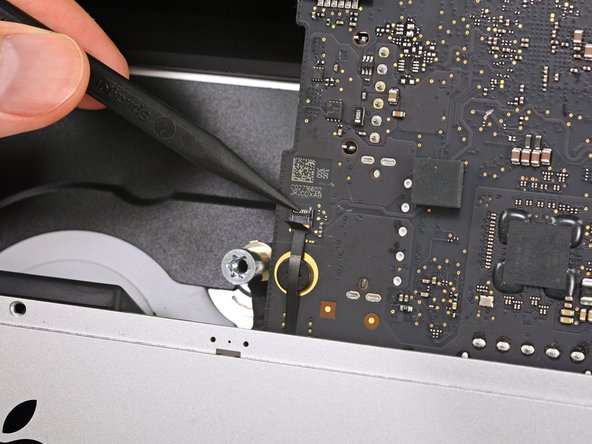
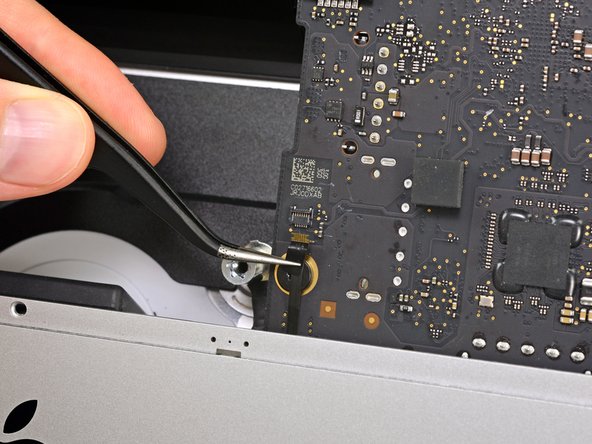
Usa la punta di uno spudger per spingere su un lato alla volta del connettore del cavo del tasto di accensione e scollegalo lentamente dalla sua presa.
-
-
-
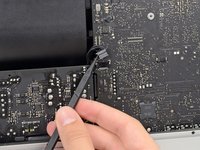
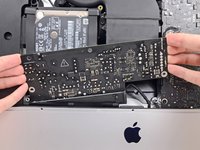
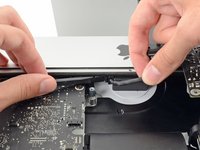
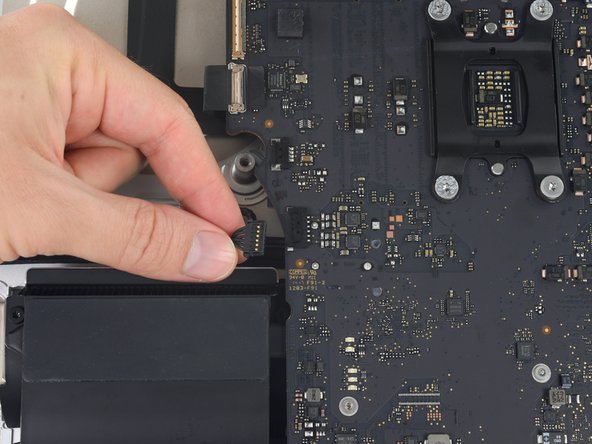
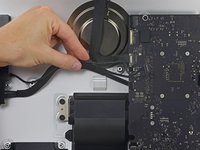
Delicatamente scollega il connettore del cavo della ventola dal suo alloggiamento sulla scheda logica.
-
-
-
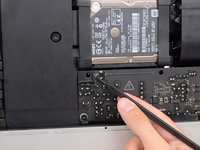
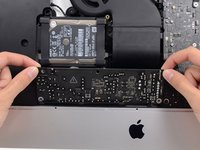
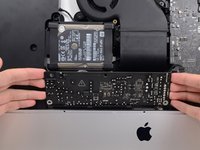
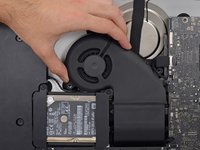
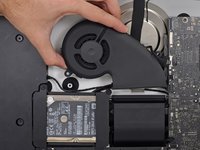
Solleva l'hard drive dal lato più vicino alla scheda madre e tiralo leggermente fuori dal suo alloggio.
-
-
-
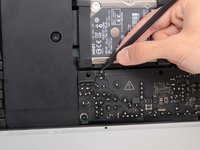
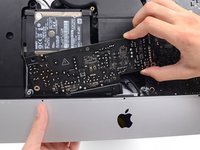
Svita la vite Torx T8 da 7,3 mm che fissa il supporto dell'unità alla scocca posteriore.
-
-
-
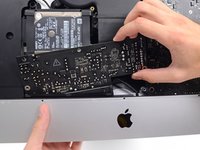
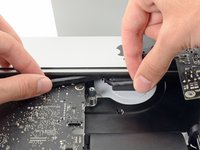
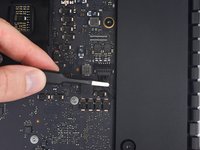
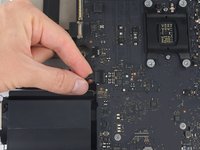
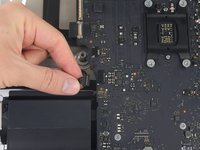
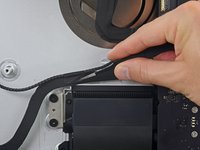
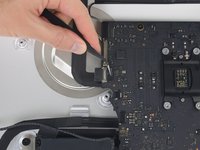
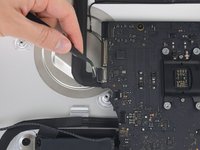
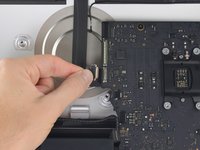
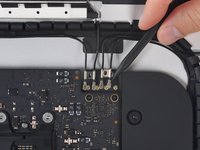
Tira delicatamente verso il basso il cavo di connessione dello speaker di destra finché non viene scollegato dalla sua presa sulla scheda.
-
-
-
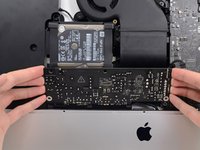
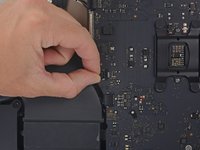
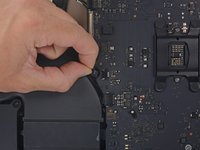
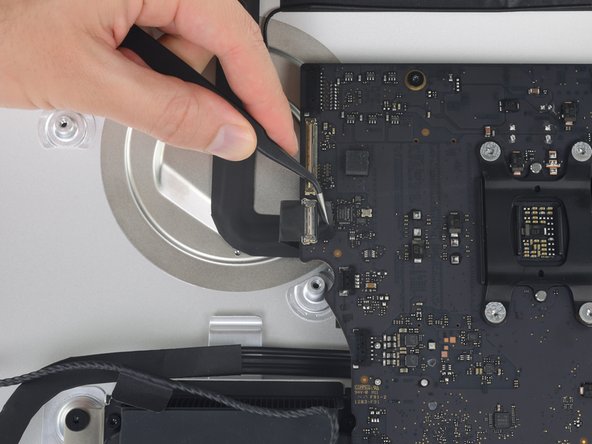
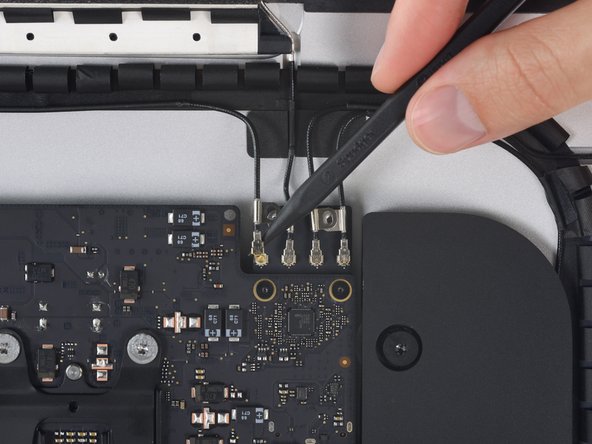
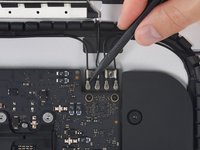
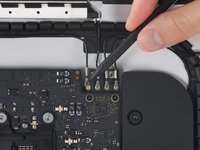
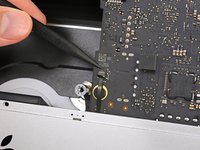
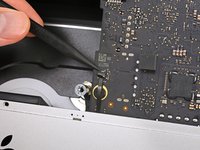
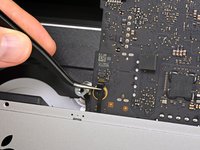
Solleva e scollega l'aletta di bloccaggio del connettore ZIF del microfono dalla presa sulla scheda e sfila il cavo dal suo zoccolo sulla scheda logica.
-


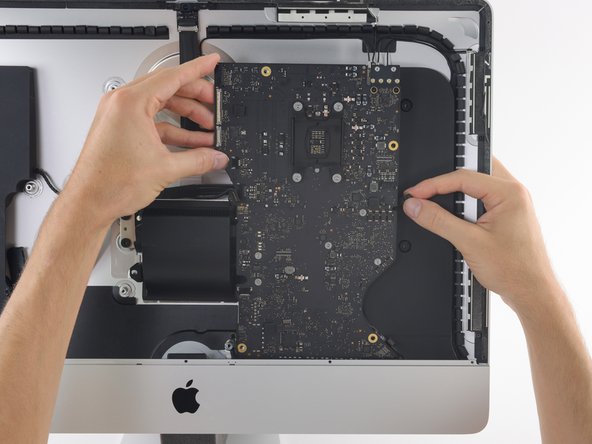


Per riassemblare il tuo iMac, segui le istruzioni di questa guida al contrario.
Annulla: non ho completato questa guida.
Altre 158 persone hanno completato questa guida.
Un ringraziamento speciale a questi traduttori:
100%

Questi traduttori ci stanno aiutando ad aggiustare il mondo! Vuoi partecipare?
Inizia a tradurre ›

80Commenti sulla guida
An excellent guide - many thanks. The logic board was tricksy to get out - the card reader was jamming on the casing, but it came out with care. It's easy to trap the microphone cable and the power button cables when re-assembling, so they're worth looking out for. Successfully replaced the RAM and installed an SSD at the same time - many thanks.
Can a SSD or fusion drive be put in the place where the normal hard drive was?
An ssd can yes - that's what I did at the same time as upgrading the ram. As long as it's a 2.5" ssd it should be fine. The Samsung ssd I used was a but thinner than the hard drive that came out but that doesn't affect anything really. You'll need to either have a bootable clone of your drive, or install Sierra from a USB stick you've already prepared (which is what I did).
A Fusion drive is the terminology used by Apple when the use a board soldered 120ish Gb storage and a standard 1Tb 2.5 inch drive, and bind them together, if you throw in a 1Tb SSD in place of the existing standard hard drive you end up with 2 drives when you begin installation, you can find the instructions to merge the onboard and the new SSD back together again, and boy does it transform these machines, absolute pig with a factory fusion setup.
I also upgraded my hard-drive to a 512 GB Samsung SSD successfully along with installing the 32 GB of RAM. The guide was great, but I have a two comments.
1) The screws that hold the antenna connectors (Step 52) are were very tightly screwed into the board, and it is easy to strip the head of the screw. I stripped one of the screws… Luckily, it was easy to just pull up on the bluetooth/AirPort card and slide it out from its slot on the main board. Thus, an option to removing all the antenna wires, is to just pull the bluetooth/Airport card out. It was quite easy to slip back into the correct spot when reassembling as well.
2) It was only after I completed the repair that I realized that the top of the nice screwdriver provided in the repair kit contained more hidden bits!