Salta al contenuto principale
Unisciti alla Community delle riparazioni - Crea un account

Sony Vaio VPCCW17FX RAM Replacement

Cosa ti serve

    1. Sony Vaio VPCCW17FX RAM Replacement, RAM: passo 1, immagine 1 di 1
      • Turn the laptop over and orient it as shown.

      Chiedi a FixBot

      Aggiungi Commento

    2. Sony Vaio VPCCW17FX RAM Replacement: passo 2, immagine 1 di 1
      • Slide both latches to the center of the laptop in order to release the battery.

      Chiedi a FixBot

      Aggiungi Commento

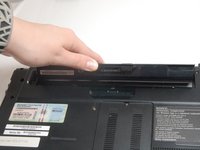
    3. Sony Vaio VPCCW17FX RAM Replacement: passo 3, immagine 1 di 2 Sony Vaio VPCCW17FX RAM Replacement: passo 3, immagine 2 di 2
      • Use your fingernail or a plastic tool to lift the battery. Rotate the battery up and away to remove from the laptop.

      Chiedi a FixBot

      Aggiungi Commento

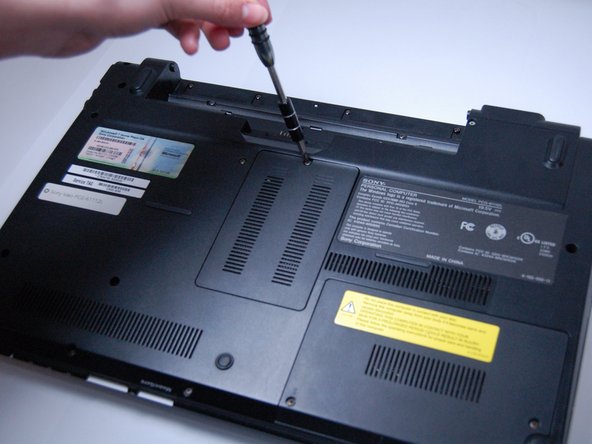
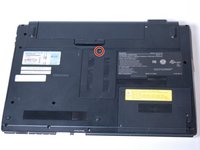
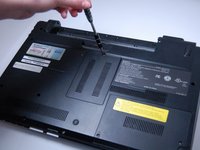
    4. Sony Vaio VPCCW17FX RAM Replacement: passo 4, immagine 1 di 2 Sony Vaio VPCCW17FX RAM Replacement: passo 4, immagine 2 di 2
      • Using a Phillips #0 screwdriver, remove the one screw (Length: 7.7 mm) that is covering the RAM.

      Chiedi a FixBot

      Aggiungi Commento

    5. Sony Vaio VPCCW17FX RAM Replacement: passo 5, immagine 1 di 1
      • Lift the black plastic cover to assess the RAM.

      Chiedi a FixBot

      Aggiungi Commento

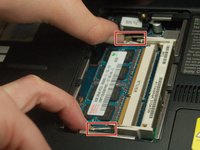
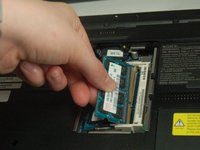
    6. Sony Vaio VPCCW17FX RAM Replacement: passo 6, immagine 1 di 3 Sony Vaio VPCCW17FX RAM Replacement: passo 6, immagine 2 di 3 Sony Vaio VPCCW17FX RAM Replacement: passo 6, immagine 3 di 3
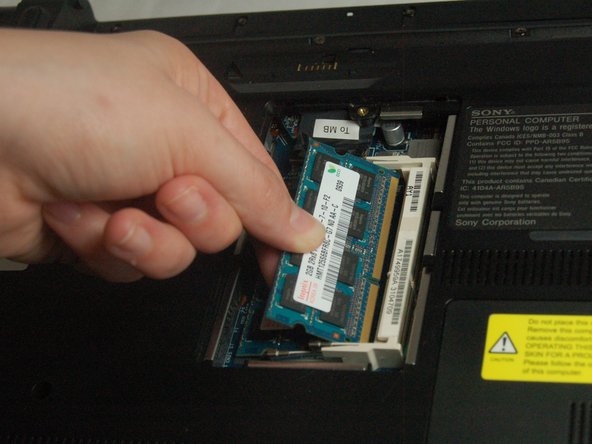
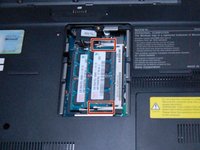
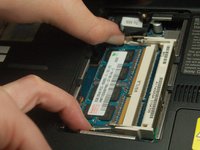
      • Apply light, outward pressure to the locks on both sides of the RAM.

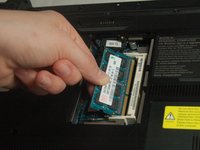
      • Rotate the RAM up and slowly pull towards you to remove it.

      Chiedi a FixBot

      Aggiungi Commento

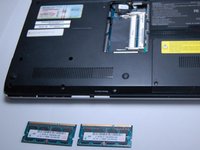
    7. Sony Vaio VPCCW17FX RAM Replacement: passo 7, immagine 1 di 3 Sony Vaio VPCCW17FX RAM Replacement: passo 7, immagine 2 di 3 Sony Vaio VPCCW17FX RAM Replacement: passo 7, immagine 3 di 3
      • In order to remove the secondary RAM, use the same outward pressure on the locks.

      • Lift and slide out the RAM to remove it from the slot.

      Chiedi a FixBot

      Aggiungi Commento

Conclusione

To reassemble your device, follow these instructions in reverse order.

Annulla: non ho completato questa guida.

Mia Martinez

Membro da: 03/30/17

101 Reputazione

Una guida realizzata

Team

0Commenti sulla guida

Aggiungi Commento

Visualizza statistiche:

Ultime 24 ore: 3

Ultimi 7 giorni: 10

Ultimi 30 giorni: 35

Tutti i Tempi: 1,570