Salta al contenuto principale
Unisciti alla Community delle riparazioni - Crea un account

Sony FDL-220R Watchman Button Replacement

Cosa ti serve

    1. Sony FDL-220R Watchman Button Replacement, Remove battery cover and batteries: passo 1, immagine 1 di 2 Sony FDL-220R Watchman Button Replacement, Remove battery cover and batteries: passo 1, immagine 2 di 2
      • Press down on the textured area and push towards the bottom of the device.

      • Gently remove the battery cover.

      • Remove the three AA batteries.

      Chiedi a FixBot

      Aggiungi Commento

    2. Sony FDL-220R Watchman Button Replacement, Remove screws: passo 2, immagine 1 di 2 Sony FDL-220R Watchman Button Replacement, Remove screws: passo 2, immagine 2 di 2
      • Locate the five 5x11mm screws surrounding the battery compartment.

      • Remove screws with a Philips #00 screwdriver.

      Chiedi a FixBot

      Aggiungi Commento

    3. Sony FDL-220R Watchman Button Replacement, Remove back casing: passo 3, immagine 1 di 2 Sony FDL-220R Watchman Button Replacement, Remove back casing: passo 3, immagine 2 di 2
      • Grasp the entire back half of the Watchman's casing.

      • Snap off the casing from the bottom of the device.

      • Gently pull off entire back casing.

      Chiedi a FixBot

      Aggiungi Commento

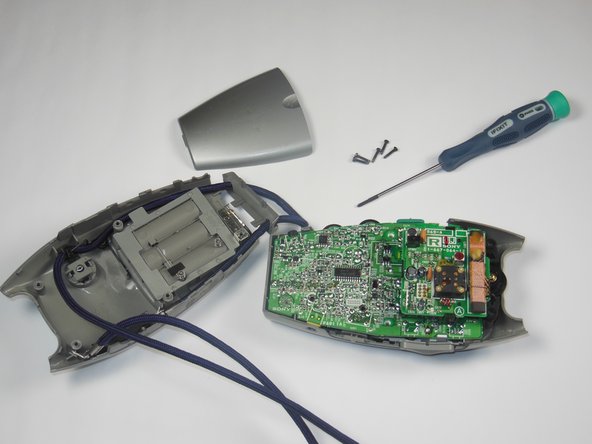
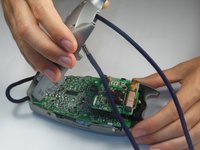
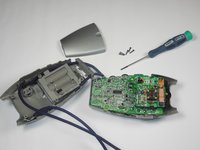
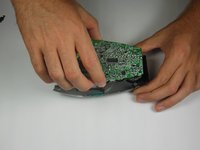
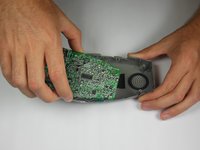
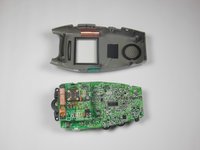
    4. Sony FDL-220R Watchman Button Replacement, Remove circuit board: passo 4, immagine 1 di 3 Sony FDL-220R Watchman Button Replacement, Remove circuit board: passo 4, immagine 2 di 3 Sony FDL-220R Watchman Button Replacement, Remove circuit board: passo 4, immagine 3 di 3
      • Carefully grasp the entire circuit board.

      • Pull the circuit board off of the device's plastic casing.

      Chiedi a FixBot

      Aggiungi Commento

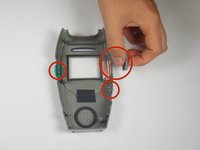
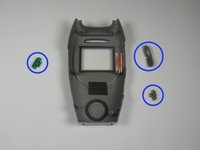
    5. Sony FDL-220R Watchman Button Replacement, Remove/Replace Buttons: passo 5, immagine 1 di 2 Sony FDL-220R Watchman Button Replacement, Remove/Replace Buttons: passo 5, immagine 2 di 2
      • Locate the thee plastic buttons/switches on the sides of the plastic grey casing.

      • Buttons/switches should be simply resting in their slots on the device.

      • Remove all three buttons/switches.

      • If the buttons/switches are dirty, clean them in warm water and dry thoroughly.

      • If one of the buttons/switches is broken, simply replace it with a new one.

      • When replacing, make sure that the slot on the switches faces up.

      Chiedi a FixBot

      Aggiungi Commento

Conclusione

To reassemble your device, follow these instructions in reverse order.

Annulla: non ho completato questa guida.

Sam Putnam

Membro da: 10/22/14

484 Reputazione

4 guide realizzate

Team

Baylor, Team 4-5, Williams Fall 2014 Membro di Baylor, Team 4-5, Williams Fall 2014

BU-WILLIAMS-F14S4G5

4 Membri

12 guide realizzate

0Commenti sulla guida

Aggiungi Commento

Visualizza statistiche:

Ultime 24 ore: 3

Ultimi 7 giorni: 6

Ultimi 30 giorni: 27

Tutti i Tempi: 568