Salta al contenuto principale
Unisciti alla Community delle riparazioni - Crea un account

Sony Ericsson TM506 Sound Box Replacement

Cosa ti serve

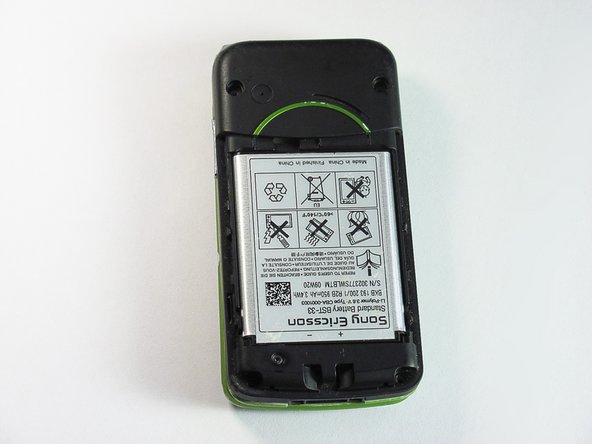
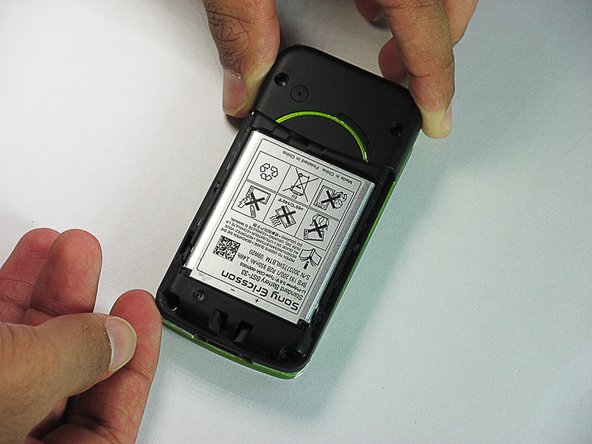
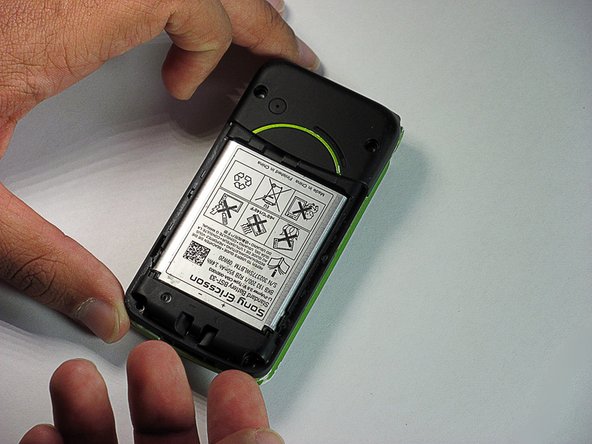
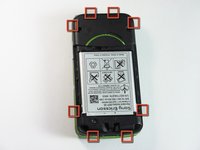
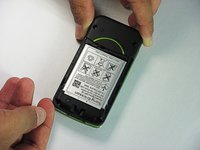
    1. Sony Ericsson TM506 Sound Box Replacement, Battery Cover: passo 1, immagine 1 di 3 Sony Ericsson TM506 Sound Box Replacement, Battery Cover: passo 1, immagine 2 di 3 Sony Ericsson TM506 Sound Box Replacement, Battery Cover: passo 1, immagine 3 di 3
      • Firmly hold the phone between your fingers with your thumb on the battery cover.

      • Push down with your thumb until the battery cover comes off.

      Chiedi a FixBot

      Aggiungi Commento

    1. Sony Ericsson TM506 Sound Box Replacement, Back Case: passo 2, immagine 1 di 3 Sony Ericsson TM506 Sound Box Replacement, Back Case: passo 2, immagine 2 di 3 Sony Ericsson TM506 Sound Box Replacement, Back Case: passo 2, immagine 3 di 3
      • Unscrew the bottom two 5.4mm screws with a Torx T6 screwdriver.

      Chiedi a FixBot

      Aggiungi Commento

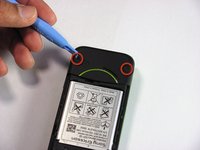
    2. Sony Ericsson TM506 Sound Box Replacement: passo 3, immagine 1 di 2 Sony Ericsson TM506 Sound Box Replacement: passo 3, immagine 2 di 2
      • Remove the two rubber casings for the top two screws with a plastic opening tool.

      Chiedi a FixBot

      Aggiungi Commento

    3. Sony Ericsson TM506 Sound Box Replacement: passo 4, immagine 1 di 1
      • Unscrew these two 5.4mm screws with a Torx T6 screwdriver.

      Chiedi a FixBot

      Aggiungi Commento

    4. Sony Ericsson TM506 Sound Box Replacement: passo 5, immagine 1 di 3 Sony Ericsson TM506 Sound Box Replacement: passo 5, immagine 2 di 3 Sony Ericsson TM506 Sound Box Replacement: passo 5, immagine 3 di 3
      • There are eight snap hooks located around the outer case. Carefully snap these to remove the outer case.

      Chiedi a FixBot

      Aggiungi Commento

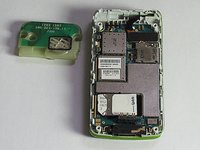
    1. Sony Ericsson TM506 Sound Box Replacement, Sound Box: passo 6, immagine 1 di 3 Sony Ericsson TM506 Sound Box Replacement, Sound Box: passo 6, immagine 2 di 3 Sony Ericsson TM506 Sound Box Replacement, Sound Box: passo 6, immagine 3 di 3
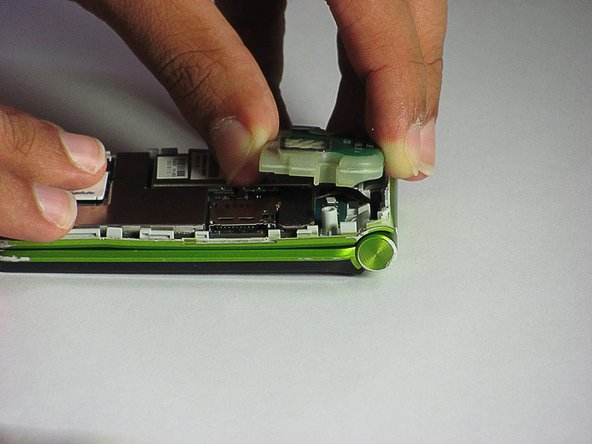
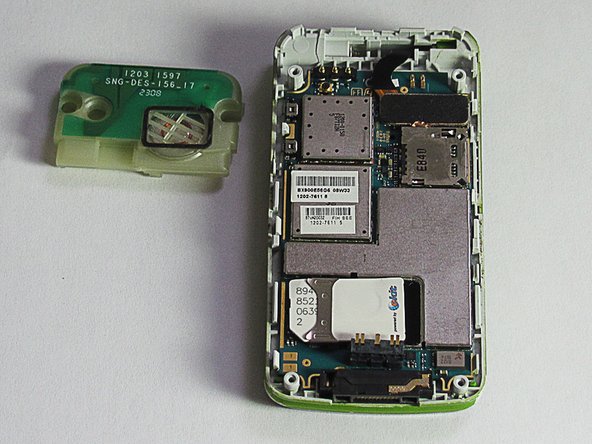
      • The sound box is attached to the case by two snap hooks.

      • Lift the sound box up to remove it from the case.

      Chiedi a FixBot

      Aggiungi Commento

Conclusione

To reassemble your device, follow these instructions in reverse order.

Annulla: non ho completato questa guida.

Daniel

Membro da: 06/20/12

98 Reputazione

7 guide realizzate

Team

Cal Poly, Team 1-1, Regan SU 2012 Membro di Cal Poly, Team 1-1, Regan SU 2012

CPSU-REGAN-SU12S1G1

2 Membri

32 guide realizzate

0Commenti sulla guida

Aggiungi Commento

Visualizza statistiche:

Ultime 24 ore: 1

Ultimi 7 giorni: 8

Ultimi 30 giorni: 24

Tutti i Tempi: 1,109