Introduzione
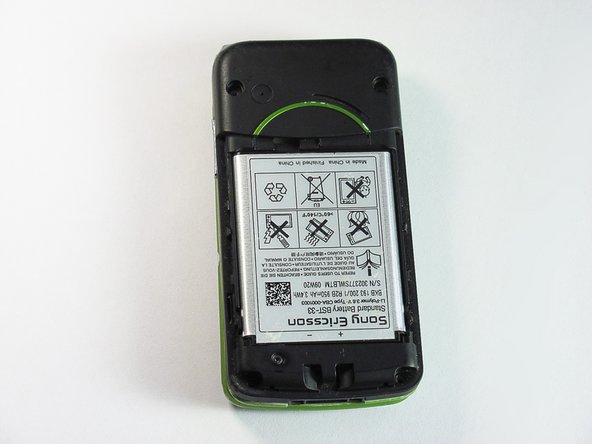
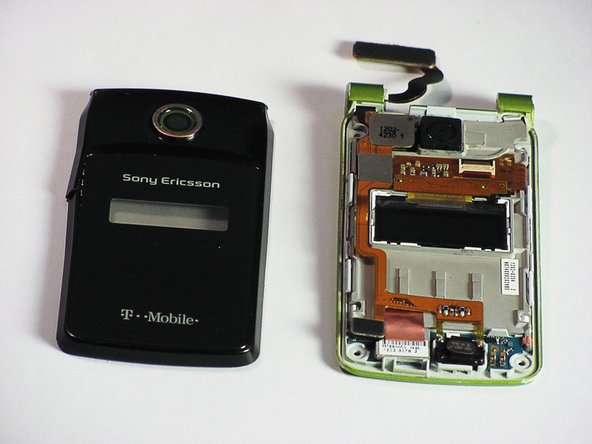
Questa guida fornisce le istruzioni per l'installazione di uno schermo sostitutivo per il telefono cellulare Sony Ericsson TM506.
Cosa ti serve
-
-
-
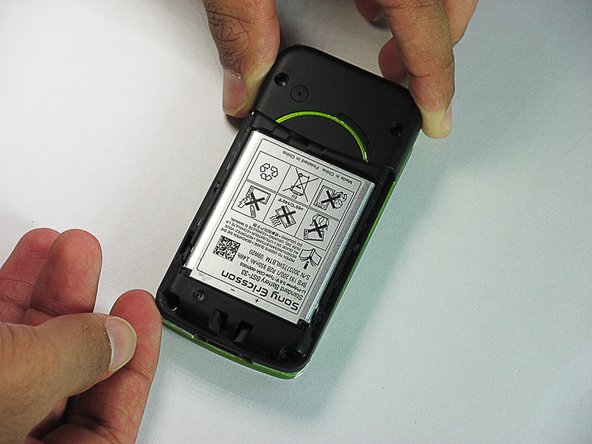
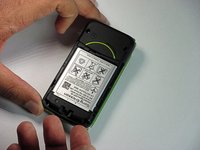
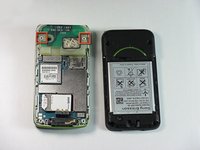
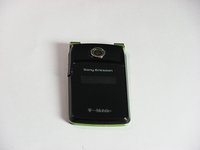
Tieni fermamente il telefono tra le dita con il pollice sulla copertura della batteria.
-
Spingi verso il basso con il pollice finché la copertura della batteria non si stacca.
 Chiedi a FixBot
-
-
-
-
-
Svita le due viti Torx da 5,4 mm inferiori con un cacciavite Torx T6.
-
-
-
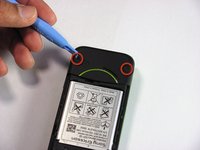
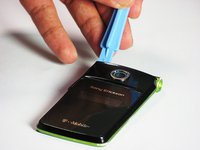
Rimuovi le due guaine in gomma delle due viti superiori con uno strumento di apertura in plastica.
-
-
-
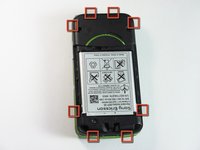
Ci sono otto ganci a scatto posizionati attorno al rivestimento esterno. Sganciali con cura per rimuovere il rivestimento esterno.
-
-
-
-
-
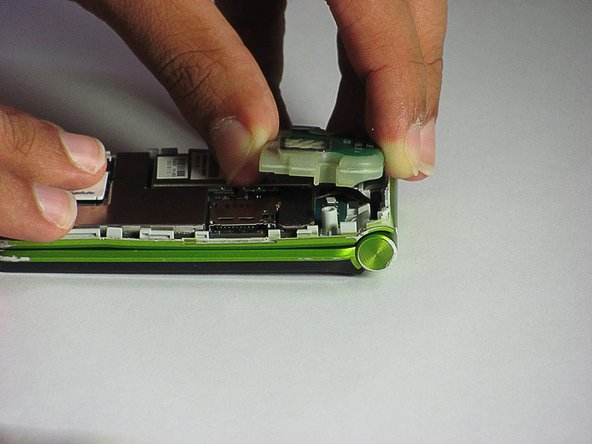
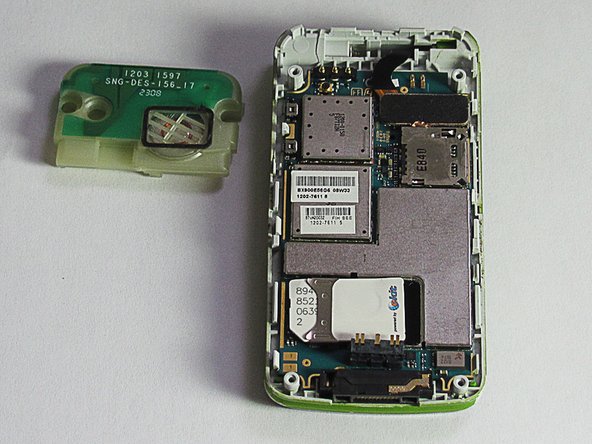
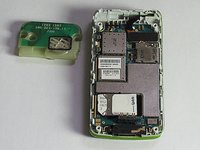
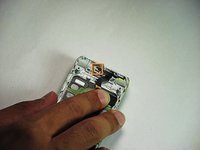
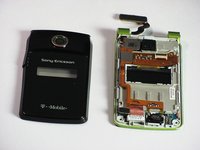
La cassa acustica è fissata al case da due ganci a scatto.
-
Solleva la cassa acustica per rimuoverla dal case.
-
-
-
-
-
-
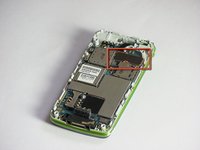
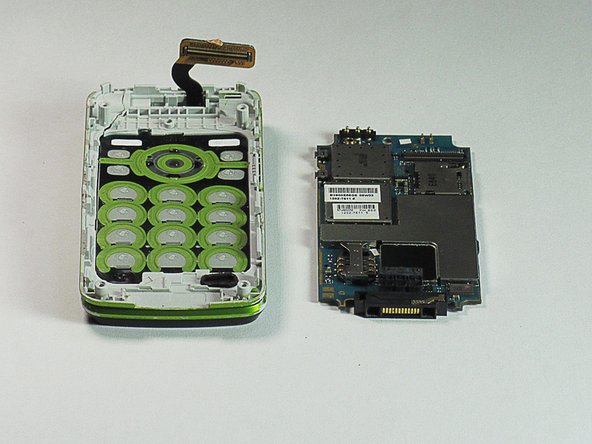
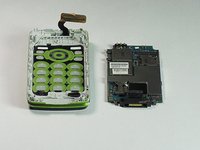
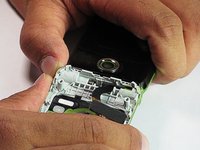
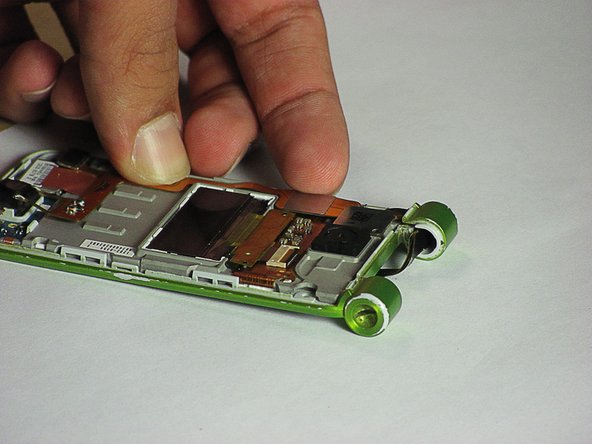
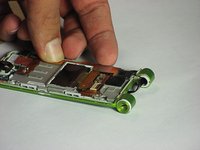
Individua il connettore a 80 pin.
-
Solleva con cura il connettore per separarlo dalla scheda.
-
-
-
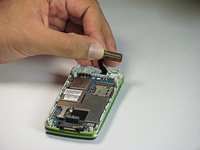
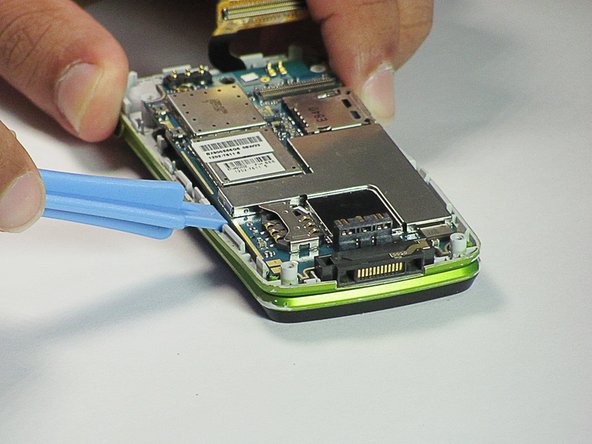
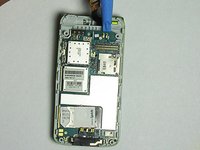
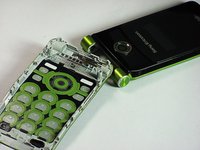
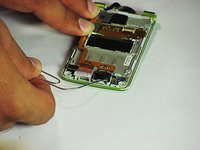
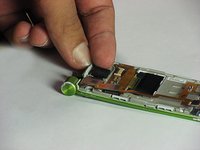
Ci sono due ganci a scatto che fissano la scheda madre al case.
-
Usando uno strumento di apertura in plastica, solleva con attenzione la scheda madre per staccarla.
-
-
-
-
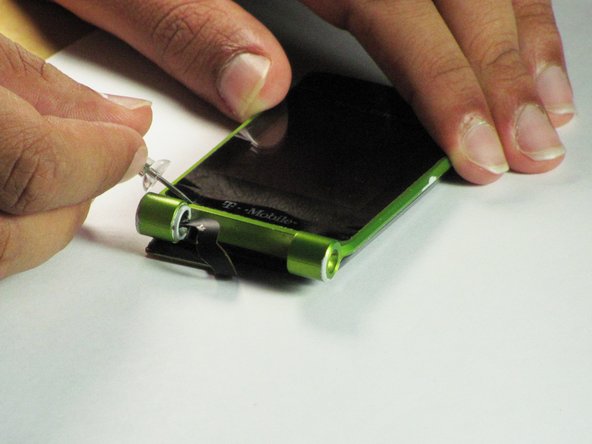
Strumento utilizzato in questo passaggio:Tweezers$4.99
-
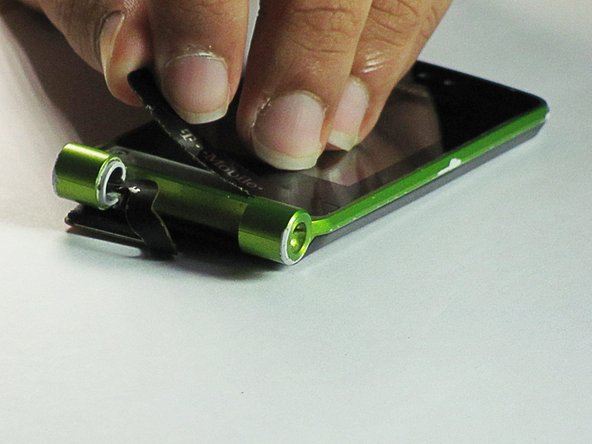
Usa le pinzette per spingere il fermo della cerniera finché non può più essere mosso.
-
Il fermo della cerniera dovrebbe rientrare di circa 5,5 mm.
-
-
-
Separa la metà inferiore e quella superiore del telefono dalla cerniera che le collega.
-
-
-
Fai passare il cavo a nastro attraverso l'apertura nella cerniera per separare completamente la metà superiore e quella inferiore del telefono.
-
-
-
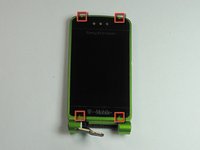
Le coperture superiore e inferiore sono fissate da adesivo. Per rimuoverle, usa una puntina nelle quattro rientranze indicate per la rimozione.
-
-
-
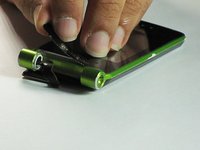
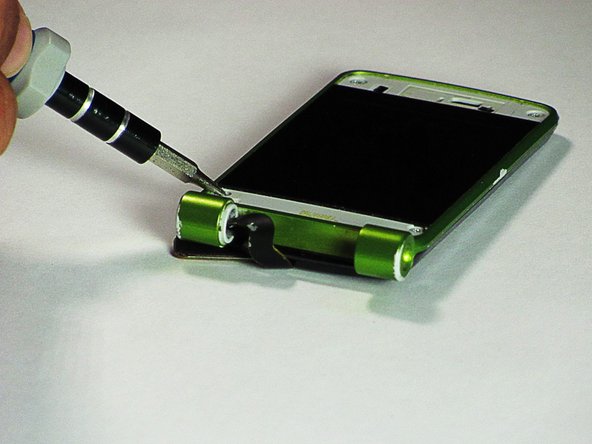
Usa uno strumento di apertura in plastica nella posizione indicata e applica pressione finché il gancio del case non si sgancia. Quindi solleva il case finché i due pezzi non si separano.
-
-
-
Usa una graffetta per staccare l'altoparlante dal case.
-
Stacca il GPS dal case sollevandolo delicatamente.
-
Stacca la fotocamera con le mani o usando una graffetta, in modo simile a come è stato rimosso l'altoparlante.
-
-
-
Una volta che i tre componenti sono stati staccati, è possibile rimuovere il cavo a nastro.
-
Sposta semplicemente il cavo a nastro verso destra e sarà completamente staccato dal case.
-
-
-
-
-
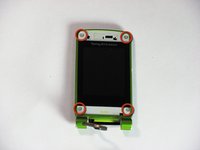
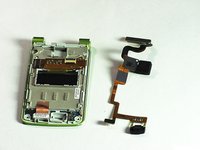
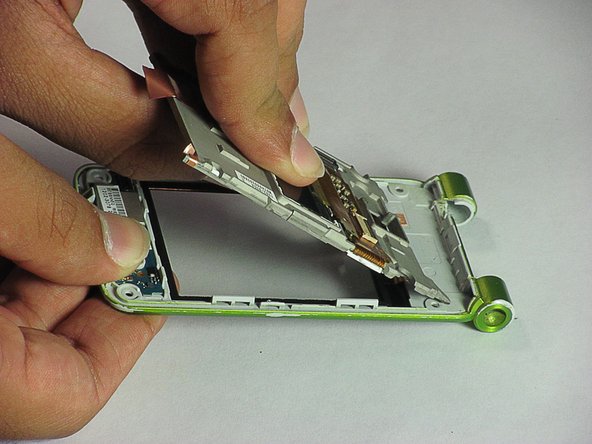
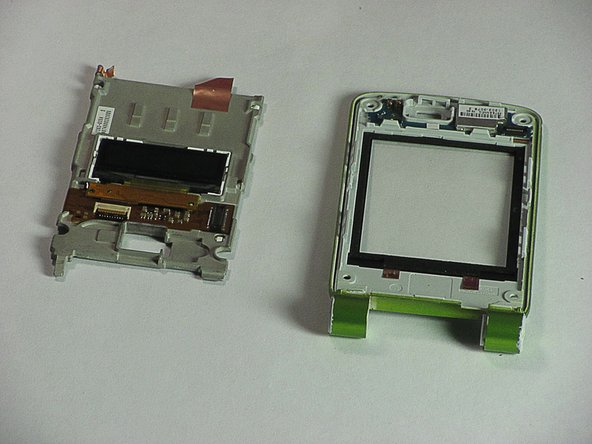
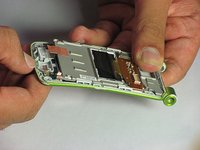
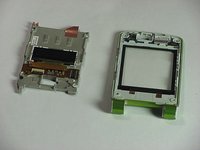
Separa lo schermo dalla scocca da un'estremità. Poi fai scorrere lo schermo per staccarli completamente.
-
-


Per rimontare il dispositivo, segui queste istruzioni in ordine inverso.
Annulla: non ho completato questa guida.
Un'altra persona ha completato questa guida.
Un ringraziamento speciale a questi traduttori:
100%

Translation Bot ci sta aiutando ad aggiustare il mondo! Vuoi partecipare?
Inizia a tradurre ›
Team

Cal Poly, Team 1-1, Regan SU 2012 Membro di Cal Poly, Team 1-1, Regan SU 2012
CPSU-REGAN-SU12S1G1
2 Membri
48 guide realizzate