Introduzione
This guide will illustrate how to dis-assemble the back camera case to gain access the control wheel assembly. Then it will show how to replace the control wheel and adjacent soft keys.
Cosa ti serve
-
-
-
Turn the camera off by switching the power knob "OFF" text to the white selector dot.
 Chiedi a FixBot
-
-
-
Flip the camera upside-down and carefully place it on a flat surface.
-
With the lens facing outward, locate the battery compartment - indicated by a grooved latch.
-
Push the latch to the right to unlock the battery compartment. The door should flip upward.
-
-
-
With the compartment open, locate a blue tab shown with spudger
-
Press the tab to the side (to the left, or toward the camera wall). This will eject the camera battery.
-
-
-
-
-
-
Remove the two 3.5mm Phillips #00 screws that hold the back case - located inside the battery compartment.
-
-
-
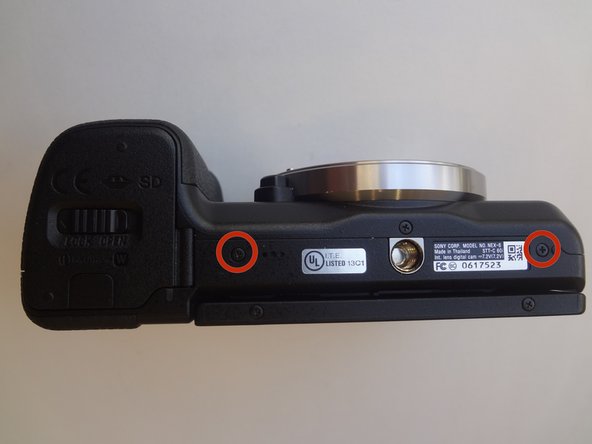
Remove the two 3.5mm Phillips #00 screws that hold the back case - located on the bottom of the camera.
-
-
-
Remove the 3.5 mm Phillips #00 screw on the side of camera - located between the charging and HDMI ports.
-
Remove the 4.0 mm Phillips #00 screw on the side of the camera - located next to the WiFi sign.
-
-
-
Starting with the battery compartment gently begin to separate the back case front the camera.
-
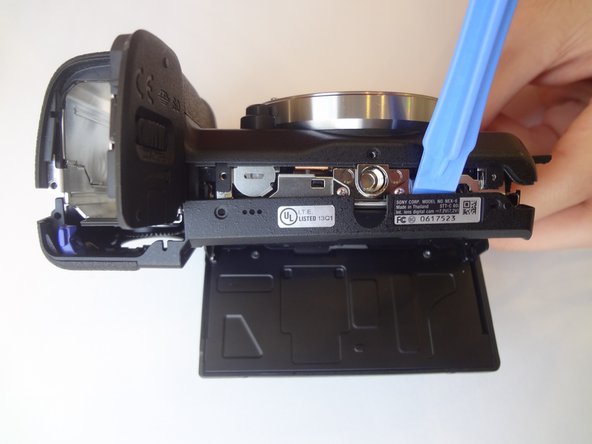
Using a plastic opening tool, separate the bottom of the back case from the camera. Then proceed by separating the sides.
-
Gently lift the back case away from the camera an slide it down to completely remove the back case.
-
-
-
-
-
Pry out the ribbon cable by carefully pushing on its side tabs with a spudger.
-
-
Strumento utilizzato in questo passaggio:Tweezers$4.99
-
Using a spudger, lift the metal locking tab located at the top right corner of control wheel assembly.
-
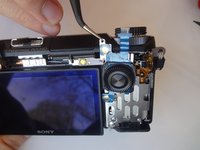
Using tweezers, carefully slide the assembly up to release it.
-
-





To reassemble your device, follow these instructions in reverse order.
Annulla: non ho completato questa guida.
Altre 5 persone hanno completato questa guida.

Team

USF Tampa, Team 11-2, Blackwell Winter 2015 Membro di USF Tampa, Team 11-2, Blackwell Winter 2015
USFT-BLACKWELL-W15S11G2
4 Membri
14 guide realizzate
