Introduzione
Come smontare l'unità di svapo usa e getta Geek Bar.
-
-
-
Usa uno scalpello per legno (circa 2,5 cm) lungo la giuntura per staccare la copertura trasparente. La copertura si aggancia a pressione, ma potrebbe essere leggermente incollata.
 Chiedi a FixBot
-
-
-
Estrai i componenti interni. Dovrai premere l'interruttore di accensione/spegnimento sul fondo dell'unità per far scorrere l'interno verso l'esterno.
-
-
-
-
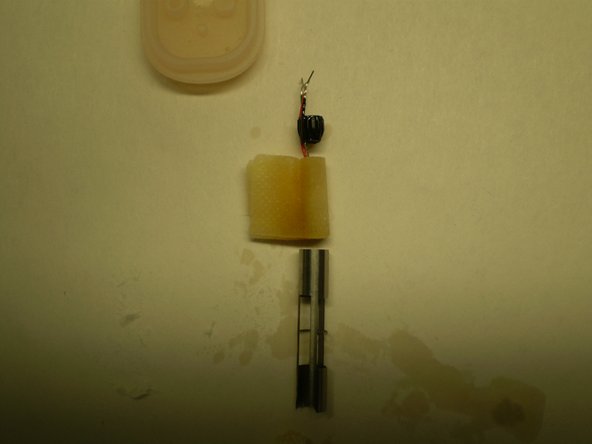
Stacca il serbatoio. Prendi nota della posizione del cablaggio se intendi riassemblare l'unità.
-
-
-
Estrai la parte superiore del serbatoio.
-
Estrai l'unità riscaldante dal manicotto in acciaio.
-
Rimuovi lo stoppino piatto dal riscaldatore.
-
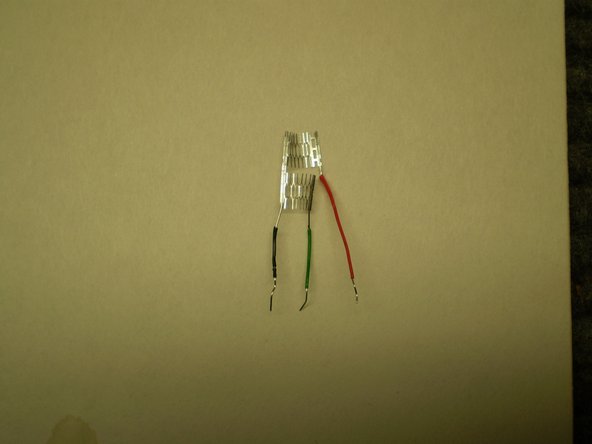
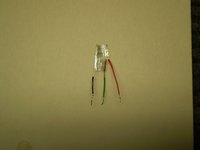
Osserva l'unità riscaldante a cestello. Letture della resistenza: nero-verde: 1,1 ohm; nero-rosso: 1,1 ohm; rosso-verde: 2,2 ohm
-
-
-
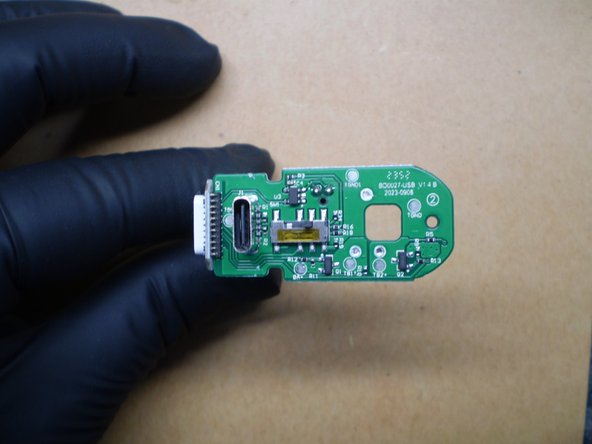
Sgancia il circuito stampato dal supporto in plastica a forma di L.
-
Visualizza scheda.
-
-
-
Il bordo può essere sganciato dall'interno, estratto dall'alto e smontato come mostrato.
-
-





13Commenti sulla guida
Perfect illustration and pics.
I used this to open it and fix an auto-fire/over-fire I was experiencing. I've had it happen before but simply cannot afford to buy another. After opening, I powered it on, hit it & it hit fine. I then switched it off, put the switch cover back on, hit it and back to auto/over-firing again. I removed the switch cover and it was fine, closed it back up without the switch cover and it hits fine, pulls more air in, but I am thinking based off my understanding of vaping herbs that a faster, higher airflow willl create a lower temp & therefore, it shouldn't use up as much fluid per use even tho I have it set to pulse mode. This won't effect the fluid guage as it's predetermined and even if you add fluid while at say 60%, it will not change the level shown or the amount it displays. I'm used to having them display 0% and having several days of full flavor/hits even after this. Thanks for the breakdown, clean, simple, easy to understand. I've opened the Pulse X but never one like this, so thanks.
