Cosa ti serve
-
-
-
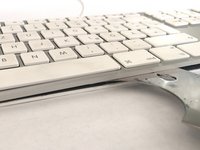
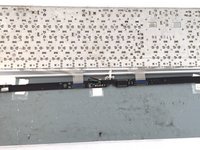
Il lato inferiore della tastiera è fissato da uno strato di adesivo che copre l'intera superficie. Non ci sono viti che fissano la cover posteriore.
 Chiedi a FixBot
-
-
-
È possibile utilizzare una spudger, preferibilmente in plastica, per fare leva e rimuovere la cover posteriore dalla tastiera
-
-
-
Apri la parte anteriore della tastiera con uno strumento di apertura.
-
Puoi usare una pistola termica a bassa potenza con attenzione per riscaldare la cover posteriore e ammorbidire l'adesivo. Lavora a sezioni, riscaldando e poi separando gradualmente le sezioni facendo leva.
-
Evita di usare troppo calore, altrimenti deformerai o scioglierai la copertura o altre parti in plastica. Non usare una forza eccessiva per rimuovere la copertura, poiché la lega è sottile e si piega facilmente. La tastiera si deformerà in modo permanente.
-
-
-
-
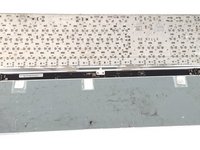
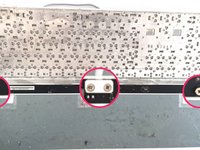
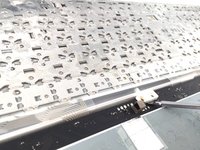
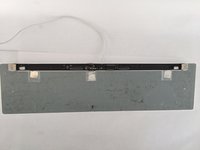
La piastra posteriore della tastiera principale è fissata da decine di saldature a punti; l'unico modo per procedere ulteriormente con lo smontaggio è rimuoverle con un trapano!
-
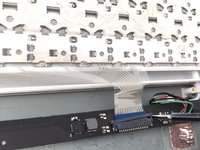
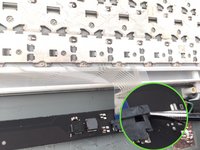
La scheda logica è fissata con viti a croce Phillips. Due cavi a nastro collegano la tastiera alla scheda logica. Danneggiare uno dei cavi comporterà il malfunzionamento di intere sezioni della tastiera.
-
-
-
Non ci sono praticamente parti riparabili all'interno della tastiera, a parte la scheda logica, ma anche in tal caso, a causa dell'assemblaggio della tastiera, non sono disponibili pezzi di ricambio da acquistare, anche se fosse possibile farlo. C'è ben poco motivo pratico per smontare effettivamente la tastiera.
-
-
-
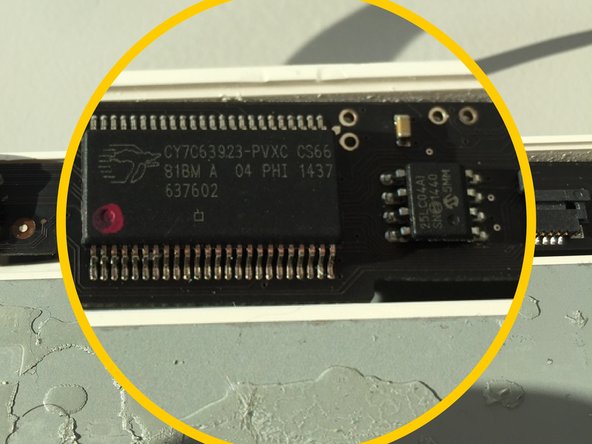
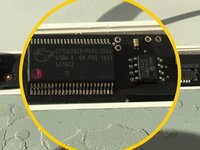
Cypress CY7C63923 (controller periferico USB a bassa velocità)
-
ST 95040W (EEPROM da 4 kbit)
-
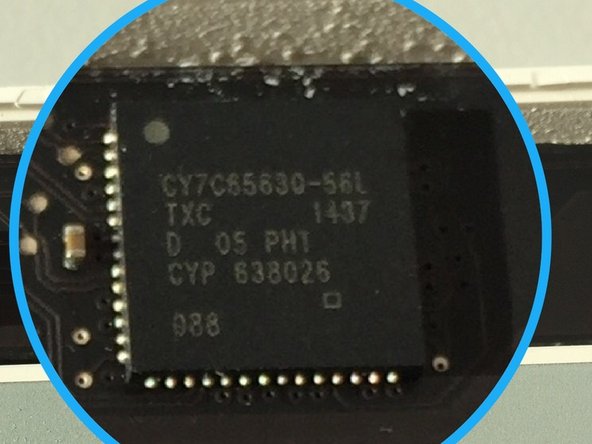
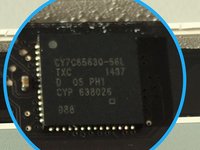
Cypress CY7C65630-56L (hub USB 2.0 a basso consumo)
-
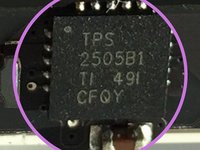
Microchip 2026-1YM (interruttore di distribuzione dell'alimentazione a doppio canale)
-
-
-
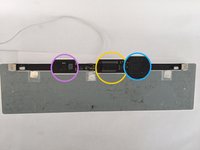
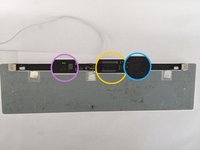
L'elemento cerchiato in giallo è un Cypress CY7C63923-PVXC, un "controller periferico USB a bassa velocità".
-
L'elemento cerchiato in blu è un Cypress CY7C65630, un "controller hub USB 2.0 a basso consumo".
-
-










24Commenti sulla guida
Any hope of replacement of a defective key switch?
I think I will need to open mine to replace the USB wire.
One day, my keyboard stopped working, keys affected are 5tgb and 6yhn. It guess they are joined inside. No reason at all. No spill. My keyboard is hooked to an unpowered USB hub, which is hooked to my MacbookPro. I use also a logitech wired mouse attached to the USB port. When I arrived last Monday morning to my office with the mac, I plugged everything as described and the problem appeared. Now I don't know that to do to fix it. Some guys recommend springing water on it but it seems some kind of joke. I can't believe I spend so much money in this keyboard and now it doesn't work. A couple of months ago, I realised that the Magic Mouse 2 was another bummer because of it problem tracking the hand movements. I started to doubt about Apple hardware, except for the Macbook Pro, which has 5 years of intense use and never had a problem at all.
Yes, washing these types of aluminum apple keyboards with water will usually resolve the problem, just pure water, and a few days of drying… it doesn’t make sense, but I have fixed a dozen of these that way before! It’s no guarantee, but it could resolve it. The reason the keys went out together is that the buttons’ are organized into columns and rows electronically. When the circuit is connected on the sixth column and the second row, that equals a 5 key. Sixth column third row would be the T key, etc. So your problem is not at the keys, but with the column contacts for those two columns. Whether cleaning them will help is anyones guess. Somehow, you have a break in the circuit for those two columns of the keyboard. It sounds like the problem will be on the logic board of the keyboard. Check for hairs or something shorting out any chips, etc.
