Salta al contenuto principale
Unisciti alla Community delle riparazioni - Crea un account
Cosa ti serve

Questo smontaggio non è una guida di riparazione. Per riparare il tuo Alcatel One Touch Fierce, usa il nostro manuale di assistenza.

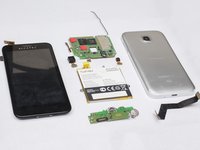
    1. Smontaggio Alcatel One Touch Fierce, Smontaggio Alcatel One Touch Fierce: passo 1, immagine 1 di 3 Smontaggio Alcatel One Touch Fierce, Smontaggio Alcatel One Touch Fierce: passo 1, immagine 2 di 3 Smontaggio Alcatel One Touch Fierce, Smontaggio Alcatel One Touch Fierce: passo 1, immagine 3 di 3
      • Si consiglia vivamente il Phillips #000. Come puoi vedere, sono troppo al verde per l'equivalente iFixit.

      • Anche l'iSesamo è sempre utile.

      Chiedi a FixBot

      Aggiungi Commento

    2. Smontaggio Alcatel One Touch Fierce: passo 2, immagine 1 di 2 Smontaggio Alcatel One Touch Fierce: passo 2, immagine 2 di 2
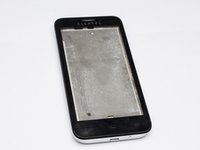
      • Questa è la variante Metro PCS del telefono, in un gradevole colore argento metallizzato.

      • La parte anteriore di questo specifico dispositivo è danneggiata dall'acqua e dalle impronte digitali.

      Chiedi a FixBot

      Aggiungi Commento

    3. Smontaggio Alcatel One Touch Fierce: passo 3, immagine 1 di 2 Smontaggio Alcatel One Touch Fierce: passo 3, immagine 2 di 2
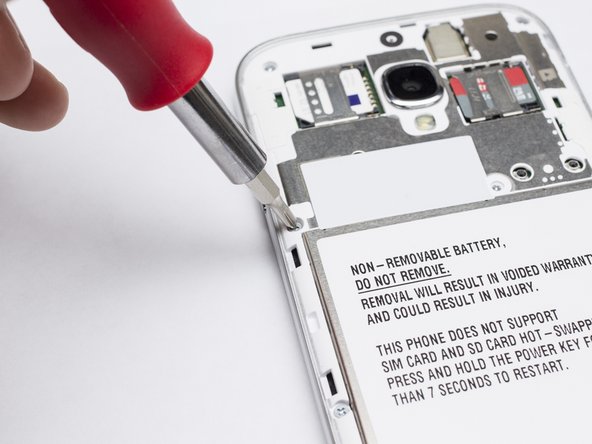
      • Con la plastica posteriore rimossa.

      • "NON RIMUOVERE"

      • Sfida accettata

      Chiedi a FixBot

      Aggiungi Commento

    4. Smontaggio Alcatel One Touch Fierce: passo 4, immagine 1 di 1
      • La seconda copertura è rimossa. Ora abbiamo una visuale migliore sui componenti.

      Chiedi a FixBot

      Aggiungi Commento

    5. Smontaggio Alcatel One Touch Fierce: passo 5, immagine 1 di 1
      • La batteria. Non dura molto a lungo.

      Chiedi a FixBot

      Aggiungi Commento

    6. Smontaggio Alcatel One Touch Fierce: passo 6, immagine 1 di 2 Smontaggio Alcatel One Touch Fierce: passo 6, immagine 2 di 2
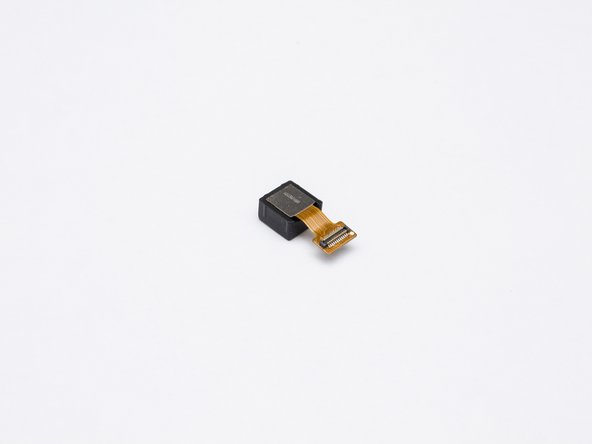
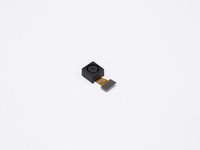
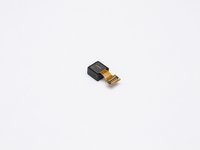
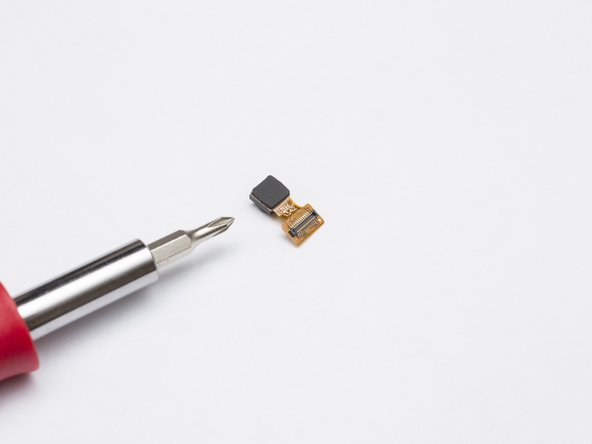
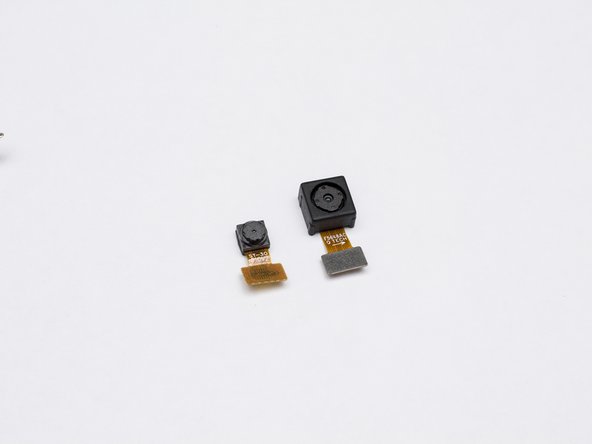
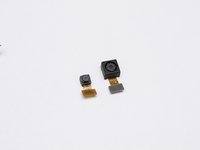
      • La fotocamera da 5 MP situata sul retro del telefono.

      Chiedi a FixBot

      Aggiungi Commento

    7. Smontaggio Alcatel One Touch Fierce: passo 7, immagine 1 di 2 Smontaggio Alcatel One Touch Fierce: passo 7, immagine 2 di 2
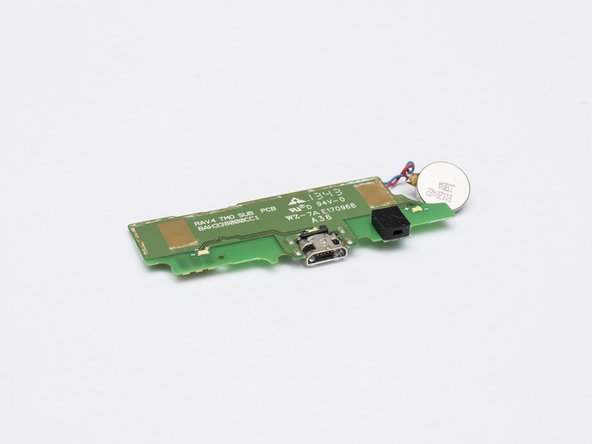
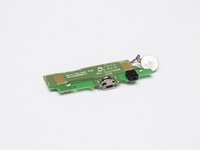
      • La scheda figlia contiene la porta micro-USB

      Chiedi a FixBot

      Aggiungi Commento

    8. Smontaggio Alcatel One Touch Fierce: passo 8, immagine 1 di 2 Smontaggio Alcatel One Touch Fierce: passo 8, immagine 2 di 2
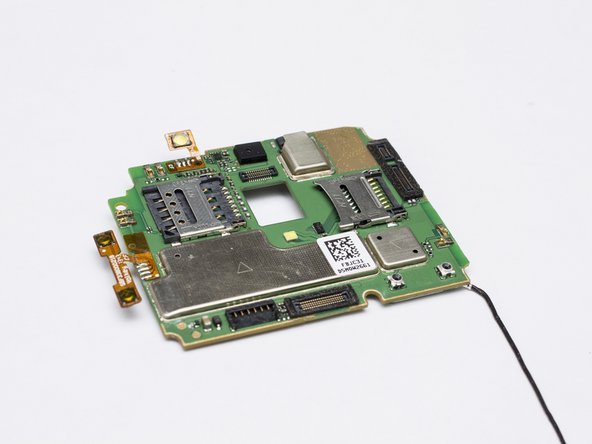
      • Il circuito stampato principale

      Chiedi a FixBot

      Aggiungi Commento

    9. Smontaggio Alcatel One Touch Fierce: passo 9, immagine 1 di 3 Smontaggio Alcatel One Touch Fierce: passo 9, immagine 2 di 3 Smontaggio Alcatel One Touch Fierce: passo 9, immagine 3 di 3
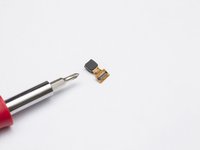
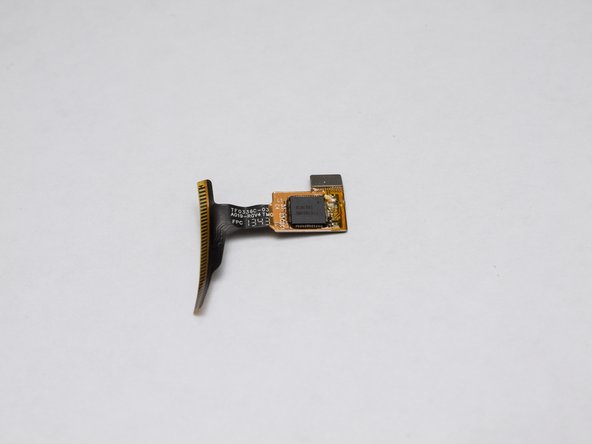
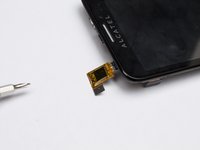
      • La fotocamera frontale situata sulla parte anteriore del telefono.

      Chiedi a FixBot

      Aggiungi Commento

    10. Smontaggio Alcatel One Touch Fierce: passo 10, immagine 1 di 2 Smontaggio Alcatel One Touch Fierce: passo 10, immagine 2 di 2
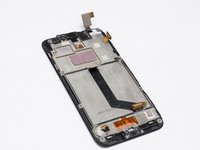
      • I resti del pannello frontale

      Chiedi a FixBot

      Aggiungi Commento

    11. Smontaggio Alcatel One Touch Fierce: passo 11, immagine 1 di 2 Smontaggio Alcatel One Touch Fierce: passo 11, immagine 2 di 2
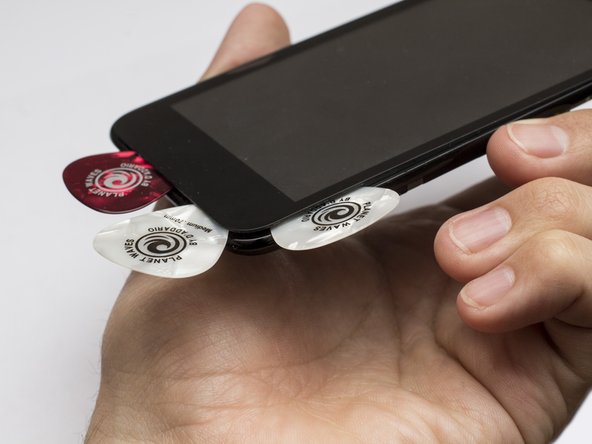
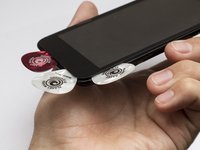
      • Sto provando a rimuovere il gruppo pannello frontale.

      • Sembrava esserci una buona dose di adesivo.

      • Per fortuna ho a disposizione un buon numero di plettri.

      • Oh no, credo di sentire degli scricchiolii...

      Chiedi a FixBot

      Aggiungi Commento

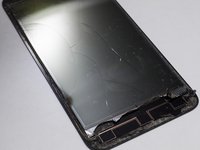
    12. Smontaggio Alcatel One Touch Fierce, Cavolo...: passo 12, immagine 1 di 2 Smontaggio Alcatel One Touch Fierce, Cavolo...: passo 12, immagine 2 di 2
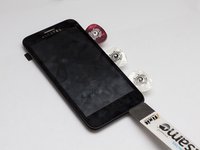
      • Accidenti! Me lo aspettavo proprio.

      • Per evitarlo usa una pistola termica per ammorbidire la colla... ma senza esagerare col calore.

      Chiedi a FixBot

      Aggiungi Commento

    13. Smontaggio Alcatel One Touch Fierce: passo 13, immagine 1 di 2 Smontaggio Alcatel One Touch Fierce: passo 13, immagine 2 di 2
      • Ora ho un telefono funzionante senza schermo LCD.

      Chiedi a FixBot

      Aggiungi Commento

Un ringraziamento speciale a questi traduttori:

en it

100%

Translation Bot ci sta aiutando ad aggiustare il mondo! Vuoi partecipare?
Inizia a tradurre ›

Jonathan Ruiz

Membro da: 12/13/11

1.322 Reputazione

2 guide realizzate

18Commenti sulla guida

I'm so glad I found this link!!! I broke the screen on my phone two weeks after I bought it, and refused to pay someone $80 to fix it (I didn't pay that much for the phone!). I have NO experience replacing a cell phone screen and this teardown looked pretty straightforward, so I figured it was worth a try. The step by step was easy, worked perfectly, and I can finally see my screen! YAY! Thank you!

Note: Use patience, and it's a breeze!

Barbara Prather - Rispondi Condividi

I also successfully repaired my phone although this guide made it seem like you couldn't do it without ruining the LCD. I'm pretty proficient in phone and electronic repair but I think even beginners could do this one. The new glass that I bought had adhesive already applied to it so I could see exactly where it would be adhered from the factory. I heated the front with a heat gun and started at the top left corner. Once I got a pick in there I started going into the gap with a little X-Acto knife, cutting away at the foam like adhesive. I worked my way down the left side, then went back to the right side, cutting as I went. When only the bottom was attached, I held the phone by the top of the glass and let it dangle. Using the heat gun on the bottom of the glass allowed the weight of the phone to separate itself from the glass. Cleaned it up and put the new glass on, works like new again.

Dan - Rispondi Condividi

I'm about to give this a try Dan. Thanks for your encouragement. Just one question: how did you "clean it up" before putting on the new one? Thanks!!

Janene - Rispondi Condividi

this actually helped! thanks to posted this , my screen broke and ordered it online (ebay) it took a week to get here but man i couldnt see anything with my whole screen cracked! it was cheap as well, 20 bucks with tools! but this really helped!!! just do it calm and slowly , its my first time changing a screen on a phone, this really helped! thanks!

kevin - Rispondi Condividi

I cracked the camera screen on the back a week after buying the phone. Can you tell me where I can get a new one?

thanks!

Shannon - Rispondi Condividi

Aggiungi Commento

Visualizza statistiche:

Ultime 24 ore: 3

Ultimi 7 giorni: 8

Ultimi 30 giorni: 41

Tutti i Tempi: 64,210