Salta al contenuto principale
Unisciti alla Community delle riparazioni - Crea un account

Samsung Gear VR With Controller Lens Replacement

Cosa ti serve

    1. Samsung Gear VR With Controller Lens Replacement, Inner Mask: passo 1, immagine 1 di 3 Samsung Gear VR With Controller Lens Replacement, Inner Mask: passo 1, immagine 2 di 3 Samsung Gear VR With Controller Lens Replacement, Inner Mask: passo 1, immagine 3 di 3
      • Push the switch on the right-hand side of the device to separate the cover from the main body.

      • Pull the cover away from the main device.

      Chiedi a FixBot

      Aggiungi Commento

    2. Samsung Gear VR With Controller Lens Replacement: passo 2, immagine 1 di 3 Samsung Gear VR With Controller Lens Replacement: passo 2, immagine 2 di 3 Samsung Gear VR With Controller Lens Replacement: passo 2, immagine 3 di 3
      • Remove the four corner screw covers with a metal spudger.

      • The screw covers fly off when removed, so make sure to keep track of them.

      Chiedi a FixBot

      Aggiungi Commento

    3. Samsung Gear VR With Controller Lens Replacement: passo 3, immagine 1 di 3 Samsung Gear VR With Controller Lens Replacement: passo 3, immagine 2 di 3 Samsung Gear VR With Controller Lens Replacement: passo 3, immagine 3 di 3
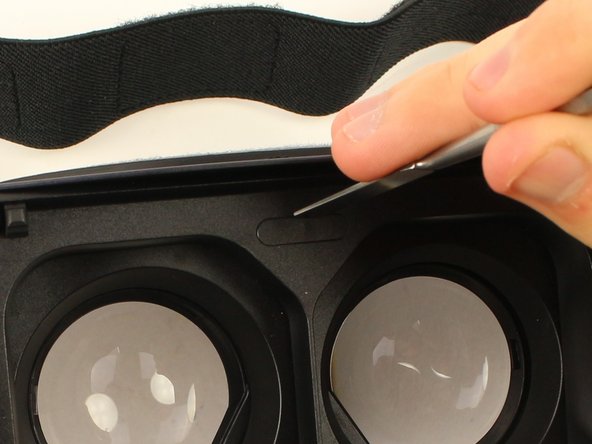
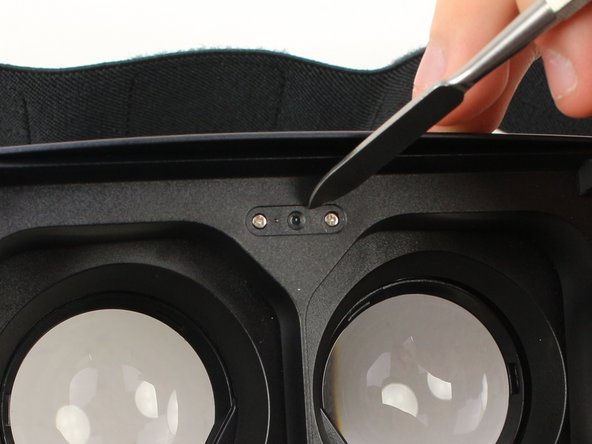
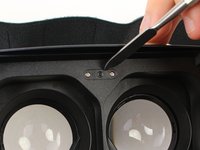
      • Use a metal spudger to remove the screw cover centered at the top.

      Chiedi a FixBot

      Aggiungi Commento

    4. Samsung Gear VR With Controller Lens Replacement: passo 4, immagine 1 di 3 Samsung Gear VR With Controller Lens Replacement: passo 4, immagine 2 di 3 Samsung Gear VR With Controller Lens Replacement: passo 4, immagine 3 di 3
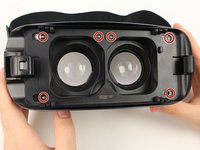
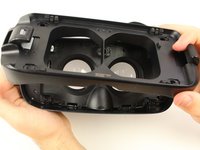
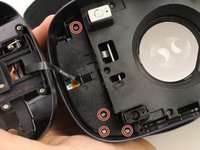
      • Remove the six 5mm Phillips #000 screws to detach the front phone mount.

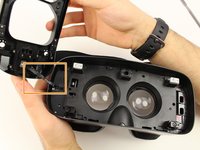
      • Lift the front phone mount up and to the left.

      • Remove the front phone mount carefully because there is a wire harness on the left side of the headset.

      Chiedi a FixBot

      Aggiungi Commento

    5. Samsung Gear VR With Controller Lens Replacement: passo 5, immagine 1 di 2 Samsung Gear VR With Controller Lens Replacement: passo 5, immagine 2 di 2
      • Remove the four 5mm Phillips #000 screws that secure the plate on the left side of the headset.

      • Pull the plate away from the motherboard gently.

      Chiedi a FixBot

      Aggiungi Commento

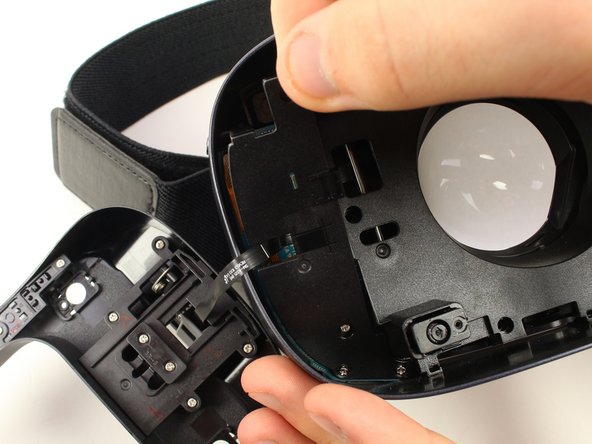
    6. Samsung Gear VR With Controller Lens Replacement: passo 6, immagine 1 di 2 Samsung Gear VR With Controller Lens Replacement: passo 6, immagine 2 di 2
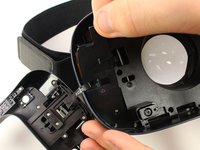
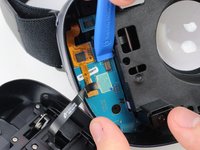
      • Use the iFixit opening tool to remove the pop connector holding the wire harness to the motherboard.

      • You can now completely remove the front phone mount from the headset.

      Chiedi a FixBot

      Aggiungi Commento

    7. Samsung Gear VR With Controller Lens Replacement: passo 7, immagine 1 di 3 Samsung Gear VR With Controller Lens Replacement: passo 7, immagine 2 di 3 Samsung Gear VR With Controller Lens Replacement: passo 7, immagine 3 di 3
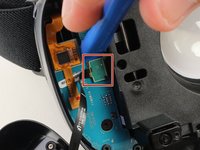
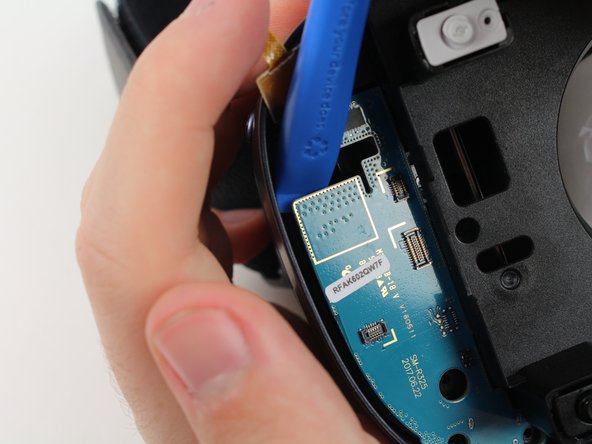
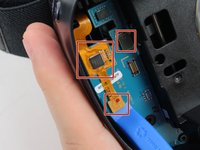
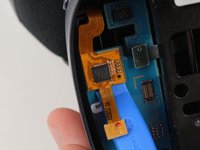
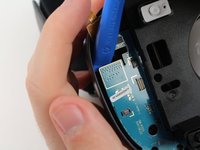
      • Remove the rest of the pop connectors on the motherboard using the iFixit opening tool.

      • Pry at the top of the motherboard with the iFixit opening tool to remove the motherboard.

      • The largest pop connector may require more effort to remove.

      • Make sure that nothing is connected to the motherboard before you pull it out.

      Chiedi a FixBot

      Aggiungi Commento

    8. Samsung Gear VR With Controller Lens Replacement: passo 8, immagine 1 di 3 Samsung Gear VR With Controller Lens Replacement: passo 8, immagine 2 di 3 Samsung Gear VR With Controller Lens Replacement: passo 8, immagine 3 di 3
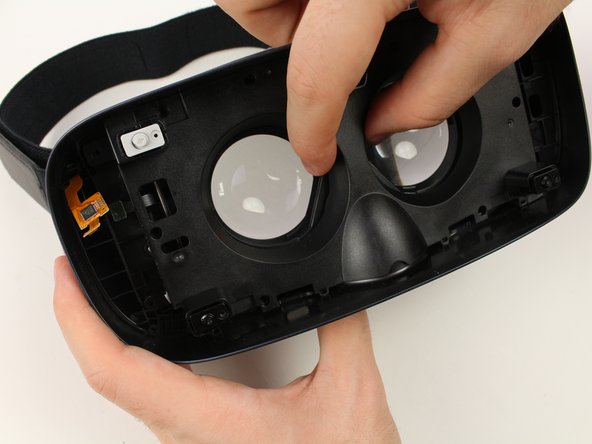
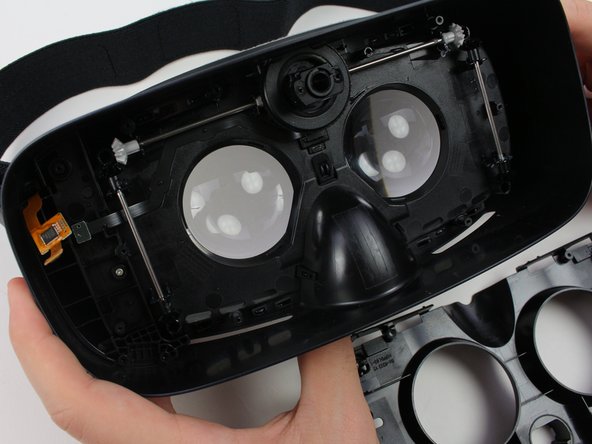
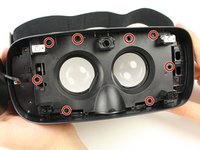
      • Remove the eight 5mm Phillips #000 screws on the inner mask.

      • Gently separate the inner mask from the headset by pulling the mask from the inner sides of the lens sockets.

      Chiedi a FixBot

      Aggiungi Commento

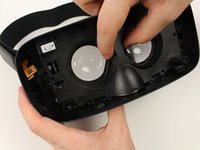
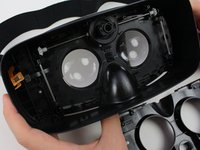
    1. Samsung Gear VR With Controller Lens Replacement, Lens: passo 9, immagine 1 di 2 Samsung Gear VR With Controller Lens Replacement, Lens: passo 9, immagine 2 di 2
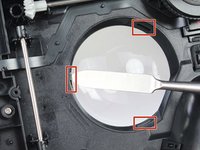
      • Use the metal spudger to press on the three tabs around each of the sockets.

      • Press the tabs gently to prevent damaging them.

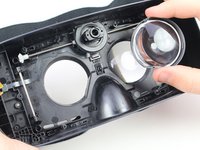
      • Pull out the lenses with your fingers to remove them from the mask.

      Chiedi a FixBot

      Aggiungi Commento

Conclusione

To reassemble your device, follow these instructions in reverse order.

Annulla: non ho completato questa guida.

Un'altra persona ha completato questa guida.

Team

Cal Poly, Team S18-G3, White Winter 2019 Membro di Cal Poly, Team S18-G3, White Winter 2019

CPSU-WHITE-W19S18G3

4 Membri

14 guide realizzate

0Commenti sulla guida

Aggiungi Commento

Visualizza statistiche:

Ultime 24 ore: 0

Ultimi 7 giorni: 4

Ultimi 30 giorni: 20

Tutti i Tempi: 1,310