Questa versione può contenere modifiche errate. Passa all'ultima istantanea verificata.
Cosa ti serve
-
-
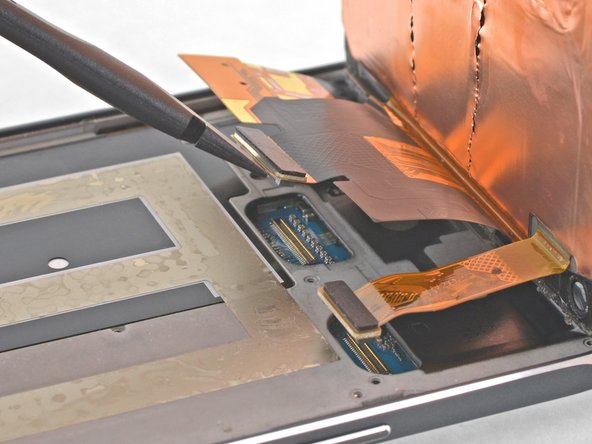
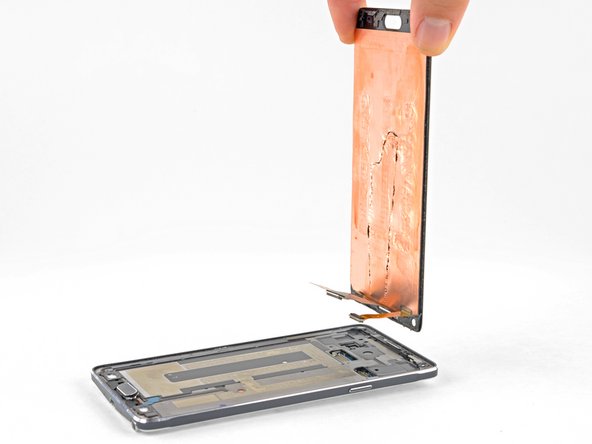
Inserisci un'unghia o uno strumenti di apertura di plastica all'interno dell'incavo posto alla sinistra della fotocamera posteriore.
-
Fai leva delicatamente e, piegando leggermente, stacca la cover posteriore flessibile.
-
-
Questo passaggio è privo di traduzione. Aiuta a tradurlo
-
Insert a fingernail or plastic opening tool into the recess in the bottom right corner of the battery and lift upward.
-
Remove the battery.
-
-
Questo passaggio è privo di traduzione. Aiuta a tradurlo
-
Prepare an iOpener and heat the display along the left edge for about two minutes.
-
-
Questo passaggio è privo di traduzione. Aiuta a tradurlo
-
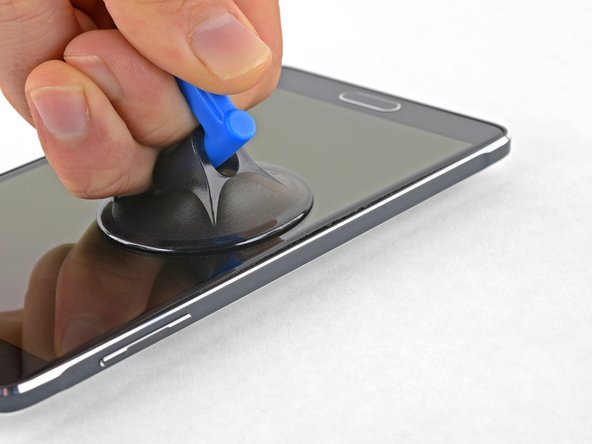
Once the screen is warm to the touch, apply a suction cup as close to the heated edge of the phone as you can.
-
If your display is badly cracked, the suction cup may not stick. Try lifting the display with strong tape, or superglue the suction cup in place and allow it to cure so you can proceed.
-
Lift on the suction cup, and insert an opening pick under the display assembly.
-
-
Questo passaggio è privo di traduzione. Aiuta a tradurlo
-
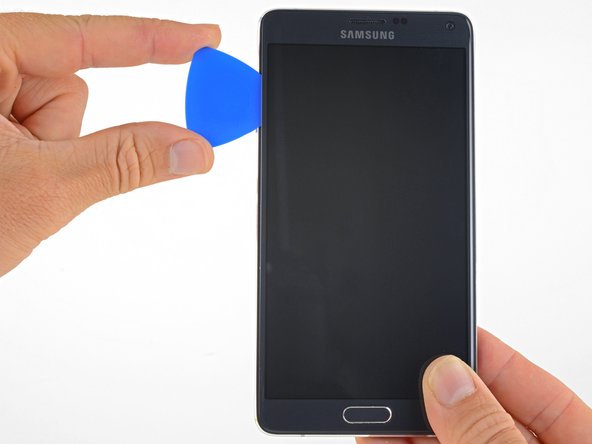
Slide the opening pick along the left edge of the display to separate the adhesive underneath.
-
If cutting becomes difficult, reheat and reapply the iOpener.
-
Leave the pick in place to prevent the adhesive from re-adhering and grab a second pick as you proceed to the next step.
-
-
-
Questo passaggio è privo di traduzione. Aiuta a tradurlo
-
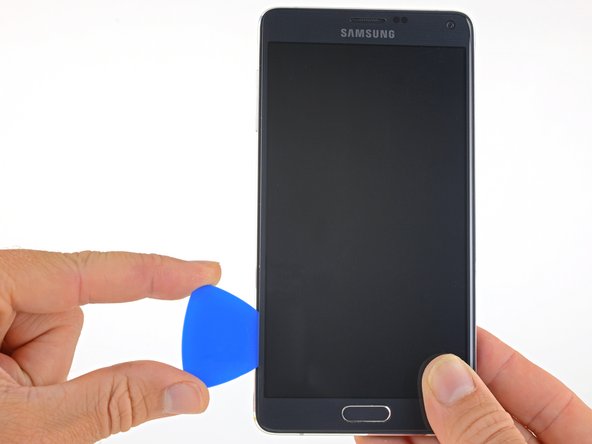
Apply a heated iOpener to the bottom of the phone.
-
Slide an opening pick along the bottom of the phone.
-
-
Questo passaggio è privo di traduzione. Aiuta a tradurlo
-
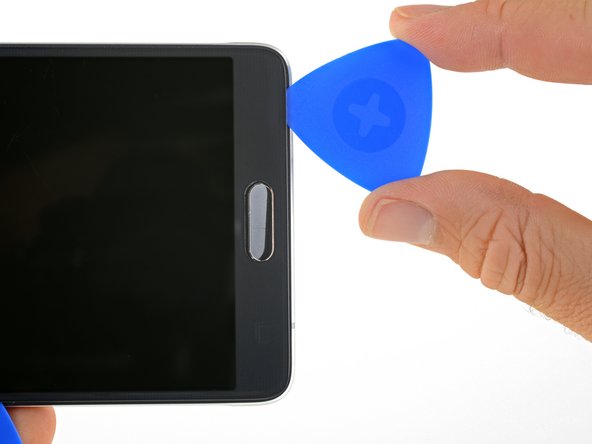
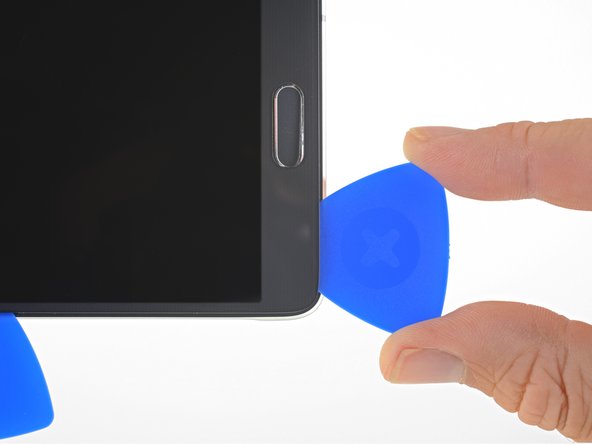
Insert an opening pick 0.5 inches (12.5mm) into the left side of the bottom edge of the phone.
-
Once the pick has cut through the adhesive, leave it in place to prevent the adhesive from resealing.
-
-
Questo passaggio è privo di traduzione. Aiuta a tradurlo
-
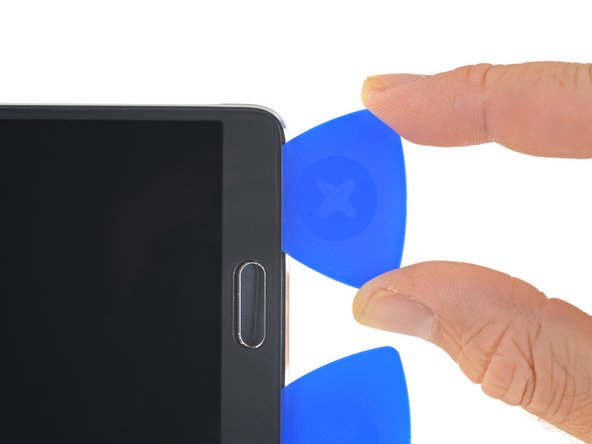
Insert an opening pick 0.5 inches (12.5mm) into the right side of the bottom edge of the phone.
-
Once the pick has cut through the adhesive, leave it in place to prevent the adhesive from resealing.
-
-
Questo passaggio è privo di traduzione. Aiuta a tradurlo
-
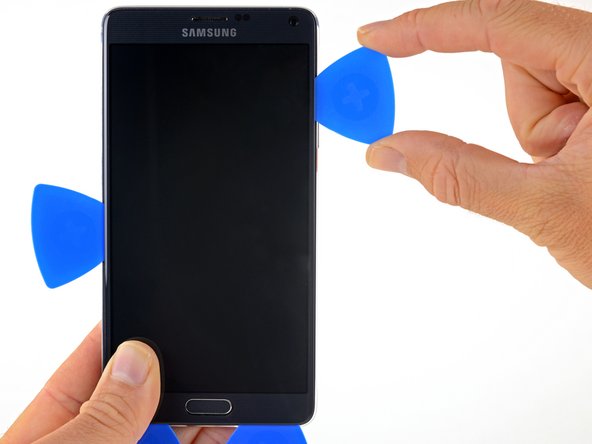
Apply a heated iOpener to the right edge of the phone.
-
Slide the opening pick along the right edge of the display to separate the adhesive underneath.
-
Leave the pick in place to prevent the adhesive from re-adhering and grab a second pick as you proceed to the next step.
-
-
Questo passaggio è privo di traduzione. Aiuta a tradurlo
-
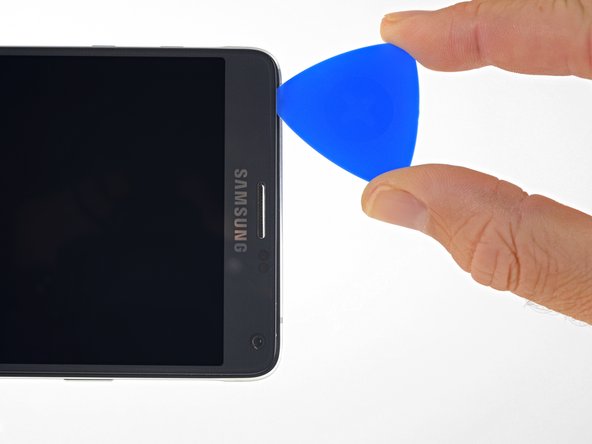
Gently slide an opening pick under the top edge of the display to separate the adhesive underneath.
-
-
Questo passaggio è privo di traduzione. Aiuta a tradurlo
-
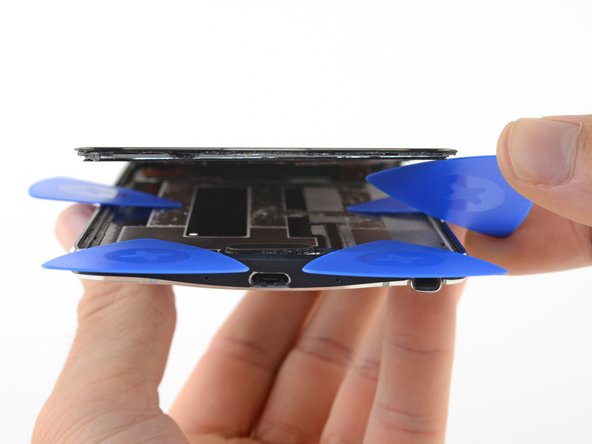
Use your picks as needed to finish separating the adhesive beneath all areas of the display.
-
Pry the bottom part of the display away from the phone until they are fully separated.
-
-
Questo passaggio è privo di traduzione. Aiuta a tradurlo
-
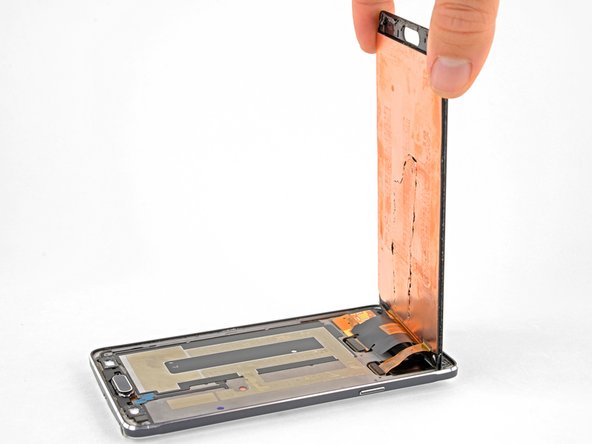
Gently lift the display so you an easily access the display and digitizer connectors.
-
-
Questo passaggio è privo di traduzione. Aiuta a tradurlo
-
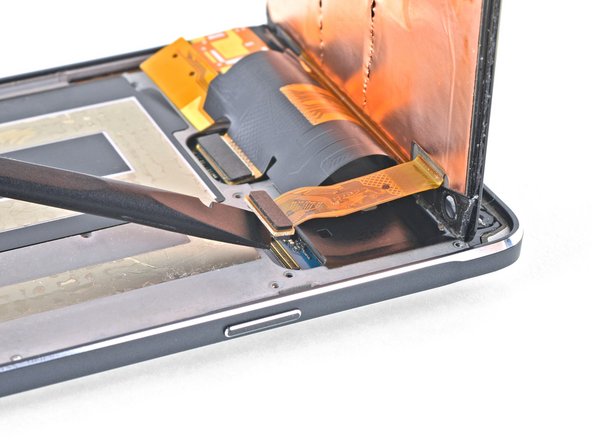
Use the flat end of a spudger to pry the display cable connector straight up and out of its socket.
-
-
Questo passaggio è privo di traduzione. Aiuta a tradurlo
-
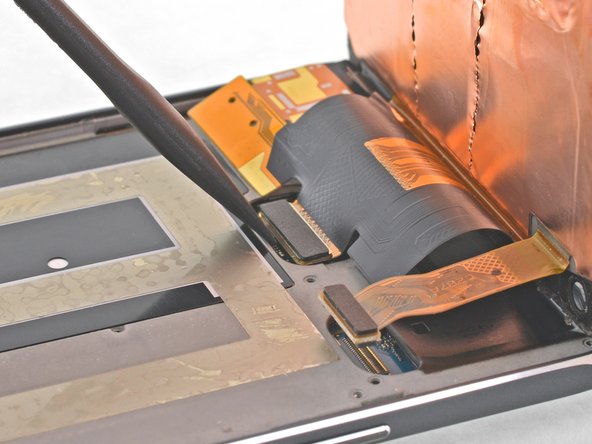
Use the flat end of a spudger to pry the digitizer cable connector straight up and out of its socket.
-
-
Questo passaggio è privo di traduzione. Aiuta a tradurlo
-
Remove the display.
-
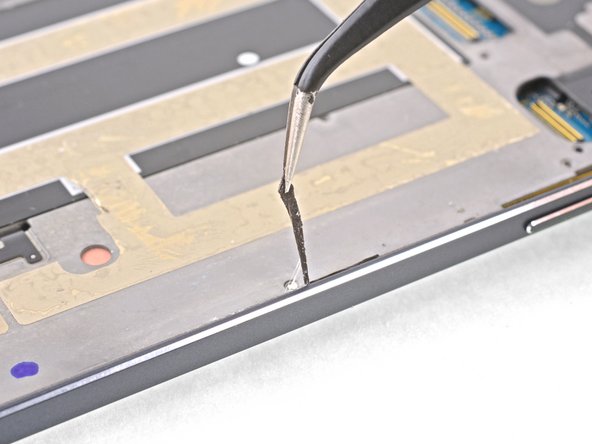
After removing all traces of glue and glass from the frame, clean the adhesion areas with 90% (or higher) isopropyl alcohol and a lint-free cloth or coffee filter. Swipe in one direction only, not back and forth.
-


Annulla: non ho completato questa guida.
Altre 23 persone hanno completato questa guida.

Un commento
Merci, en prenant bien le temps et avec les outils ça la fait. Une bouillotte a la place du Iopenit mais le pack Pro Teck Toolkit est suffisant pour cette ouvrage. c'est clairement pas une course, j'étais pas loin des 2 heures mais j'ai récupéré un bon écran sur un tel hs pour remplacer l'écran cassé de mon vieux Note 4. il a reprit vie comme en 2019...J'ai encore du mal a le croire. Merci beaucoup, je n'aurai pas osé me lancer sans ce tuto. ps:la parti recollage manque de détails et de photos selon moi