
Samsung DV300F Front LCD Screen Replacement
Introduzione
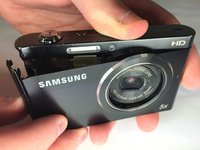
Vai al passo 1This guide describes how to replace the Samsung DV300F front LCD screen. There are many small screws involved with this process.
If your Samsung DV300F is displaying black spots, discolored areas, or blurred sections , it is time to replace the LCD screen.
Cosa ti serve
Strumenti

-
-
Remove the two black 4.2 mm screws on the right side of the camera using a Phillips #0 screwdriver.
-
Remove the two black 4.2 mm screws on the left side of the camera using a Phillips #0 screwdriver.
-
Remove the two black 4.2 mm screws on the bottom of the camera using a Phillips #0 screwdriver.
-
-
-
-
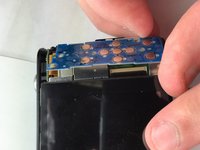
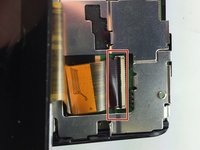
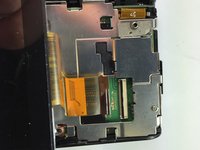
Remove the blue button control from its position next to the LCD screen.
-
Pull the ribbon cable to disconnect the blue button control from the camera.
-
-
-
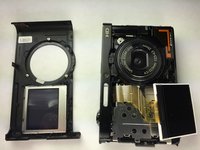
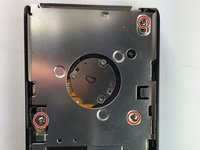
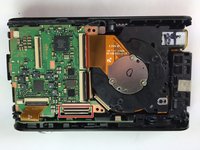
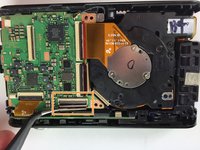
Unscrew the 3 silver 4.5 mm screws from the circuit board using a Phillips #0 screwdriver.
-
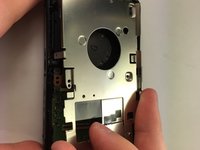
Remove the circuit board cover.
-


To reassemble your device, follow these instructions in reverse order.
To reassemble your device, follow these instructions in reverse order.
Annulla: non ho completato questa guida.
Un'altra persona ha completato questa guida.
Team

Baylor, Team 5-10, Williams Spring 2015 Membro di Baylor, Team 5-10, Williams Spring 2015
BU-WILLIAMS-S15S5G10
3 Membri
10 Guide realizzate