Salta al contenuto principale
Unisciti alla Community delle riparazioni - Crea un account

Samsung Chromebook 2 Screen Replacement

Cosa ti serve

    1. Samsung Chromebook 2 Screen Replacement, Battery: passo 1, immagine 1 di 1
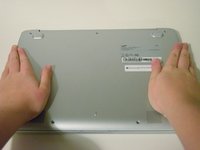
      • Make sure your Chromebook is turned off before you begin.

      • Set the labtop face down on a flat surface.

      Chiedi a FixBot

      Aggiungi Commento

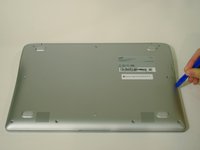
    2. Samsung Chromebook 2 Screen Replacement: passo 2, immagine 1 di 3 Samsung Chromebook 2 Screen Replacement: passo 2, immagine 2 di 3 Samsung Chromebook 2 Screen Replacement: passo 2, immagine 3 di 3
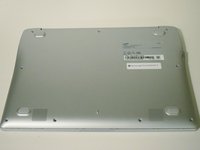
      • Remove the nine 5 mm screws on the bottom cover using a Phillips #0 screwdriver.

      Chiedi a FixBot

      Aggiungi Commento

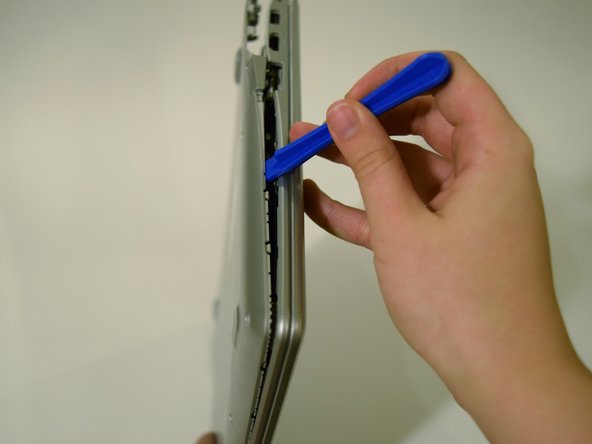
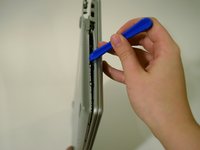
    3. Samsung Chromebook 2 Screen Replacement: passo 3, immagine 1 di 2 Samsung Chromebook 2 Screen Replacement: passo 3, immagine 2 di 2
      • Loosen the back cover panel with a plastic opening tool, and work it all the way around the computer.

      Chiedi a FixBot

      Aggiungi Commento

    4. Samsung Chromebook 2 Screen Replacement: passo 4, immagine 1 di 2 Samsung Chromebook 2 Screen Replacement: passo 4, immagine 2 di 2
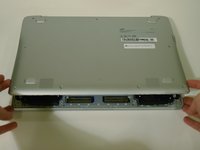
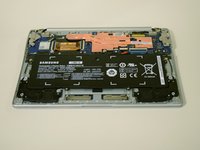
      • Once the cover is loose, remove the back cover panel using your hands.

      Chiedi a FixBot

      Aggiungi Commento

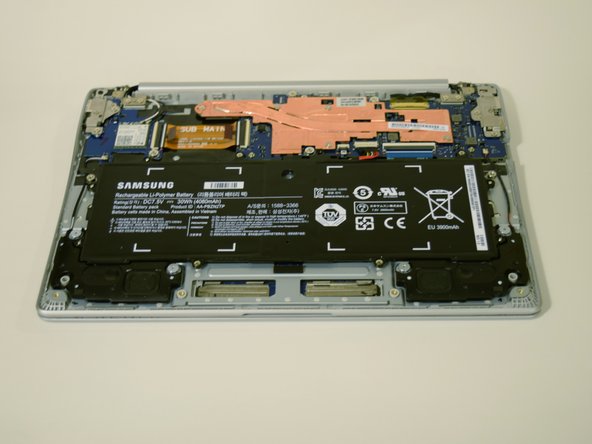
    5. Samsung Chromebook 2 Screen Replacement: passo 5, immagine 1 di 2 Samsung Chromebook 2 Screen Replacement: passo 5, immagine 2 di 2
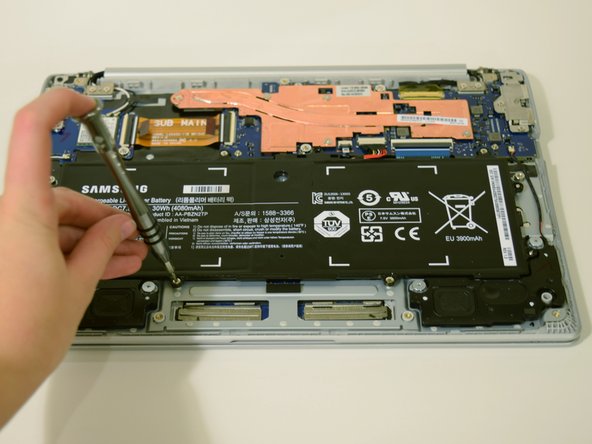
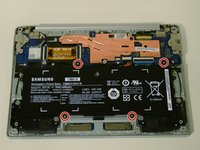
      • Unscrew the four 4 mm screws holding the battery in place with a Phillips #0 screwdriver.

      Chiedi a FixBot

      Aggiungi Commento

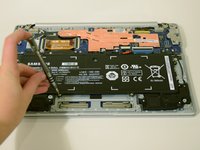
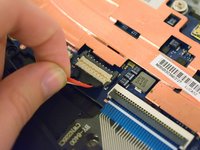
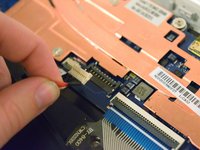
    6. Samsung Chromebook 2 Screen Replacement: passo 6, immagine 1 di 3 Samsung Chromebook 2 Screen Replacement: passo 6, immagine 2 di 3 Samsung Chromebook 2 Screen Replacement: passo 6, immagine 3 di 3
      • Disconnect the wire that connects the battery to the motherboard by pulling upward.

      Chiedi a FixBot

      Aggiungi Commento

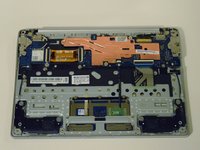
    1. Samsung Chromebook 2 Screen Replacement, Screen: passo 7, immagine 1 di 2 Samsung Chromebook 2 Screen Replacement, Screen: passo 7, immagine 2 di 2
      • Replace the back cover by clicking it into place with your hands.

      • No need to replace the screws, this is just to protect the internal hardware while working on the screen.

      Chiedi a FixBot

      Aggiungi Commento

    2. Samsung Chromebook 2 Screen Replacement: passo 8, immagine 1 di 2 Samsung Chromebook 2 Screen Replacement: passo 8, immagine 2 di 2
      • Open the laptop and place it so that the back of the screen is laying on a flat surface.

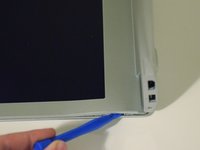
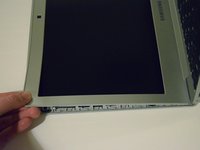
      • Insert a plastic opening tool between the front cover and plastic screen trim.

      • Work the plastic opening tool all around the trim.

      • Don't be afraid to use your hands to pull the trim from the front panel.

      Chiedi a FixBot

      Aggiungi Commento

    3. Samsung Chromebook 2 Screen Replacement: passo 9, immagine 1 di 2 Samsung Chromebook 2 Screen Replacement: passo 9, immagine 2 di 2
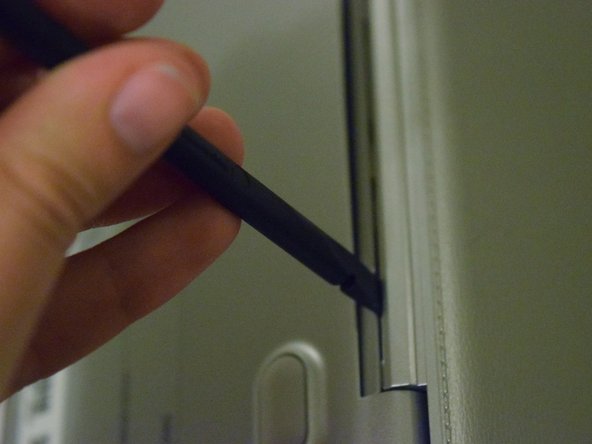
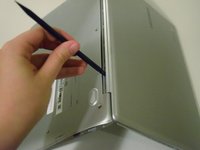
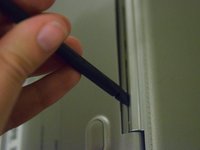
      • Flip the computer over so that the keys and screen are facing down.

      • Insert the spudger between the back and front panel, at the hinge, and push the trim out.

      Chiedi a FixBot

      Aggiungi Commento

    4. Samsung Chromebook 2 Screen Replacement: passo 10, immagine 1 di 1
      • Place the laptop in a position where it is resting on the back of the screen.

      • Remove the trim from the front panel by pulling up with your hands.

      Chiedi a FixBot

      Aggiungi Commento

    5. Samsung Chromebook 2 Screen Replacement: passo 11, immagine 1 di 2 Samsung Chromebook 2 Screen Replacement: passo 11, immagine 2 di 2
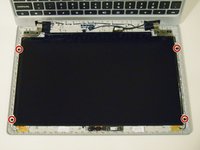
      • Using a Phillips #0 screwdriver to unscrew the four 3 mm screws keeping the screen in place.

      Chiedi a FixBot

      Aggiungi Commento

    6. Samsung Chromebook 2 Screen Replacement: passo 12, immagine 1 di 2 Samsung Chromebook 2 Screen Replacement: passo 12, immagine 2 di 2
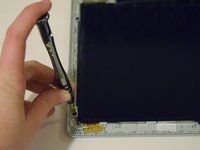
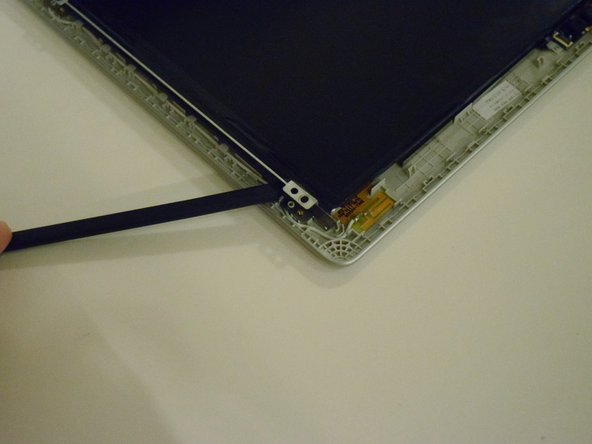
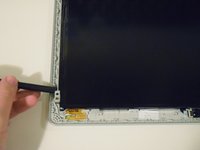
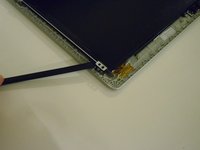
      • Using the spudger, pry the screen loose from the front panel.

      • Do not try to remove the screen yet, it is still connect by a wire.

      Chiedi a FixBot

      Aggiungi Commento

    7. Samsung Chromebook 2 Screen Replacement: passo 13, immagine 1 di 3 Samsung Chromebook 2 Screen Replacement: passo 13, immagine 2 di 3 Samsung Chromebook 2 Screen Replacement: passo 13, immagine 3 di 3
      • Place the laptop in an upright position.

      • When you place the Chromebook in this position the screen may fall off, so make sure to hold onto it.

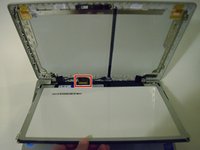
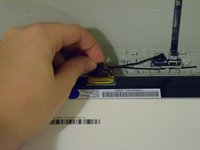
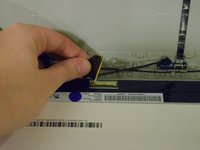
      • Pull back the screen to locate the LCD cable, and disconnect it by pulling the black tape that surrounds it towards you.

      Chiedi a FixBot

      Aggiungi Commento

    8. Samsung Chromebook 2 Screen Replacement: passo 14, immagine 1 di 1
      • Pull the screen from the front panel using your hands to fully remove it.

      Chiedi a FixBot

      Aggiungi Commento

Conclusione

To reassemble your device, follow these instructions in reverse order.

Annulla: non ho completato questa guida.

Altre 12 persone hanno completato questa guida.

Team

UW Tacoma, Team 1-3, Rose Winter 2016 Membro di UW Tacoma, Team 1-3, Rose Winter 2016

UWT-ROSE-W16S1G3

4 Membri

16 guide realizzate

0Commenti sulla guida

Aggiungi Commento

Visualizza statistiche:

Ultime 24 ore: 4

Ultimi 7 giorni: 17

Ultimi 30 giorni: 45

Tutti i Tempi: 8,185