Salta al contenuto principale

SG 552-1 Commando Barrel Replacement

Cosa ti serve

  1. SG 552-1 Commando Barrel Replacement, Barrel: passo 1, immagine 1 di 2 SG 552-1 Commando Barrel Replacement, Barrel: passo 1, immagine 2 di 2
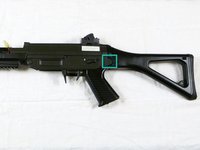
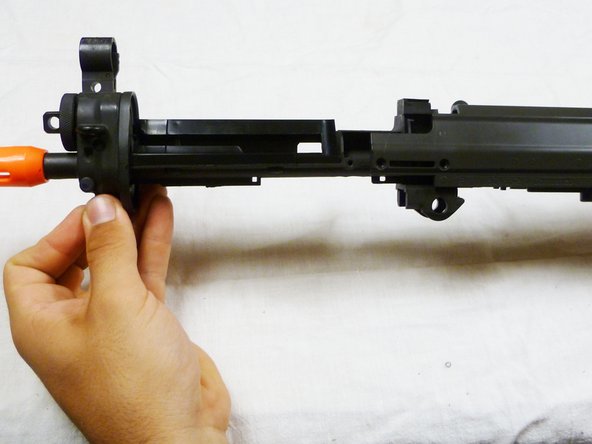
    • Using a flathead screwdriver, remove the pin holding the hand guard in place.

    • To remove this, turn the pin clockwise and push it through at the same time.

    • Pull the hand guard off.

  2. SG 552-1 Commando Barrel Replacement: passo 2, immagine 1 di 2 SG 552-1 Commando Barrel Replacement: passo 2, immagine 2 di 2
    • Using a Phillips #1 screwdriver, remove the two 8mm screws above the hand guard on both sides of the gun. There should be four total.

  3. SG 552-1 Commando Barrel Replacement: passo 3, immagine 1 di 2 SG 552-1 Commando Barrel Replacement: passo 3, immagine 2 di 2
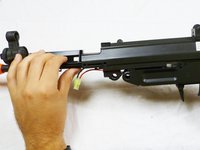
    • Locate the button to fold over the folding stock and fold over the folding stock.

    • Using a Phillips #1 screwdriver, remove the 20mm screw located behind the folding stock.

  4. SG 552-1 Commando Barrel Replacement: passo 4, immagine 1 di 2 SG 552-1 Commando Barrel Replacement: passo 4, immagine 2 di 2
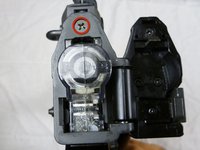
    • Turn the gun over so that you are facing the bottom of the gun.

    • Using a Phillips #1 screwdriver, remove the following screws:

    • Remove the 8mm screw located directly underneath the cocking lever.

    • Remove the 8mm screw beside the one you just removed.

  5. SG 552-1 Commando Barrel Replacement: passo 5, immagine 1 di 2 SG 552-1 Commando Barrel Replacement: passo 5, immagine 2 di 2
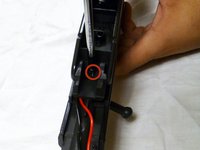
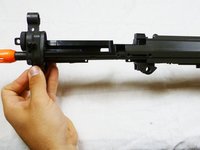
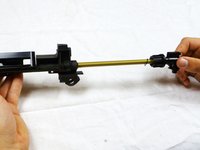
    • Carefully tug on the tip of the gun and pull the barrel and its cover out.

  6. SG 552-1 Commando Barrel Replacement: passo 6, immagine 1 di 3 SG 552-1 Commando Barrel Replacement: passo 6, immagine 2 di 3 SG 552-1 Commando Barrel Replacement: passo 6, immagine 3 di 3
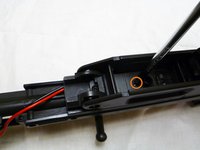
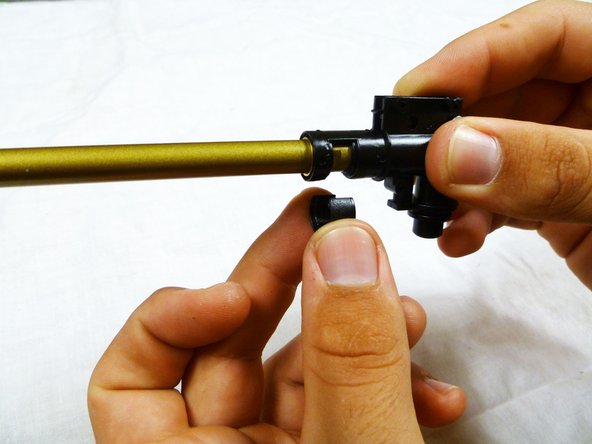
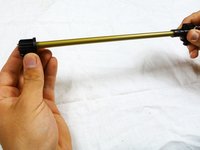
    • Pull the barrel out from the cover.

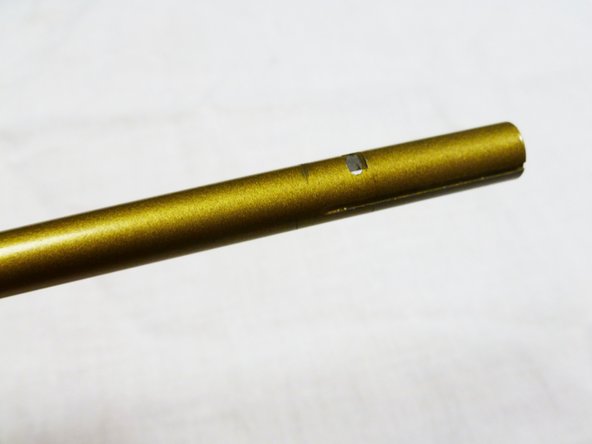
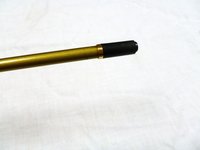
    • Remove the pieces at the end of the barrel.

  7. SG 552-1 Commando Barrel Replacement: passo 7, immagine 1 di 2 SG 552-1 Commando Barrel Replacement: passo 7, immagine 2 di 2
    • Remove the remaining pieces of on the ends of the barrel.

Conclusione

To reassemble your device, follow these instructions in reverse order.

Laura Schulz

Membro da: 10/05/12

1 Reputazione

1 Guida realizzata

Team

Cal Poly, Team 18-41, Regan Fall 2012 Membro di Cal Poly, Team 18-41, Regan Fall 2012

CPSU-REGAN-F12S18G41

6 Membri

6 Guide realizzate

0 Commenti

Aggiungi Commento

Visualizza Statistiche:

Ultime 24 Ore: 0

Ultimi 7 Giorni: 0

Ultimi 30 Giorni: 2

Tutti i Tempi: 1,642