Introduzione
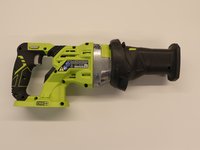
The Ryobi ONE+ P516 reciprocating saw is a lightweight, cordless saw, designed with compact features that complete the task for any DIY projects around your home. In this replacement guide, you will learn how to disassemble the main case for the reciprocating saw. To avoid hazards, keep the tools away from mouths and always wear safety goggles while sawing.
Cosa ti serve
-
-
-
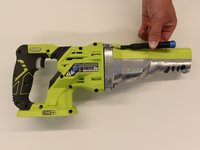
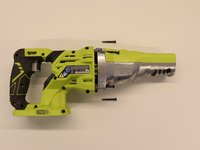
Using the 5mm hex key included at the base of the saw, loosen the set screw at the front of the saw.
-
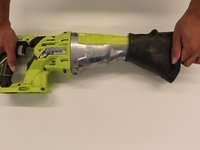
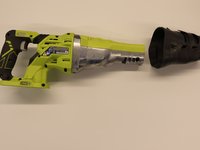
The front guard will now slide out from the front of the saw.
 Chiedi a FixBot
-
-
-
Remove the two 10mm T20 Torx screws from the front of the saw.
-
Pull out the front plate.
-
-
-
-
Start at the middle of the device and begin to pry up the rubber grip.
-
Pull the rubber portion inside out towards the front of the saw.
-
-
-
Remove all twelve 14mm T20 Torx screws from the main case of the device.
-
-
-
Remove the four 35mm Phillips #2 screws.
-
Pry the two case halves apart starting at the middle of the saw.
-
-
-
Continue splitting the case until the top piece of the case is free and set it aside.
-
-




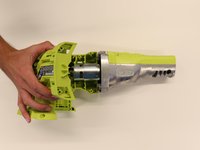

To reassemble your device, follow these instructions in reverse order.
Annulla: non ho completato questa guida.
Altre 6 persone hanno completato questa guida.

Team

Embry-Riddle Aeronautical University, Team S8-G4, Salas Fall 2019 Membro di Embry-Riddle Aeronautical University, Team S8-G4, Salas Fall 2019
ERAU-SALAS-F19S8G4
4 Membri
1 guide realizzate
2Commenti sulla guida
P516 blade locking parts
P516 blade locking parts breakdown, please ?
