Introduzione
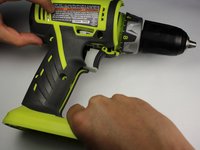
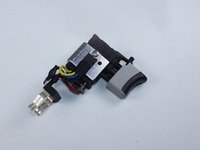
This guide demonstrates how to replace the trigger assembly. This includes the trigger and the integrated circuit that controls the motor. It is necessary that the battery is removed before beginning to ensure that the drill is not receiving power when its electronics are removed. Some soldering experience is required.
Cosa ti serve
-
-
-
Detach the battery unit from the drill body by pressing the battery release buttons on both sides of the unit and pulling outwards.
 Chiedi a FixBot
-
-
-
-
-
Use a Torx T10 screw driver to unscrew all ten 13.5 mm screws from the drill casing to gain access to the interior.
-
-
-
-
Gently lift the casing from the drill body.
-
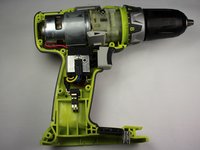
Take the casing completely off the drill body to gain access to the interior of the drill.
-
-
-
-
-
Grip the battery clip and pull straight up to remove the metal battery contacts.
-
You can now clean the metal battery contacts with isopropyl alcohol.
-
-
-
-
-
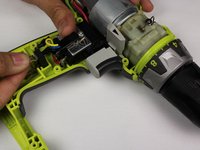
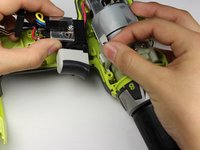
Holding the direction select switch in place, grip both sides of the trigger assembly and lift it up and towards the base of the drill.
-
-
-
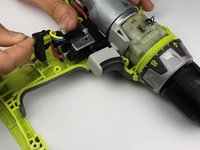
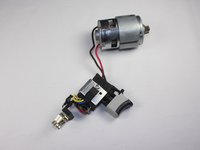
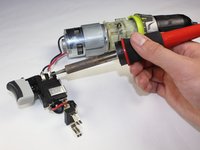
To separate the trigger assembly from the motor, use a soldering iron to melt the solder and pull gently on the red and black wires from the trigger.
-
-








To reassemble your device, follow these instructions in reverse order. You will need solder to reattach the wires to the trigger assembly.
Annulla: non ho completato questa guida.
Un'altra persona ha completato questa guida.

Team

Cal Poly, Team 17-6, Forte Spring 2015 Membro di Cal Poly, Team 17-6, Forte Spring 2015
CPSU-FORTE-S15S17G6
4 Membri
10 guide realizzate
