Salta al contenuto principale
Unisciti alla Community delle riparazioni - Crea un account

Rowenta Focus Material Setting Knob Replacement

Cosa ti serve

  1. Rowenta Focus Material Setting Knob Replacement, Power Assembly: passo 1, immagine 1 di 2 Rowenta Focus Material Setting Knob Replacement, Power Assembly: passo 1, immagine 2 di 2
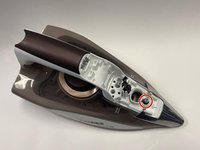
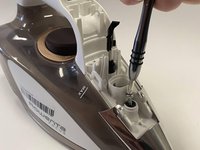
    • Using a T20 screwdriver, remove the 20 mm screw on the back of the iron.

    • Unplug iron before removing cover and make sure the iron is cool before beginning the repair.

    Chiedi a FixBot

    Aggiungi Commento

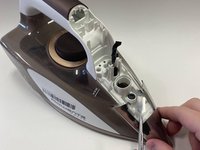
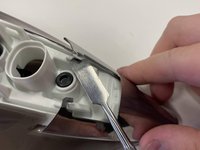
  2. Rowenta Focus Material Setting Knob Replacement: passo 2, immagine 1 di 3 Rowenta Focus Material Setting Knob Replacement: passo 2, immagine 2 di 3 Rowenta Focus Material Setting Knob Replacement: passo 2, immagine 3 di 3
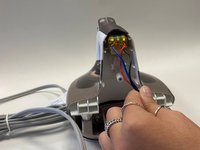
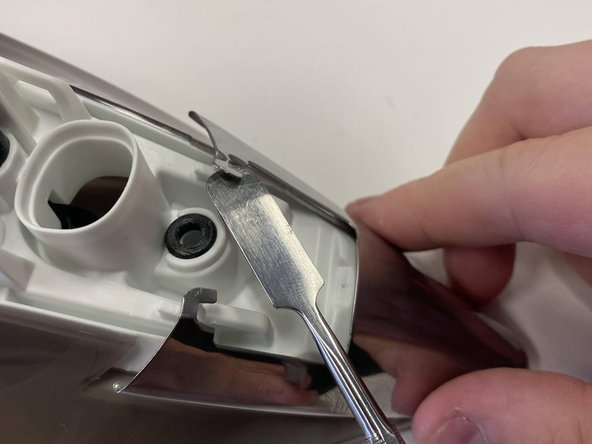
    • Pry the back cover of the iron off using a metal spudger.

    • Remove the back cover, exposing the wiring in the iron.

    Chiedi a FixBot

    Aggiungi Commento

  3. Rowenta Focus Material Setting Knob Replacement: passo 3, immagine 1 di 2 Rowenta Focus Material Setting Knob Replacement: passo 3, immagine 2 di 2
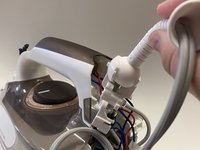
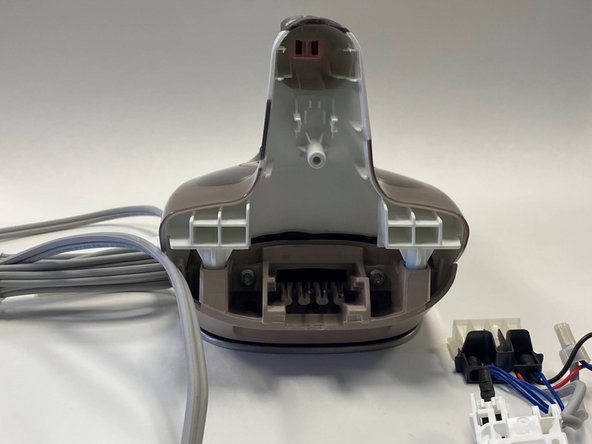
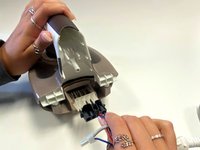
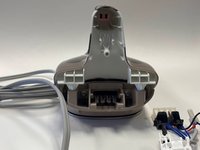
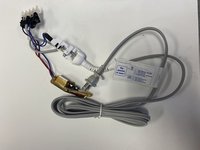
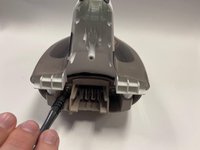
    • Remove the frontmost (main) power cord to give access to inner wiring and accessories.

    • Leave the other cords attached to the main cord.

    Chiedi a FixBot

    Aggiungi Commento

  4. Rowenta Focus Material Setting Knob Replacement: passo 4, immagine 1 di 2 Rowenta Focus Material Setting Knob Replacement: passo 4, immagine 2 di 2
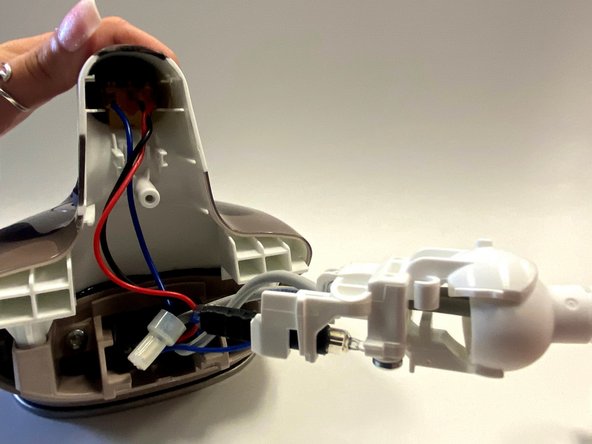
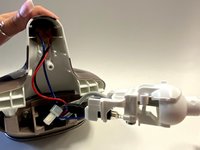
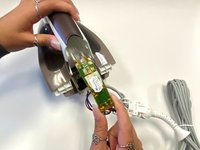
    • Pull out the motherboard inside handle of iron.

    • Keep it attached to main power cord and other components.

    Chiedi a FixBot

    Aggiungi Commento

  5. Rowenta Focus Material Setting Knob Replacement: passo 5, immagine 1 di 3 Rowenta Focus Material Setting Knob Replacement: passo 5, immagine 2 di 3 Rowenta Focus Material Setting Knob Replacement: passo 5, immagine 3 di 3
    • Remove the 4-pronged adaptor from inside the iron by grabbing the black plastic piece and pulling straight out.

    Chiedi a FixBot

    Aggiungi Commento

  6. Rowenta Focus Material Setting Knob Replacement, Steam and Spray Button: passo 6, immagine 1 di 3 Rowenta Focus Material Setting Knob Replacement, Steam and Spray Button: passo 6, immagine 2 di 3 Rowenta Focus Material Setting Knob Replacement, Steam and Spray Button: passo 6, immagine 3 di 3
    • Insert the metal spudger into the space between the spray/steam button piece and the rest of the iron.

    • Using the metal spudger for leverage, pry the piece away from the rest of the iron until it can be lifted out.

    • Lift out the piece.

    Chiedi a FixBot

    Aggiungi Commento

  7. Rowenta Focus Material Setting Knob Replacement: passo 7, immagine 1 di 3 Rowenta Focus Material Setting Knob Replacement: passo 7, immagine 2 di 3 Rowenta Focus Material Setting Knob Replacement: passo 7, immagine 3 di 3
    • Replace with an identical part by inserting it into the space.

    Chiedi a FixBot

    Aggiungi Commento

  8. Rowenta Focus Material Setting Knob Replacement, Heating Element/Soleplate: passo 8, immagine 1 di 2 Rowenta Focus Material Setting Knob Replacement, Heating Element/Soleplate: passo 8, immagine 2 di 2
    • Using the T20 screwdriver, remove the 20 mm screw that was under the steam and spray button.

    Chiedi a FixBot

    Aggiungi Commento

  9. Rowenta Focus Material Setting Knob Replacement: passo 9, immagine 1 di 2 Rowenta Focus Material Setting Knob Replacement: passo 9, immagine 2 di 2
    • Unhook the clips on the top of the metal piece.

    • Using the metal spudger, remove the metal piece on the tip of the iron.

    Chiedi a FixBot

    Aggiungi Commento

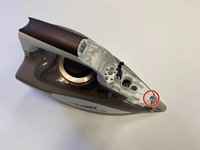
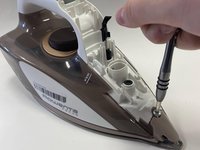
  10. Rowenta Focus Material Setting Knob Replacement: passo 10, immagine 1 di 2 Rowenta Focus Material Setting Knob Replacement: passo 10, immagine 2 di 2
    • Using the T20 screwdriver, remove the 20 mm screw that was under the metal piece on the tip of the iron.

    Chiedi a FixBot

    Aggiungi Commento

  11. Rowenta Focus Material Setting Knob Replacement: passo 11, immagine 1 di 3 Rowenta Focus Material Setting Knob Replacement: passo 11, immagine 2 di 3 Rowenta Focus Material Setting Knob Replacement: passo 11, immagine 3 di 3
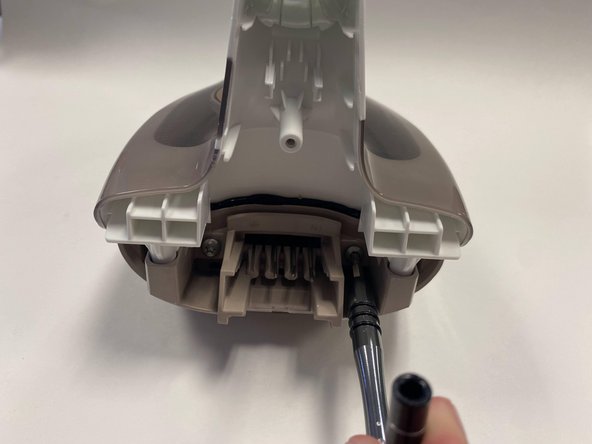
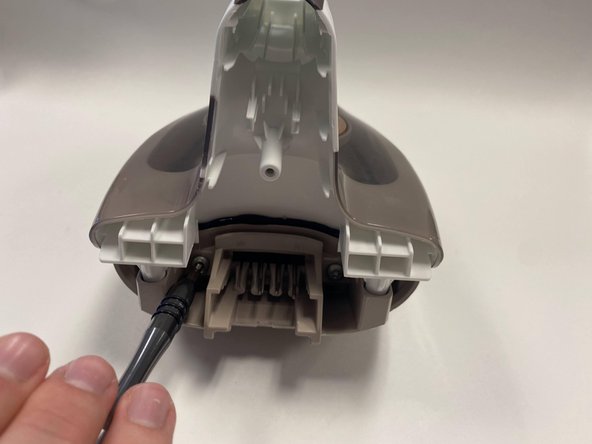
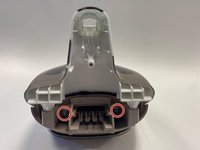
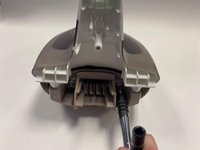
    • Using the T20 screwdriver, remove the two 20 mm screws on either side of the back of the iron.

    Chiedi a FixBot

    Aggiungi Commento

  12. Rowenta Focus Material Setting Knob Replacement: passo 12, immagine 1 di 3 Rowenta Focus Material Setting Knob Replacement: passo 12, immagine 2 di 3 Rowenta Focus Material Setting Knob Replacement: passo 12, immagine 3 di 3
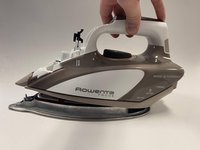
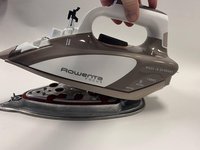
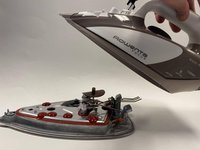
    • Lift the iron up using the handle to completely detach the soleplate.

    Chiedi a FixBot

    Aggiungi Commento

  13. Rowenta Focus Material Setting Knob Replacement, Material Setting Knob: passo 13, immagine 1 di 3 Rowenta Focus Material Setting Knob Replacement, Material Setting Knob: passo 13, immagine 2 di 3 Rowenta Focus Material Setting Knob Replacement, Material Setting Knob: passo 13, immagine 3 di 3
    • Using the T20 screwdriver, remove both of the 20mm screws on the underside of the iron.

    Chiedi a FixBot

    Aggiungi Commento

  14. Rowenta Focus Material Setting Knob Replacement: passo 14, immagine 1 di 2 Rowenta Focus Material Setting Knob Replacement: passo 14, immagine 2 di 2
    • Turn the iron over and pull the knob off.

    • Be careful not to tip the iron after removing the knob; there are small springs in the white piece underneath the knob.

    Chiedi a FixBot

    Aggiungi Commento

Conclusione

To reassemble your device, follow these instructions in reverse order.

Annulla: non ho completato questa guida.

Un'altra persona ha completato questa guida.

1Commento della guida

Nice pics, came apart easily with this guide. Just need a note on the small ball bearing which I assume goes somewhere on the steam valve?

Step - Rispondi Condividi

Aggiungi Commento

Visualizza statistiche:

Ultime 24 ore: 3

Ultimi 7 giorni: 20

Ultimi 30 giorni: 86

Tutti i Tempi: 2,325