Salta al contenuto principale
Unisciti alla Community delle riparazioni - Crea un account

Retro-Bit Retro Duo Reset Button/Power Switch Replacement

Cosa ti serve

  1. Retro-Bit Retro Duo Reset Button/Power Switch Replacement, Reset Button/Power Switch: passo 1, immagine 1 di 3 Retro-Bit Retro Duo Reset Button/Power Switch Replacement, Reset Button/Power Switch: passo 1, immagine 2 di 3 Retro-Bit Retro Duo Reset Button/Power Switch Replacement, Reset Button/Power Switch: passo 1, immagine 3 di 3
    • With the console on its top. Remove the four 12 mm Phillips #2 screws.

    • There may be a sticker covering one, or more, of the screws. Simply remove the it before the screws.

    • Flip the console on its feet and carefully lift the top casing from the back (where the AV/S and power ports are).

    • To avoid damage, do not completely remove the top case. There is a small circuit board--which houses two LEDs-- connected to the main circuit board.

    Chiedi a FixBot
  2. Retro-Bit Retro Duo Reset Button/Power Switch Replacement: passo 2, immagine 1 di 3 Retro-Bit Retro Duo Reset Button/Power Switch Replacement: passo 2, immagine 2 di 3 Retro-Bit Retro Duo Reset Button/Power Switch Replacement: passo 2, immagine 3 di 3
    • Remove the one 6 mm Phillips #0 screw.

    • Lift the top case.

    • This step allows easy button access and prevents accidental damage.

    Chiedi a FixBot
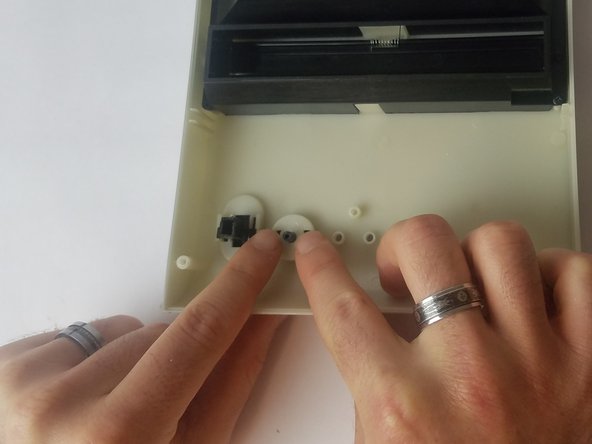
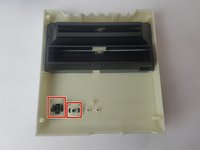
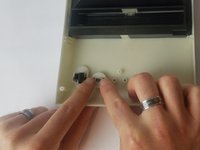
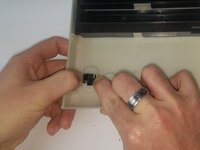
  3. Retro-Bit Retro Duo Reset Button/Power Switch Replacement: passo 3, immagine 1 di 3 Retro-Bit Retro Duo Reset Button/Power Switch Replacement: passo 3, immagine 2 di 3 Retro-Bit Retro Duo Reset Button/Power Switch Replacement: passo 3, immagine 3 di 3
    Strumento utilizzato in questo passaggio:
    Tweezers
    $4.99
    • Using your fingers (or precision tweezers), carefully pinch the button tabs and push through to the other side.

    • Make sure you pinch both tabs simultaneously, or the button will not pop out.

    Chiedi a FixBot
Conclusione

To reassemble your device, follow these instructions in reverse order.

If the problem persists after the buttons are replaced, it may be a circuit board issue. If so, please visit our guide for circuit board replacement at Retro-Bit Retro Duo Circuit Board Replacement

Truong Vo

Membro da: 09/25/17

324 Reputazione

3 guide realizzate

Team

USF Tampa, Team S4-G4, Eyestone Fall 2017 Membro di USF Tampa, Team S4-G4, Eyestone Fall 2017

USFT-EYESTONE-F17S4G4

3 Membri

10 guide realizzate

0Commenti sulla guida

Aggiungi Commento

Visualizza statistiche:

Ultime 24 ore: 1

Ultimi 7 giorni: 13

Ultimi 30 giorni: 87

Tutti i Tempi: 1,174