Salta al contenuto principale
Unisciti alla Community delle riparazioni - Crea un account

Repairing Paper Jam

    1. Repairing Paper Jam, Drum Unit and Toner Cartridge: passo 1, immagine 1 di 1
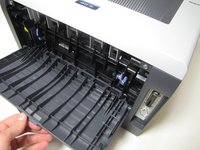
      • Press the front cover release button.

      • Keep the button pressed and pull the cover toward yourself.

      Chiedi a FixBot

      Aggiungi Commento

    2. Repairing Paper Jam: passo 2, immagine 1 di 3 Repairing Paper Jam: passo 2, immagine 2 di 3 Repairing Paper Jam: passo 2, immagine 3 di 3
      • With the front cover in the downward position, the drum & toner unit will be visible.

      • Grab the black-and-yellow handle on the unit. Lift unit up and pull it out of the printer.

      Chiedi a FixBot

      Aggiungi Commento

    1. Repairing Paper Jam, Repairing Paper Jam: passo 3, immagine 1 di 2 Repairing Paper Jam, Repairing Paper Jam: passo 3, immagine 2 di 2
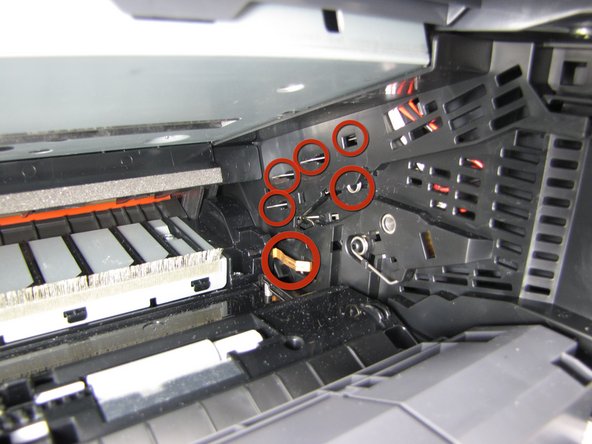
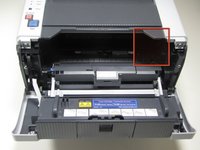
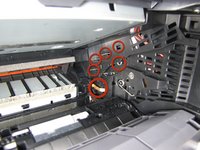
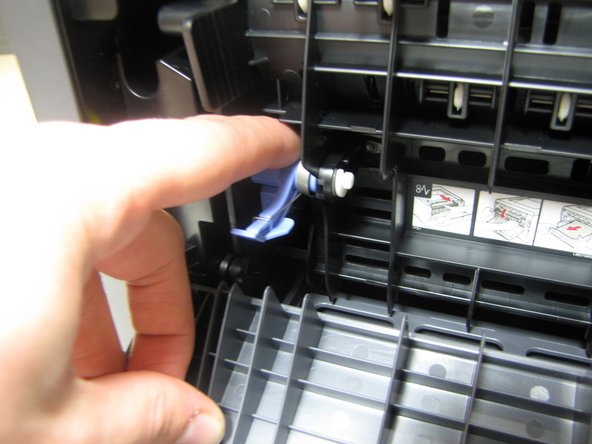
      • DO NOT TOUCH the electrodes on the right inner wall of the printer. Touching these electrodes can cause electrical damage to the printer.

      Chiedi a FixBot

      Aggiungi Commento

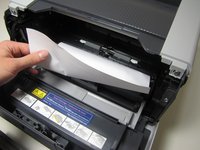
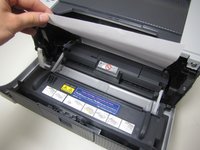
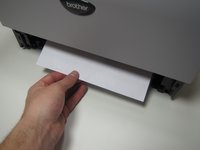
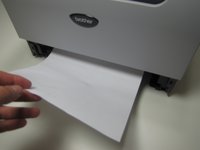
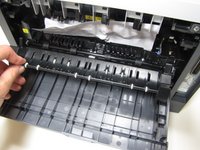
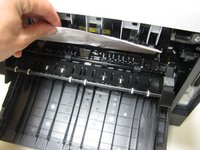
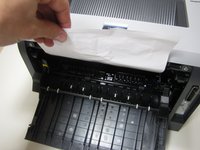
    2. Repairing Paper Jam, Paper Jam Type 1: passo 4, immagine 1 di 3 Repairing Paper Jam, Paper Jam Type 1: passo 4, immagine 2 di 3 Repairing Paper Jam, Paper Jam Type 1: passo 4, immagine 3 di 3
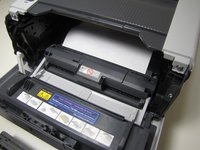
      • If jammed, paper will be visible after removing the drum unit. To clear paper jam, reach into printer and grab a corner of the paper.

      • Proceed to lift paper up and out of the printer.

      • Jammed paper may require an excess amount of force to be removed from printer.

      Chiedi a FixBot

      Aggiungi Commento

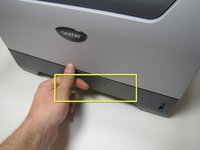
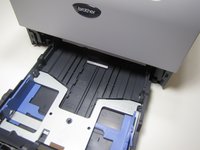
    3. Repairing Paper Jam, Paper Jam Type 2: passo 5, immagine 1 di 2 Repairing Paper Jam, Paper Jam Type 2: passo 5, immagine 2 di 2
      • Grab onto the lift located on the paper tray near the bottom on the front of the printer.

      • Pull the paper tray completely out of the printer by pulling towards yourself.

      Chiedi a FixBot

      Aggiungi Commento

    4. Repairing Paper Jam: passo 6, immagine 1 di 2 Repairing Paper Jam: passo 6, immagine 2 di 2
      • If jammed paper is visible, grab onto the paper and remove by pulling up and towards yourself.

      • Jammed paper may require a large amount of force to be removed from printer.

      Chiedi a FixBot

      Aggiungi Commento

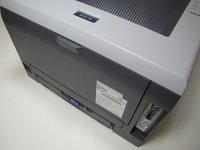
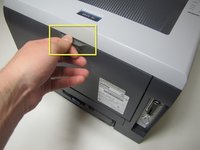
    5. Repairing Paper Jam, Paper Jam Type 3: passo 7, immagine 1 di 3 Repairing Paper Jam, Paper Jam Type 3: passo 7, immagine 2 di 3 Repairing Paper Jam, Paper Jam Type 3: passo 7, immagine 3 di 3
      • Located on the back of the printer, open up the cover by grabbing onto the tab and pulling down.

      Chiedi a FixBot

      Aggiungi Commento

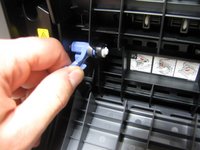
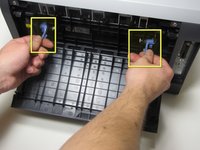
    6. Repairing Paper Jam: passo 8, immagine 1 di 3 Repairing Paper Jam: passo 8, immagine 2 di 3 Repairing Paper Jam: passo 8, immagine 3 di 3
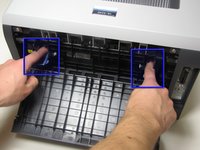
      • In front of you will see two blue tabs, one on the left and right side.

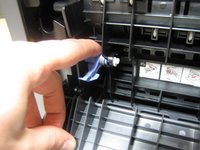
      • First, push the top part of the tab in until the bottom part of the tab lifts up.

      • Grab onto the bottom part of the tab.

      Chiedi a FixBot

      Aggiungi Commento

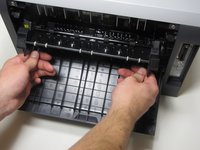
    7. Repairing Paper Jam: passo 9, immagine 1 di 2 Repairing Paper Jam: passo 9, immagine 2 di 2
      • Once you have a firm grib of both the right and left tab, lift both tabs up and towards yourself.

      • The fuser cover, which the tabs are connected to, does not come completely out of the printer because it is attached to the bottom by a hinge.

      Chiedi a FixBot

      Aggiungi Commento

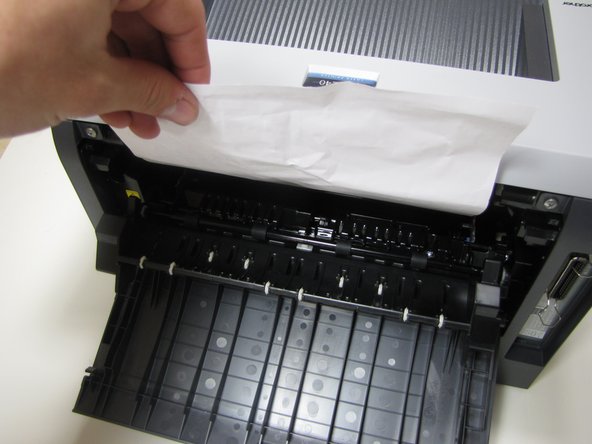
    8. Repairing Paper Jam: passo 10, immagine 1 di 3 Repairing Paper Jam: passo 10, immagine 2 di 3 Repairing Paper Jam: passo 10, immagine 3 di 3
      • If jammed paper is visible, grab onto the top of the paper and pull up until completely removed from printer.

      • Jammed paper may require an excess amount of force to be removed from printer.

      Chiedi a FixBot

      Aggiungi Commento

Conclusione

To reassemble your device, follow these instructions in reverse order.

Annulla: non ho completato questa guida.

Altre 2 persone hanno completato questa guida.

Team

Cal Poly, Team 4-14, Forte Winter 2010 Membro di Cal Poly, Team 4-14, Forte Winter 2010

CPSU-FORTE-W10S4G14

5 Membri

15 guide realizzate

0Commenti sulla guida

Aggiungi Commento

Visualizza statistiche:

Ultime 24 ore: 2

Ultimi 7 giorni: 12

Ultimi 30 giorni: 49

Tutti i Tempi: 15,270