Introduzione
Questa procedura risolve i problemi di lettura dei CD.
IMPORTANTE: I passaggi da 11 a 16 non hanno alcuna utilità qui e serviranno solo ad allungare il processo. Per risparmiare tempo e sforzo, salta direttamente dal passo 10 al passo 17.
Cosa ti serve
-
-
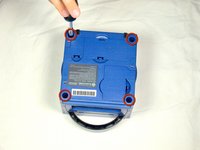
Ruota il GameCube in modo che la faccia inferiore sia rivolta verso l'alto.
-
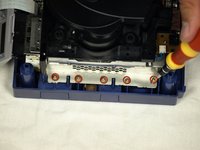
Utilizza il cacciavite Gamebit da 4,5 mm per rimuovere tutte e quattro le viti.
-
-
-
Premi delicatamente sui clip posizionati su entrambi i lati del pannello posteriore.
-
Rimuovi con attenzione il pannello posteriore dal GameCube.
-
-
-
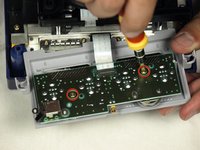
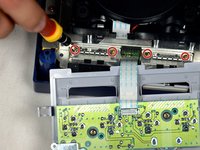
Usa un cacciavite a croce Phillips per svitare le 2 viti che si trovano sul retro delle prese dei controller.
-
Separa attentamente la copertura esterna grigia delle porte dei controller e della scheda logica.
-
-
-
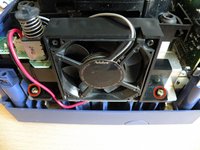
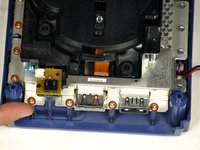
La parte sinistra della console contiene la ventola e il suo alloggio.
-
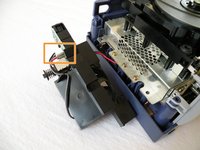
Svita attentamente le due viti che fissano la ventola al suo alloggio.
-
Non scollegare i cavi rosso e nero della ventola dalla console. Indicato in arancione
-
-
-
-
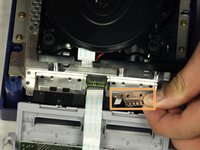
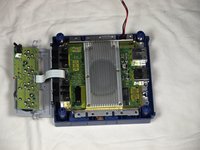
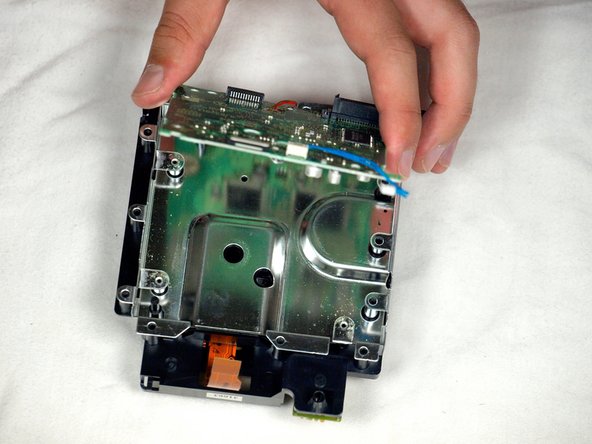
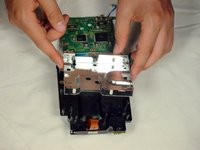
Separa attentamente il gruppo del lettore CD dal resto del GameCube.
-
Il gruppo del lettore CD è fissato alla scheda madre sottostante da una presa: potresti dover fare una certa forza per rimuovere attentamente il gruppo.
-
La placca in metallo e il lettore CD resteranno attaccati.
-
-
-
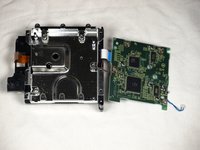
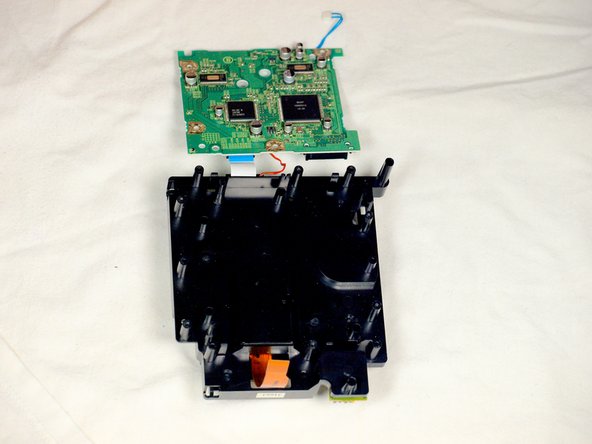
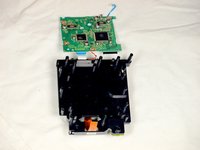
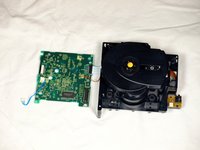
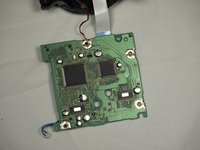
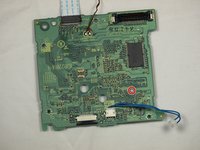
A questo punto, il gruppo del lettore CD dovrebbe essere separato dal tuo GameCube (immagine 1).
-
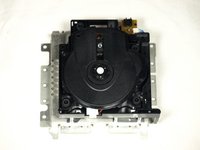
Gira il gruppo del lettore CD a faccia in giù.
-
Rimuovi le sei viti con un cacciavite a croce di dimensioni #1.
-
Solleva delicatamente e rimuovi la piastra metallica.
-
-
-
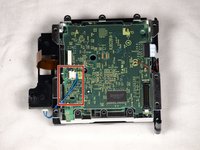
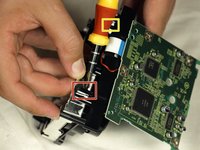
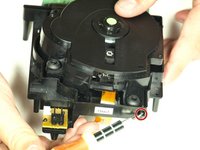
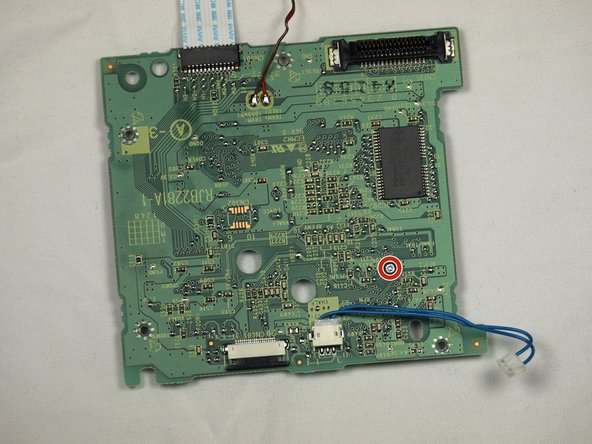
Scollega il cavo blu tirandolo delicatamente.
-
Scollega il cavo marrone. Per farlo tira delicatamente via l'aletta nera dalla plastica bianca. Così allenterai la tensione sul cavo marrone, potendolo sfilare dall'aletta.
-
Rimuovi le quattro viti Phillips #1 che collegano la scheda circuito all'insieme dell'unità ottica.
-
-
-
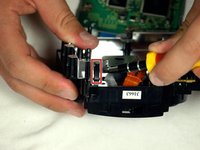
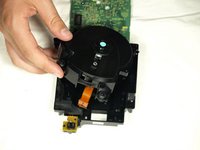
Usa un cacciavite a testa piatta per rilasciare i due ganci sulla metà posteriore del gruppo del lettore CD.
-
L'ultimo gancio non deve essere rilasciato: La metà superiore del gruppo del lettore CD si sfilerà da quella inferiore.
-
Rimuovi la metà superiore del gruppo del lettore CD dalla base.
-
-
-
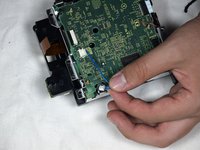
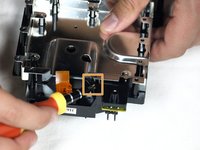
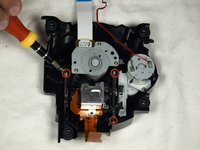
Ruota il gruppo in modo che la scheda logica verde sia rivolta verso di te come mostrato nella prima immagine.
-
Gira la scheda a faccia in giù in modo che sia orientata come nella seconda immagine.
-
Usando un cacciavite a croce Phillips #1, gira la piccola manopola molto leggermente in senso antiorario, di qualche grade, al massimo di un quarto di giro.
-


Per rimontare il tuo dispositivo, segui le istruzioni in ordine inverso.
Per rimontare il tuo dispositivo, segui le istruzioni in ordine inverso.
Annulla: non ho completato questa guida.
Altre 29 persone hanno completato questa guida.
Un ringraziamento speciale a questi traduttori:
100%

Questi traduttori ci stanno aiutando ad aggiustare il mondo! Vuoi partecipare?
Inizia a tradurre ›
Team

Cal Poly, Team 6-2, Maness Fall 2009 Membro di Cal Poly, Team 6-2, Maness Fall 2009
CPSU-MANESS-F09S6G2
4 Membri
45 Guide realizzate
6 Commenti
I don't understand why you have steps 11-17. In step 10, you can clearly see the board with the screw that needs adjusting. Taking apart the rest of the GameCube is utterly unnecessary. After following the guide in full, I thought, 'Why did I just dismantle all that other stuff when I didn't even NEED to?'
Once the assembly is removed from the metal covering the board, it is a simple matter to turn the screw to increase the laser strength. I did this after my initial adjustment didn't work. I ignored steps 11-17 and everything works perfectly now. My old games which simply would not load, now do. Thanks for the advice leading up to step 10 though. That part was helpful.
I wouldn't say it's a quarter of a turn, a few degrees clockwise do the trick. I tried a quarter of a turn the first time and it made the disk unit useless as it didn't recognise any gamecube disk.
Thanks for the detailed pictures! I was able to get everything taken apart, and fixed the read error I was having after a couple of readjustments.
One important note: the lens screw should be turned counter-clockwise, not clockwise. A quarter turn is also likely to be too much; better to adjust a few degrees at a time and test repeatedly until the right setting is found.
gameFAQs.com has a lens calibration guide, with notes on how to reassemble the GameCube for testing without screwing everything back together.
I also agree that steps 11-17 can be skipped, as well as step 5 to remove the controller ports.
Steps 11+ are definitely not needed and 1/4 turn is more than 200ohms, way too much. It has to be moved by a hair (almost literally), the potentiometer is extremely sensitive. And I would personally recommend some form of multimeter, as to not go turning that screw blindly.
Great guide, this fixed my problem. Would like to be clarified if you need to follow steps 11-17 make the power adjustment.