Salta al contenuto principale
Unisciti alla Community delle riparazioni - Crea un account

Propel Gyro-X Drive Gears Replacement

Cosa ti serve

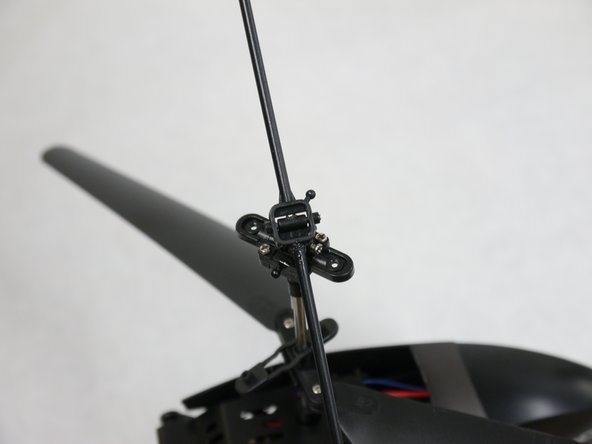
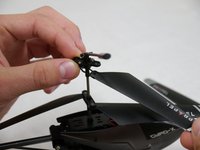
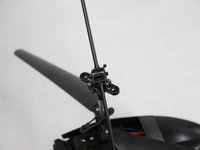
    1. Propel Gyro-X Drive Gears Replacement, Top Propellor Blades: passo 1, immagine 1 di 1
      Strumento utilizzato in questo passaggio:
      Tweezers
      $4.99
      • Stabilizing links are easy to break. Be gentle when prying them off.

      • Place the tweezers on the sides of the links and pull straight away from the top point of connection.

      Chiedi a FixBot

      Aggiungi Commento

    2. Propel Gyro-X Drive Gears Replacement: passo 2, immagine 1 di 2 Propel Gyro-X Drive Gears Replacement: passo 2, immagine 2 di 2
      • Remove the two 6.0 mm Phillips #00 screws from the rotors.

      Chiedi a FixBot

      Aggiungi Commento

    3. Propel Gyro-X Drive Gears Replacement: passo 3, immagine 1 di 2 Propel Gyro-X Drive Gears Replacement: passo 3, immagine 2 di 2
      • Pull the rotors away from the mounting brackets.

      Chiedi a FixBot

      Aggiungi Commento

    1. Propel Gyro-X Drive Gears Replacement, Bottom Propellor Blades: passo 4, immagine 1 di 1
      • Remove the two 5.0 mm Phillips #00 screws from the rotors.

      • The blades will fall off when the screws have been removed.

      Chiedi a FixBot

      Aggiungi Commento

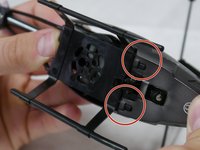
    1. Propel Gyro-X Drive Gears Replacement, Outer Shell: passo 5, immagine 1 di 1
      • Locate the nubs on either side of the helicopter.

      Chiedi a FixBot

      Aggiungi Commento

    2. Propel Gyro-X Drive Gears Replacement: passo 6, immagine 1 di 1
      • Pull the body shell off of the nubs on both sides.

      Chiedi a FixBot

      Aggiungi Commento

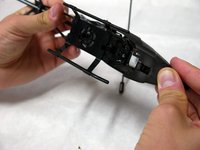
    3. Propel Gyro-X Drive Gears Replacement: passo 7, immagine 1 di 2 Propel Gyro-X Drive Gears Replacement: passo 7, immagine 2 di 2
      • Push the front of the nose back towards the tail of the helicopter.

      • Push down on the shell and pull it away from the body, so that both slots pass over the hooks on the bottom of the helicopter.

      Chiedi a FixBot

      Aggiungi Commento

    1. Propel Gyro-X Drive Gears Replacement, Drive Gears: passo 8, immagine 1 di 1
      • Remove the two 8 mm Phillips #00 screws between the motor casing and the body.

      Chiedi a FixBot

      Aggiungi Commento

    2. Propel Gyro-X Drive Gears Replacement: passo 9, immagine 1 di 1
      • Remove the 4 mm Phillips #00 screw from the tail.

      Chiedi a FixBot

      Aggiungi Commento

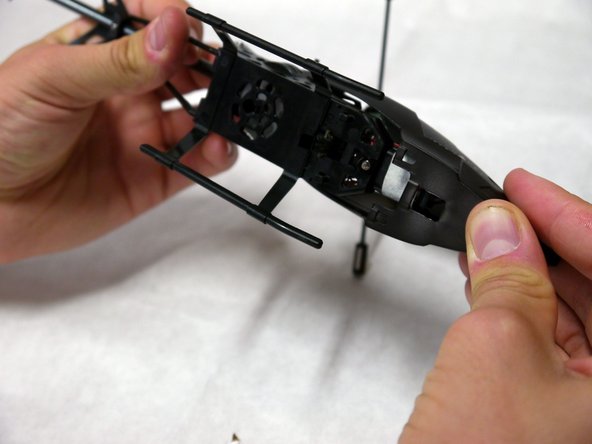
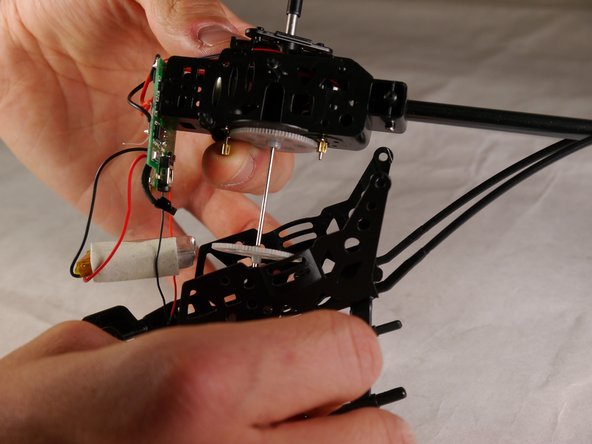
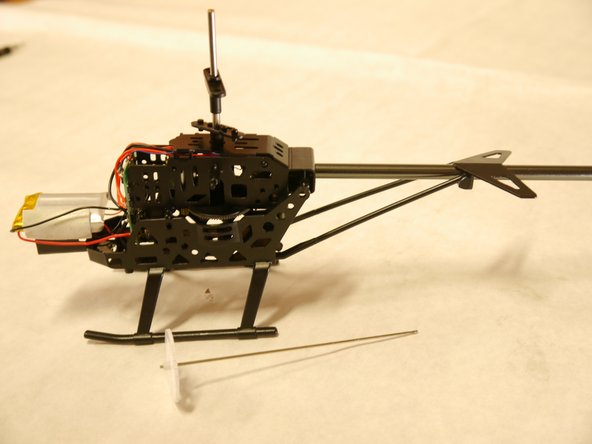
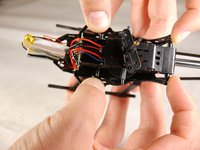
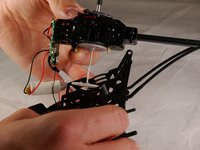
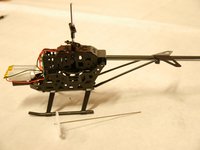
    3. Propel Gyro-X Drive Gears Replacement: passo 10, immagine 1 di 3 Propel Gyro-X Drive Gears Replacement: passo 10, immagine 2 di 3 Propel Gyro-X Drive Gears Replacement: passo 10, immagine 3 di 3
      • Use your fingers to free the motor casing from the body, by bending the plastic body casing outwards at each of the four nubs.

      • Pull the motor casing upwards from the body.

      • The drive gear will slide out when you lift the motor casing.

      Chiedi a FixBot

      Aggiungi Commento

Conclusione

To reassemble your device, follow these instructions in reverse order.

Annulla: non ho completato questa guida.

Altre 2 persone hanno completato questa guida.

Team

Cal Poly, Team 17-2, Forte Spring 2015 Membro di Cal Poly, Team 17-2, Forte Spring 2015

CPSU-FORTE-S15S17G2

4 Membri

24 guide realizzate

0Commenti sulla guida

Aggiungi Commento

Visualizza statistiche:

Ultime 24 ore: 0

Ultimi 7 giorni: 13

Ultimi 30 giorni: 49

Tutti i Tempi: 3,579