Salta al contenuto principale
Unisciti alla Community delle riparazioni - Crea un account

ProntoTec Axius Screen Replacement

Cosa ti serve

  1. ProntoTec Axius Screen Replacement, Screen: passo 1, immagine 1 di 1
    • Make sure the device is completely turned off before you begin taking it apart to avoid risk of electrocution.

    • Place the tablet face-up on a flat table

    Chiedi a FixBot

    Aggiungi Commento

  2. ProntoTec Axius Screen Replacement: passo 2, immagine 1 di 1
    • Starting near the headphone port, fit the flat end of the spudger in between the screen and back case.

    • Pry the back case from the screen around each point on the device to release the clips securing the case halves to each other.

    Chiedi a FixBot

    Aggiungi Commento

  3. ProntoTec Axius Screen Replacement: passo 3, immagine 1 di 1
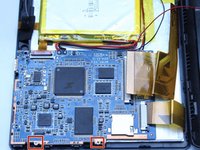
    • Gently remove the back case of the device and lay it in a flat surface as shown in the photo.

    • Make sure not to sever the wires (red and black) connected to the speaker that is located in the back case.

    Chiedi a FixBot

    Aggiungi Commento

  4. ProntoTec Axius Screen Replacement: passo 4, immagine 1 di 1
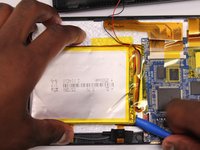
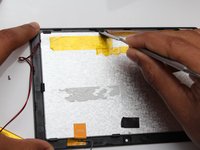
    • Remove all of the yellow tape that is on the device with the spudger.

    • Be careful not to cut any wires that are under the tapes.

    Chiedi a FixBot

    Aggiungi Commento

  5. ProntoTec Axius Screen Replacement: passo 5, immagine 1 di 2 ProntoTec Axius Screen Replacement: passo 5, immagine 2 di 2
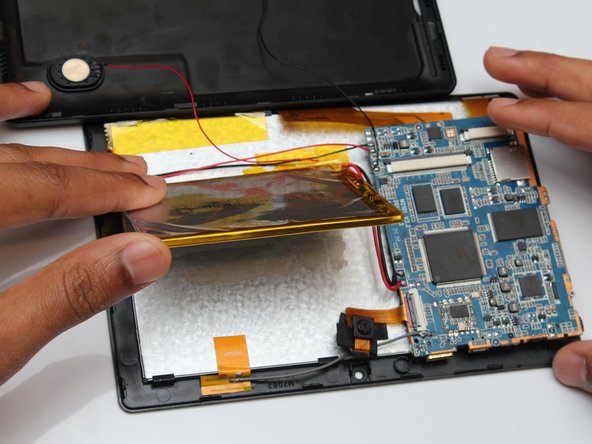
    • Use the flat end of the spudger to gently pry the battery from the back of the screen.

    Chiedi a FixBot

    Aggiungi Commento

  6. ProntoTec Axius Screen Replacement: passo 6, immagine 1 di 2 ProntoTec Axius Screen Replacement: passo 6, immagine 2 di 2
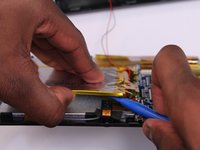
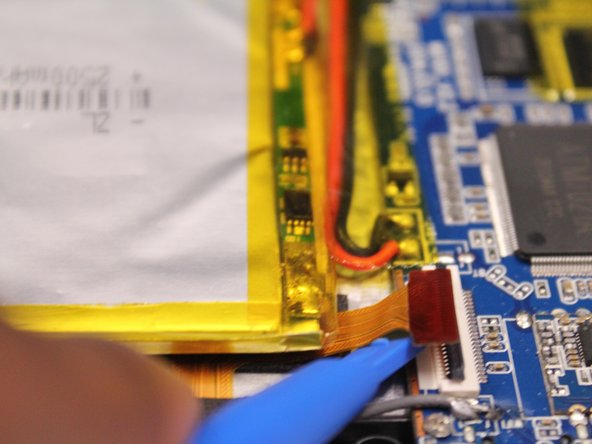
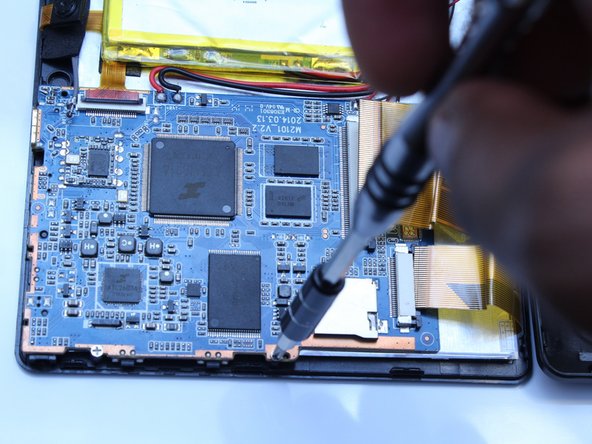
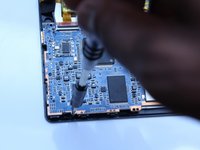
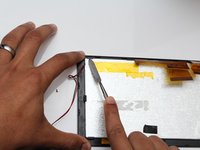
    • Use a spudger to lift all the ribbon cable clamps

    • Detach all three ribbon cables from the clamps

    Chiedi a FixBot

    Aggiungi Commento

  7. ProntoTec Axius Screen Replacement: passo 7, immagine 1 di 3 ProntoTec Axius Screen Replacement: passo 7, immagine 2 di 3 ProntoTec Axius Screen Replacement: passo 7, immagine 3 di 3
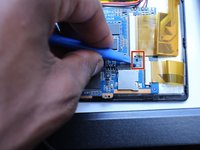
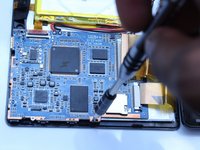
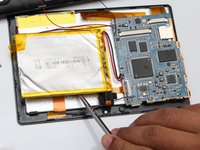
    • Using a Phillips screwdriver (PH00), unscrew the motherboard from the device

    Chiedi a FixBot

    Aggiungi Commento

  8. ProntoTec Axius Screen Replacement: passo 8, immagine 1 di 3 ProntoTec Axius Screen Replacement: passo 8, immagine 2 di 3 ProntoTec Axius Screen Replacement: passo 8, immagine 3 di 3
    Strumento utilizzato in questo passaggio:
    Heavy-Duty Spudger
    $4.99
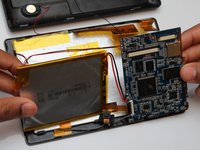
    • Use the flat end of the metal spudger to remove the battery from the back of the screen of the device.

    • Avoid using metal when prying off the battery. For serious prying power, try using the heavy-duty plastic spudger.

    Chiedi a FixBot

    Aggiungi Commento

  9. ProntoTec Axius Screen Replacement: passo 9, immagine 1 di 1
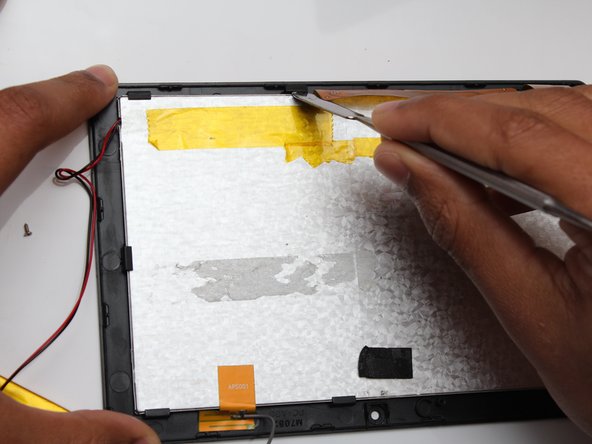
    • Remove the orange tab from the back of the screen as shown in the picture

    Chiedi a FixBot

    Aggiungi Commento

  10. ProntoTec Axius Screen Replacement: passo 10, immagine 1 di 2 ProntoTec Axius Screen Replacement: passo 10, immagine 2 di 2
    • Use the flat end of the metal spudger to unclip and remove the screen from the casing.

    Chiedi a FixBot

    Aggiungi Commento

Conclusione

To reassemble your device, follow these instructions in reverse order.

Annulla: non ho completato questa guida.

Team

UMass Dartmouth, Team 5-3, Martin Fall 2016 Membro di UMass Dartmouth, Team 5-3, Martin Fall 2016

UMASSD-MARTIN-F16S5G3

3 Membri

10 guide realizzate

0Commenti sulla guida

Aggiungi Commento

Visualizza statistiche:

Ultime 24 ore: 0

Ultimi 7 giorni: 8

Ultimi 30 giorni: 35

Tutti i Tempi: 563