Salta al contenuto principale
Unisciti alla Community delle riparazioni - Crea un account

PlayStation VR Processor Unit Cooling Fan Replacement

Cosa ti serve

    1. PlayStation VR Processor Unit Cooling Fan Replacement, Processor Unit Cooling Fan: passo 1, immagine 1 di 3 PlayStation VR Processor Unit Cooling Fan Replacement, Processor Unit Cooling Fan: passo 1, immagine 2 di 3 PlayStation VR Processor Unit Cooling Fan Replacement, Processor Unit Cooling Fan: passo 1, immagine 3 di 3
      • On one side of the console (the side adjacent to the fan vent), there will be two 6 mm screws. Unscrew them with a PH #000 screwdriver.

      Chiedi a FixBot

      Aggiungi Commento

    2. PlayStation VR Processor Unit Cooling Fan Replacement: passo 2, immagine 1 di 3 PlayStation VR Processor Unit Cooling Fan Replacement: passo 2, immagine 2 di 3 PlayStation VR Processor Unit Cooling Fan Replacement: passo 2, immagine 3 di 3
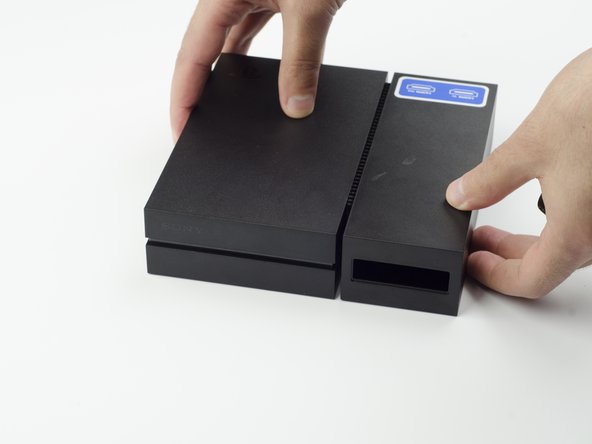
      • Press and slide the side panel (it will have the two ports) back to reveal an additional 6 mm screw.

      • Unscrew the 6mm screw with a PH #000 screwdriver.

      Chiedi a FixBot

      Aggiungi Commento

    3. PlayStation VR Processor Unit Cooling Fan Replacement: passo 3, immagine 1 di 2 PlayStation VR Processor Unit Cooling Fan Replacement: passo 3, immagine 2 di 2
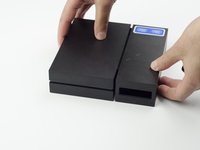
      • Slide the panel back into place.

      Chiedi a FixBot

      Aggiungi Commento

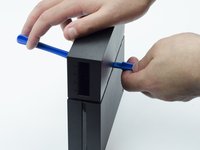
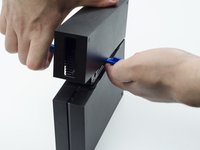
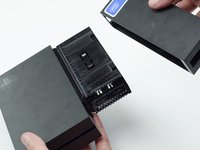
    4. PlayStation VR Processor Unit Cooling Fan Replacement: passo 4, immagine 1 di 3 PlayStation VR Processor Unit Cooling Fan Replacement: passo 4, immagine 2 di 3 PlayStation VR Processor Unit Cooling Fan Replacement: passo 4, immagine 3 di 3
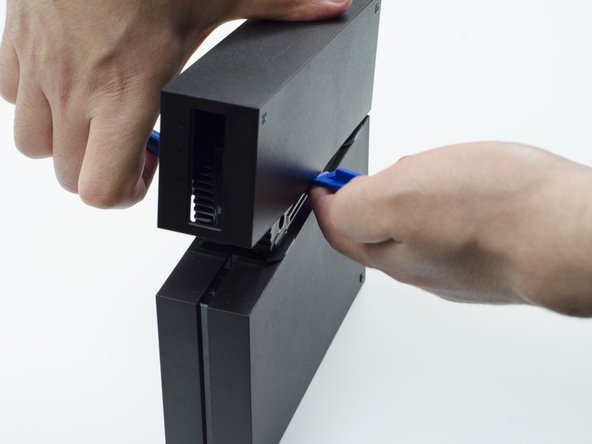
      • Using a plastic opening tool, carefully pry the panel from the main console to reveal the HDMI ports.

      • You will probably need to lift it on both sides in order for the panel to come loose.

      Chiedi a FixBot

      Aggiungi Commento

    5. PlayStation VR Processor Unit Cooling Fan Replacement: passo 5, immagine 1 di 1
      • Turn the console over.

      • Unscrew the two 9 mm screws with a PH #000 screwdriver.

      Chiedi a FixBot

      Aggiungi Commento

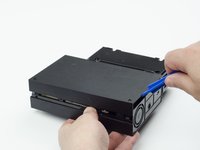
    6. PlayStation VR Processor Unit Cooling Fan Replacement: passo 6, immagine 1 di 2 PlayStation VR Processor Unit Cooling Fan Replacement: passo 6, immagine 2 di 2
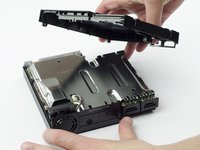
      • With the plastic opening tool, carefully pry the console shell panel free and lift it away.

      Chiedi a FixBot

      Aggiungi Commento

    7. PlayStation VR Processor Unit Cooling Fan Replacement: passo 7, immagine 1 di 2 PlayStation VR Processor Unit Cooling Fan Replacement: passo 7, immagine 2 di 2
      Strumento utilizzato in questo passaggio:
      Tweezers
      $4.99
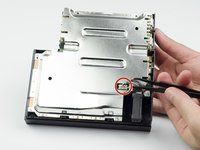
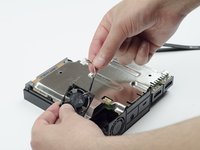
      • Using tweezers, carefully pull the multi colored bundled cable from its port connecting the fan to the console.

      • Carefully lift the fan and its wiring from the device.

      • Be mindful of damaging the wires.

      • Take care to keep your fingers away from the fan blades.

      Chiedi a FixBot

      Aggiungi Commento

Conclusione

To reassemble your device, follow these instructions in reverse order.

Annulla: non ho completato questa guida.

Altre 8 persone hanno completato questa guida.

Sarah Shand

Membro da: 02/20/17

1.996 Reputazione

7 guide realizzate

Team

USF Tampa, Team S3-G1, Sullivan Spring 2017 Membro di USF Tampa, Team S3-G1, Sullivan Spring 2017

USFT-SULLIVAN-S17S3G1

3 Membri

54 guide realizzate

4Commenti sulla guida

Where do I get a replacement fan tho?

Ponos King - Rispondi Condividi

I think is a 3x3 cm fan, alliexpres has some, but what voltage?

crus - Rispondi Condividi

5V is what i have read

Ethan Amos - Rispondi Condividi

Reference for fan when I have replaced mine : DELTA ELECTRONICS MODEL : ASB0305MA-01 DC 5V 0.19A

herossuperman - Rispondi Condividi

Aggiungi Commento

Visualizza statistiche:

Ultime 24 ore: 0

Ultimi 7 giorni: 13

Ultimi 30 giorni: 73

Tutti i Tempi: 10,788