Salta al contenuto principale
Unisciti alla Community delle riparazioni - Crea un account

Philips DC320 37 Connector Replacement

Cosa ti serve

  1. Philips DC320 37 Connector Replacement, Docking entertainment system: passo 1, immagine 1 di 1
    • Pry off the four white feet with the pointed end of the spudger

    Chiedi a FixBot
  2. Philips DC320 37 Connector Replacement: passo 2, immagine 1 di 1
    • Gently unscrew the four 15.5 mm Phillips #2 screws that hold the bottom panel to the dock.

    Chiedi a FixBot
  3. Philips DC320 37 Connector Replacement: passo 3, immagine 1 di 1
    • Use the flat end of the spudger to pry the lid off from the two connectors holding it to the body of the dock.

    • The connectors on the panel are fragile and may break.

    Chiedi a FixBot
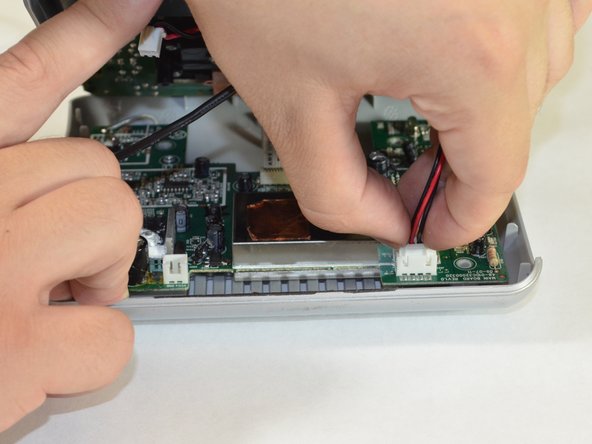
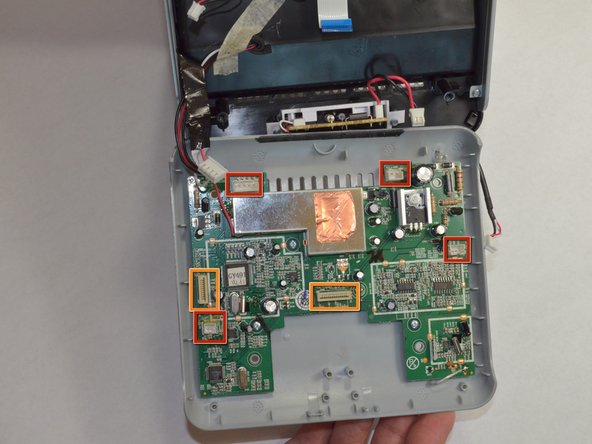
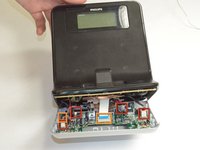
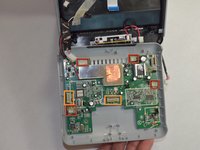
  4. Philips DC320 37 Connector Replacement: passo 4, immagine 1 di 3 Philips DC320 37 Connector Replacement: passo 4, immagine 2 di 3 Philips DC320 37 Connector Replacement: passo 4, immagine 3 di 3
    • Carefully pull up and out the four electrical connectors and two ribbon connectors that connect the bottom panel to the dock.

    • Electrical Connectors

    • Ribbon Connectors

    • The cables do not have a lot of slack in them. Be careful not to break the connectors.

    • One wire is soldered onto the bottom panel. Be careful not to break this bond.

    Chiedi a FixBot
  5. Philips DC320 37 Connector Replacement, Connector: passo 5, immagine 1 di 1
    • Pull the copper plate out of the way of the two Phillips #00 screws in the middle of the connector.

    Chiedi a FixBot
  6. Philips DC320 37 Connector Replacement: passo 6, immagine 1 di 1
    • Unscrew the two 7 mm Phillips #00 screws holding the connector together.

    • Unscrew the four 5 mm Phillips #00 screws holding the connector to the dock

    Chiedi a FixBot
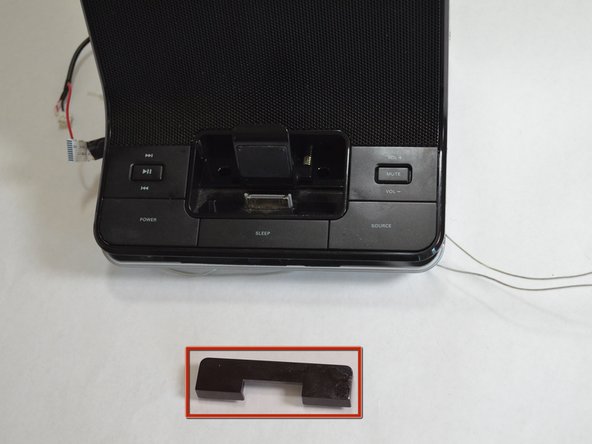
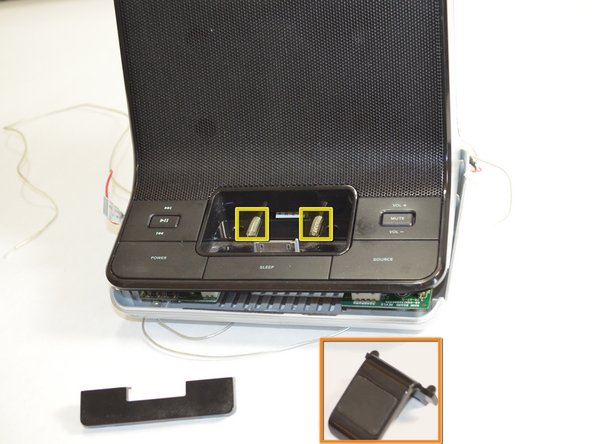
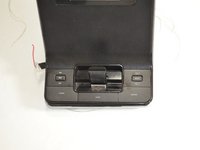
  7. Philips DC320 37 Connector Replacement: passo 7, immagine 1 di 3 Philips DC320 37 Connector Replacement: passo 7, immagine 2 di 3 Philips DC320 37 Connector Replacement: passo 7, immagine 3 di 3
    • Turn the dock so that you are looking at the front of the dock.

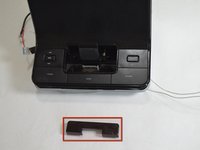
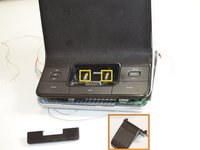
    • Pull out the black U-shaped piece.

    • Pull out the iPhone/iPod support cradle.

    • Pull out the two springs.

    Chiedi a FixBot
  8. Philips DC320 37 Connector Replacement: passo 8, immagine 1 di 1
    • Turn the dock so that you are looking at the bottom of the dock.

    • Pop out the black connector frame and attached circuit board from the body of the dock.

    Chiedi a FixBot
Conclusione

To reassemble your device, follow these instructions in reverse order.

Team

Cal Poly, Team 3-48, Amido Spring 2013 Membro di Cal Poly, Team 3-48, Amido Spring 2013

CPSU-AMIDO-S13S3G48

4 Membri

7 guide realizzate

0Commenti sulla guida

Aggiungi Commento

Visualizza Statistiche:

Ultime 24 Ore: 1

Ultimi 7 Giorni: 5

Ultimi 30 Giorni: 43

Tutti i Tempi: 1,462