Salta al contenuto principale
Unisciti alla Community delle riparazioni - Crea un account
Pentax Super Program Shutter Service

Cosa ti serve

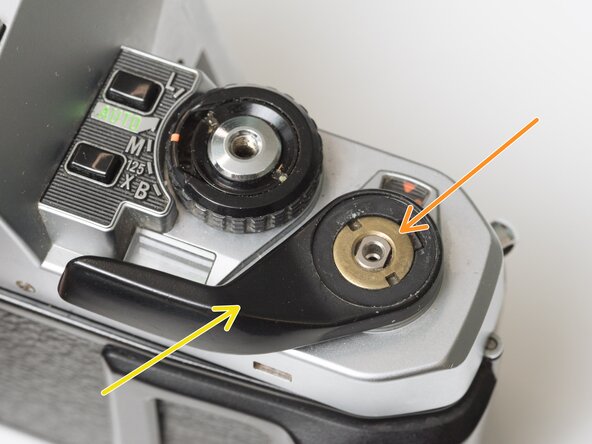
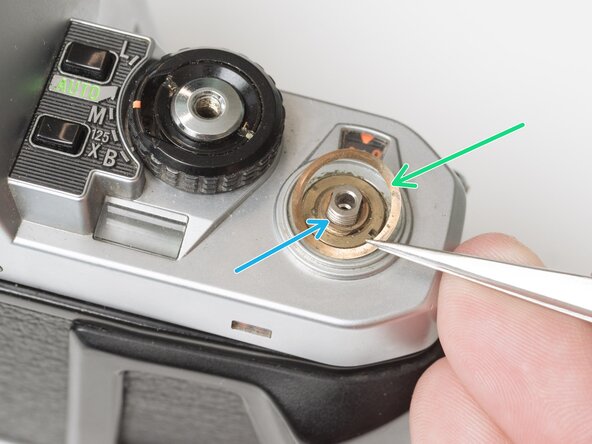
    1. Pentax Super Program Shutter Service, Remove film advance lever: passo 1, immagine 1 di 3 Pentax Super Program Shutter Service, Remove film advance lever: passo 1, immagine 2 di 3 Pentax Super Program Shutter Service, Remove film advance lever: passo 1, immagine 3 di 3
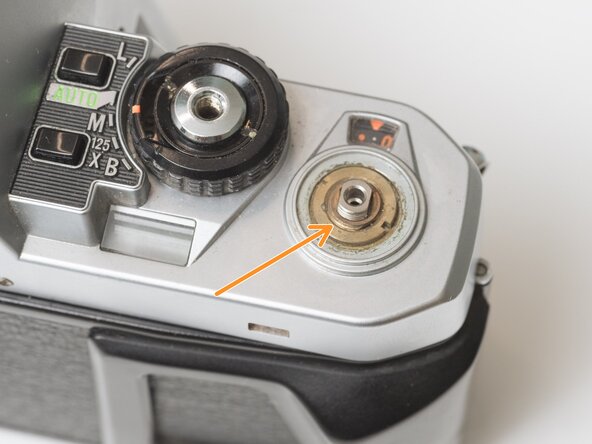
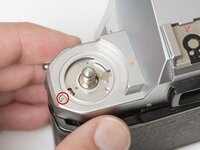
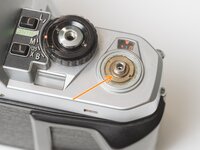
      • Remove the rubber decorative cap. It is attached with contact cement underneath. Isopropyl Alcohol may be used to soften the adhesive.

      • Unscrew the lock nut using a spanner wrench. The lock nut is reverse threaded.

      • Lift off the advance lever.

      • Remove the spring washer.

      • Remove one shim washer.

      Chiedi a FixBot

      Aggiungi Commento

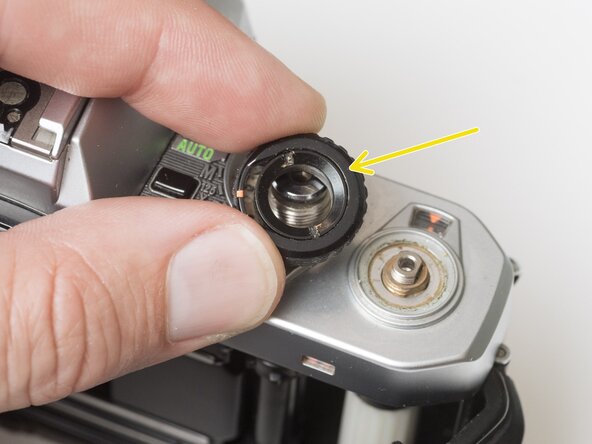
    2. Pentax Super Program Shutter Service, Remove mode dial: passo 2, immagine 1 di 2 Pentax Super Program Shutter Service, Remove mode dial: passo 2, immagine 2 di 2
      • Set the mode dial to the 'L' position.

      • Use a spanner wrench to unscrew the dial lock nut.

      • Lift off the mode dial.

      Chiedi a FixBot

      Aggiungi Commento

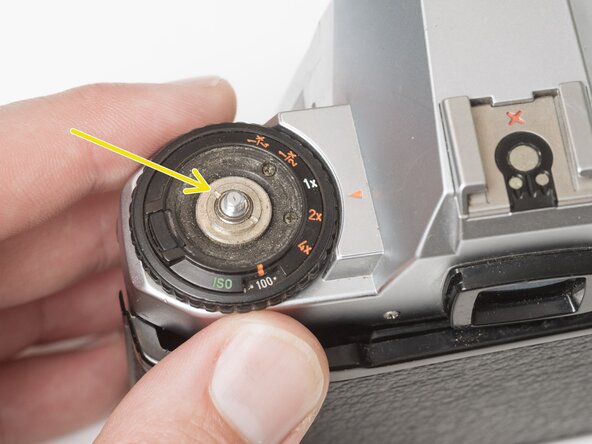
    3. Pentax Super Program Shutter Service, Remove exposure compensation dial: passo 3, immagine 1 di 3 Pentax Super Program Shutter Service, Remove exposure compensation dial: passo 3, immagine 2 di 3 Pentax Super Program Shutter Service, Remove exposure compensation dial: passo 3, immagine 3 di 3
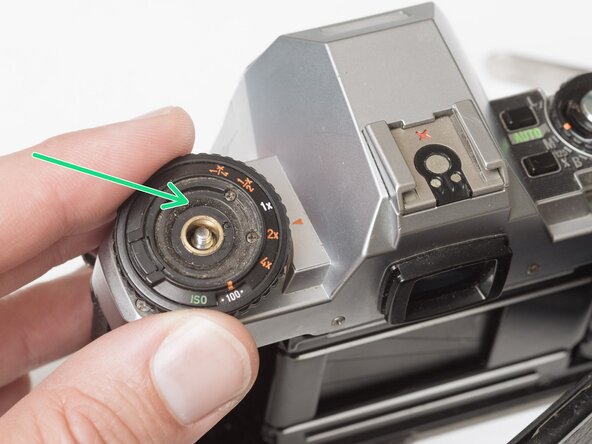
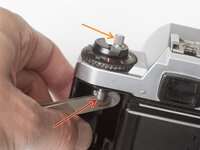
      • Place a rigid object in the fork.

      • Unscrew the rewind lever.

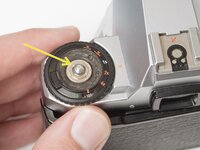
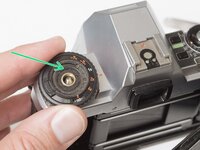
      • Use a spanner wrench to remove the lock nut.

      • Lift off the exposure compensation dial.

      Chiedi a FixBot

      Aggiungi Commento

    4. Pentax Super Program Shutter Service, Remove top cover screws: passo 4, immagine 1 di 3 Pentax Super Program Shutter Service, Remove top cover screws: passo 4, immagine 2 di 3 Pentax Super Program Shutter Service, Remove top cover screws: passo 4, immagine 3 di 3
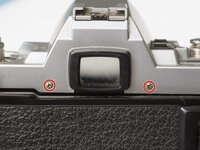
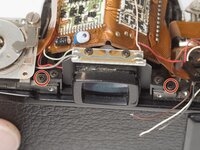
      • Remove two screws on either side of the eye piece.

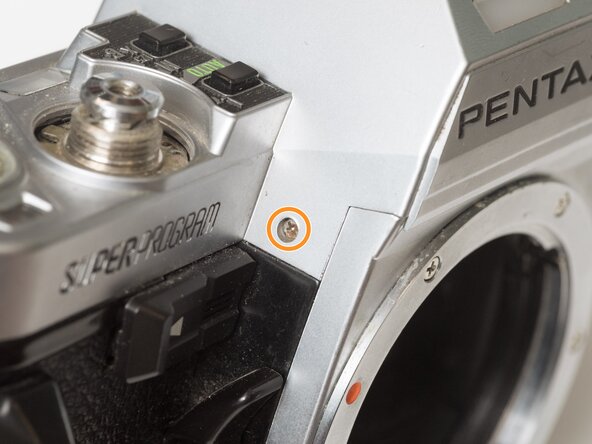
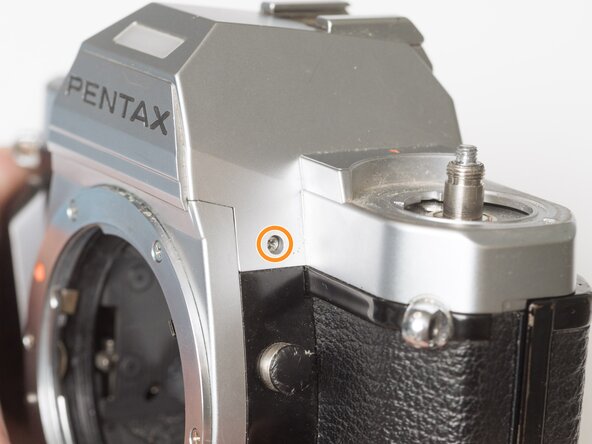
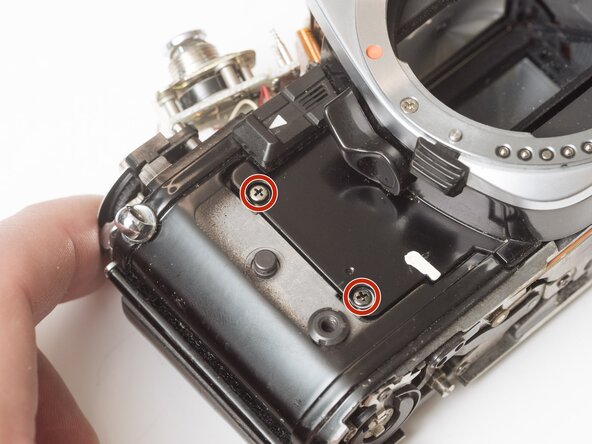
      • Remove two screws on either side of the lens mount.

      Chiedi a FixBot

      Aggiungi Commento

    5. Pentax Super Program Shutter Service, Remove top cover: passo 5, immagine 1 di 3 Pentax Super Program Shutter Service, Remove top cover: passo 5, immagine 2 di 3 Pentax Super Program Shutter Service, Remove top cover: passo 5, immagine 3 di 3
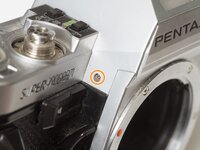
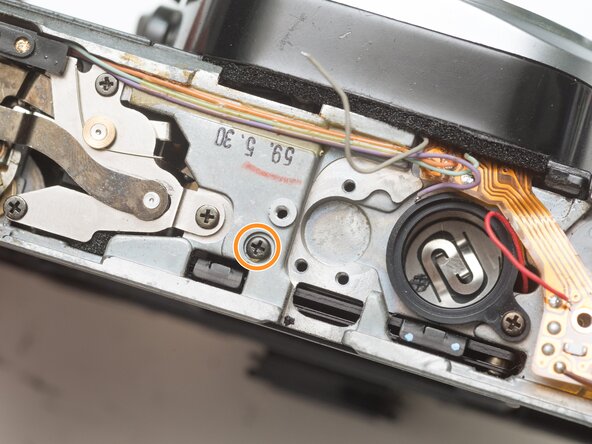
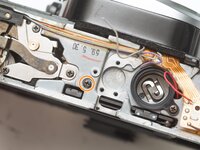
      • Remove one screw by the exposure compensation dial.

      • Use a spanner wrench to remove the lock nut under the advance lever.

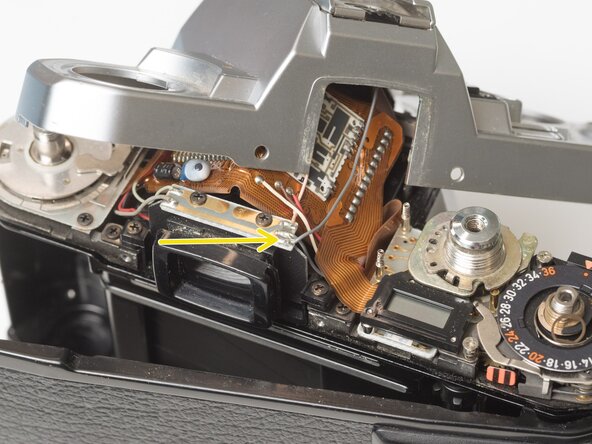
      • Lift off the top cover slowly. It is still attached by one wire.

      • Unsolder one gray flash sync wire.

      Chiedi a FixBot

      Aggiungi Commento

    1. Pentax Super Program Shutter Service, Remove bottom cover: passo 6, immagine 1 di 1
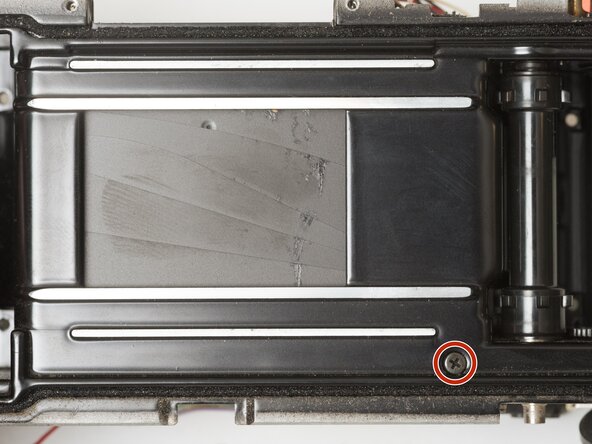
      • Remove three M1.7 x 3 mm screws.

      • Remove bottom cover.

      Chiedi a FixBot

      Aggiungi Commento

    1. Pentax Super Program Shutter Service, Remove front leatherette panels: passo 7, immagine 1 di 3 Pentax Super Program Shutter Service, Remove front leatherette panels: passo 7, immagine 2 di 3 Pentax Super Program Shutter Service, Remove front leatherette panels: passo 7, immagine 3 di 3
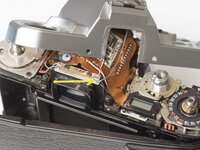
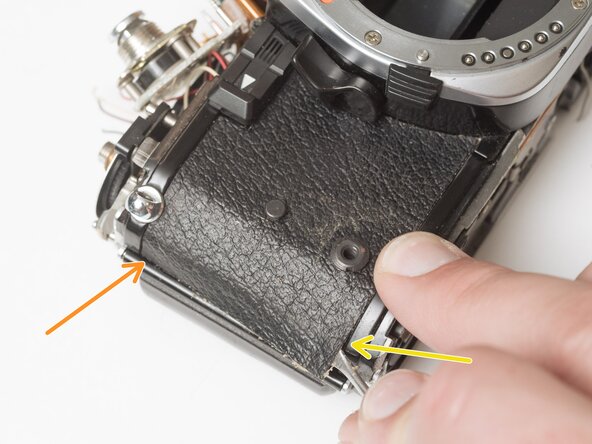
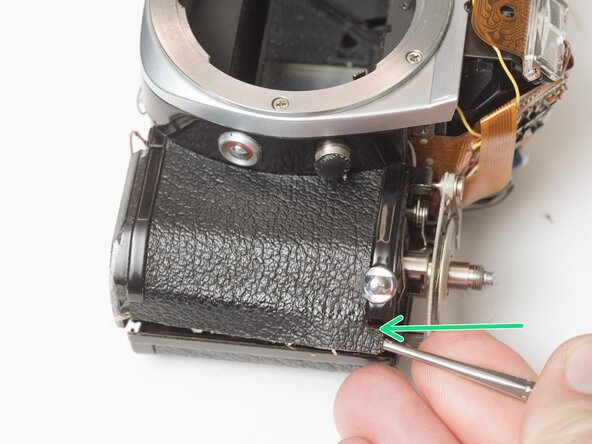
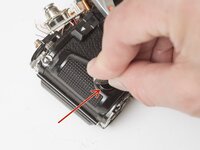
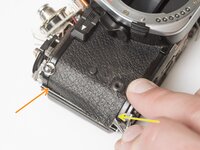
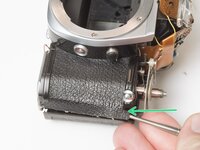
      • Use a nickel or other large coin to remove the hand grip.

      • Drip isopropyl alcohol along the edge of the leatherette to soften the adhesive.

      • Use a dull scraper to lift one corner and pull off the panel.

      • Repeat on the rewind side of the camera.

      • Installation Notes: Use contact cement to reattach the leatherette after the camera has been fully reassembled and tested.

      Chiedi a FixBot

      Aggiungi Commento

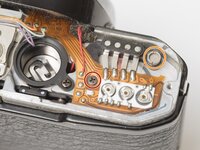
    2. Pentax Super Program Shutter Service, Detach flex PCB with adjustment pots: passo 8, immagine 1 di 2 Pentax Super Program Shutter Service, Detach flex PCB with adjustment pots: passo 8, immagine 2 di 2
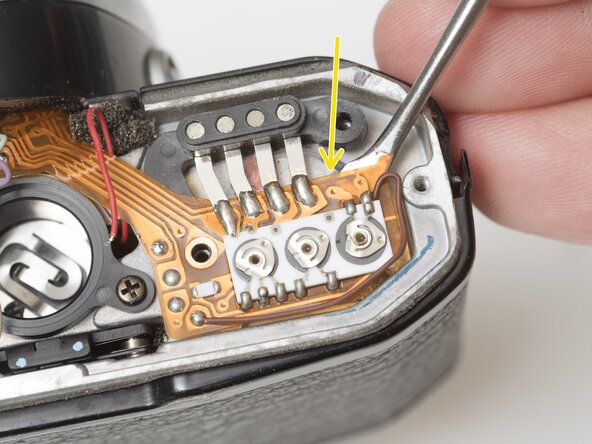
      • Remove one M1.7 x 4.5 mm screw.

      • Remove one slotted screw.

      • Use isopropyl alcohol to soften the adhesive under the flex PCB.

      • Gently lift the PCB until it is free from the camera body.

      Chiedi a FixBot

      Aggiungi Commento

    3. Pentax Super Program Shutter Service, Unsolder motor drive connections: passo 9, immagine 1 di 2 Pentax Super Program Shutter Service, Unsolder motor drive connections: passo 9, immagine 2 di 2
      • Unsolder red wire for positive battery.

      • Unsolder green wire.

      • Unsolder orange wire for motor drive shutter release.

      • Unsolder purple wire for wind completion switch.

      Chiedi a FixBot

      Aggiungi Commento

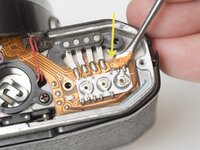
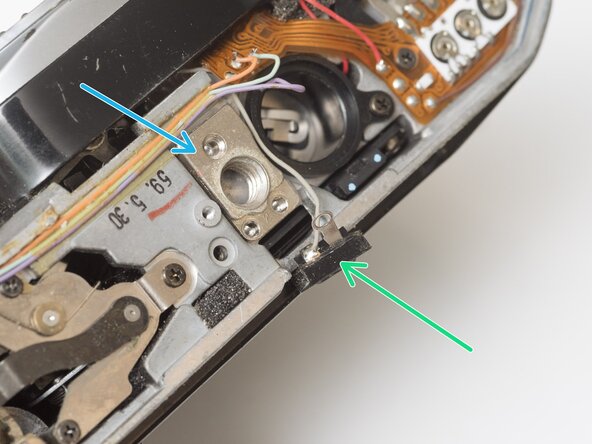
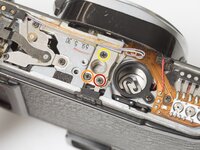
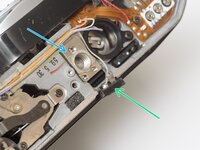
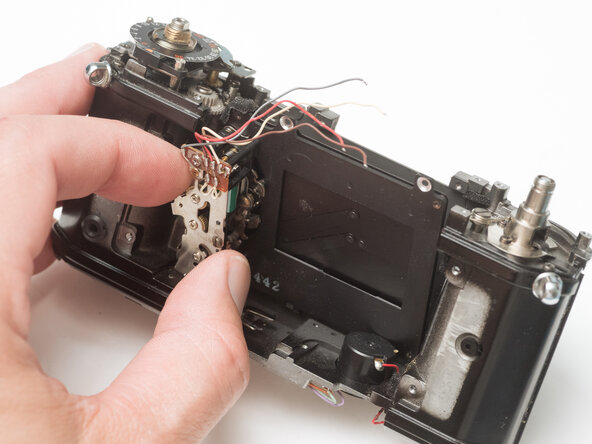
    4. Pentax Super Program Shutter Service, Remove tripod mount: passo 10, immagine 1 di 2 Pentax Super Program Shutter Service, Remove tripod mount: passo 10, immagine 2 di 2
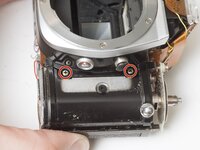
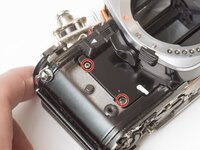
      • Remove one M1.7 x 4.5 mm screw.

      • Remove one M1.7 x 5 mm screw.

      • Remove one countersunk M1.7 x 5.5 mm screw.

      • Lift the contact terminal free from its seat.

      • Remove the tripod mount.

      Chiedi a FixBot

      Aggiungi Commento

    5. Pentax Super Program Shutter Service, Detach ISO resistor assembly: passo 11, immagine 1 di 2 Pentax Super Program Shutter Service, Detach ISO resistor assembly: passo 11, immagine 2 di 2
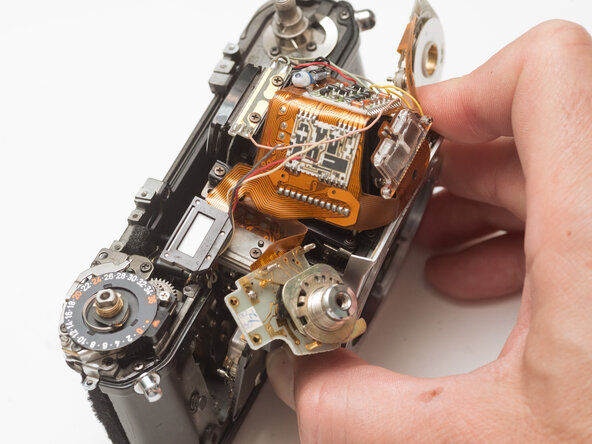
      • Remove one slotted screw.

      • Remove one M1.7 x 4 mm screw.

      • Loosen one slotted screw (this will remain connected to the assembly).

      • Lift the ISO resistor assembly off the rewind post. It is still attached by a flex PCB.

      Chiedi a FixBot

      Aggiungi Commento

    6. Pentax Super Program Shutter Service, Detach mode dial unit: passo 12, immagine 1 di 3 Pentax Super Program Shutter Service, Detach mode dial unit: passo 12, immagine 2 di 3 Pentax Super Program Shutter Service, Detach mode dial unit: passo 12, immagine 3 di 3
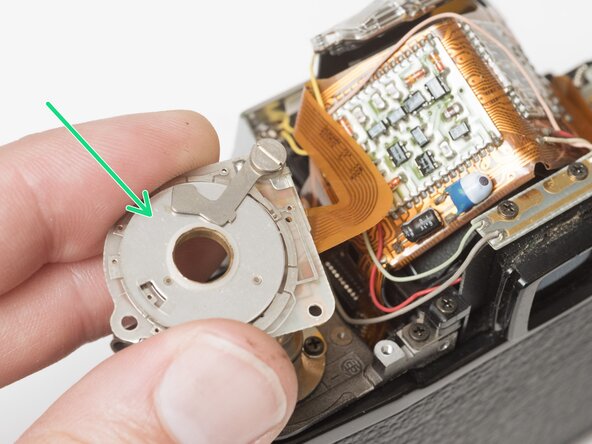
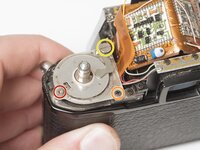
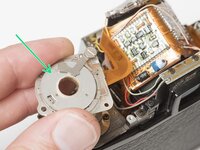
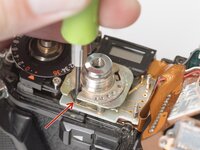
      • Remove one M1.7 x 2.5 mm screw. It is only accessible when the mode dial is in the 'L' position.

      • Lift the LCD out of the way. It is still attached by a flex PCB.

      • Remove one M1.7 x 2.5 mm screw.

      • Remove one slotted post.

      Chiedi a FixBot

      Aggiungi Commento

    7. Pentax Super Program Shutter Service, Unsolder flash sync wires: passo 13, immagine 1 di 1
      • Unsolder two gray wires.

      Chiedi a FixBot

      Aggiungi Commento

    8. Pentax Super Program Shutter Service, Unsolder shutter wires: passo 14, immagine 1 di 2 Pentax Super Program Shutter Service, Unsolder shutter wires: passo 14, immagine 2 di 2
      • Unsolder white wire.

      • Unsolder brown wire.

      • Unsolder red wire.

      Chiedi a FixBot

      Aggiungi Commento

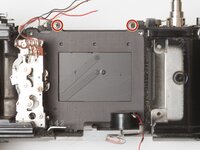
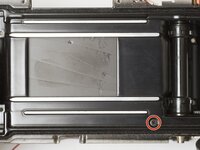
    9. Pentax Super Program Shutter Service, Unscrew mirror box: passo 15, immagine 1 di 2 Pentax Super Program Shutter Service, Unscrew mirror box: passo 15, immagine 2 di 2
      • Remove two M1.7 x 2.5 mm screws.

      • Remove one M1.7 x 3.5 mm screw under the bottom plate.

      • Some versions of the camera may have an additional screw under the tripod mount that needs to be removed.

      Chiedi a FixBot

      Aggiungi Commento

    10. Pentax Super Program Shutter Service, Unscrew front board: passo 16, immagine 1 di 2 Pentax Super Program Shutter Service, Unscrew front board: passo 16, immagine 2 di 2
      • Wind the advance lever to put the shutter and mirror box in the charged state.

      • Remove four M1.9 x 5 mm screws.

      Chiedi a FixBot

      Aggiungi Commento

    11. Pentax Super Program Shutter Service, Remove mirror box and front board: passo 17, immagine 1 di 1
      • Make sure the mode dial unit and ISO selector unit are free from their mounting points.

      • Wiggle the mirror box and front board free.

      • Watch for wire snags as you pull it free.

      • Check for loose shim washers on the front board and note their position.

      Chiedi a FixBot

      Aggiungi Commento

    12. Pentax Super Program Shutter Service, Installation Notes: Front Block: passo 18, immagine 1 di 1
      • Shutter should be in the charged state.

      • Mirror box should be in released state.

      • Pay close attention to wire routing during install.

      • To test the actuation of the mirror and shutter, wind the camera, then insert a tool into this slot and push the release lever to the left.

      Chiedi a FixBot

      Aggiungi Commento

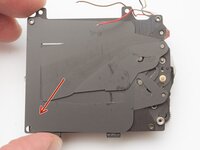
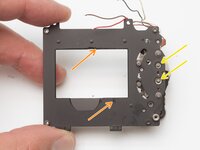
    1. Pentax Super Program Shutter Service, Remove shutter unit: passo 19, immagine 1 di 3 Pentax Super Program Shutter Service, Remove shutter unit: passo 19, immagine 2 di 3 Pentax Super Program Shutter Service, Remove shutter unit: passo 19, immagine 3 di 3
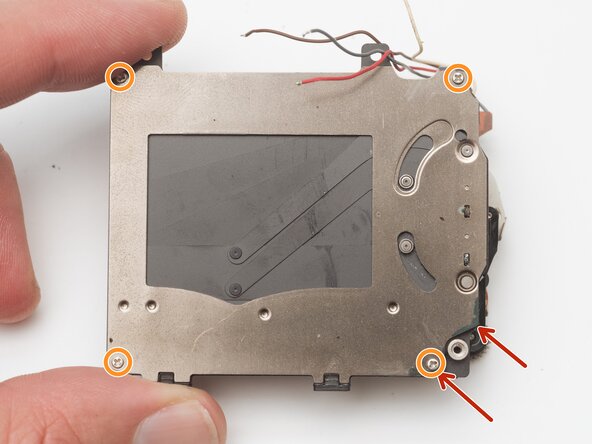
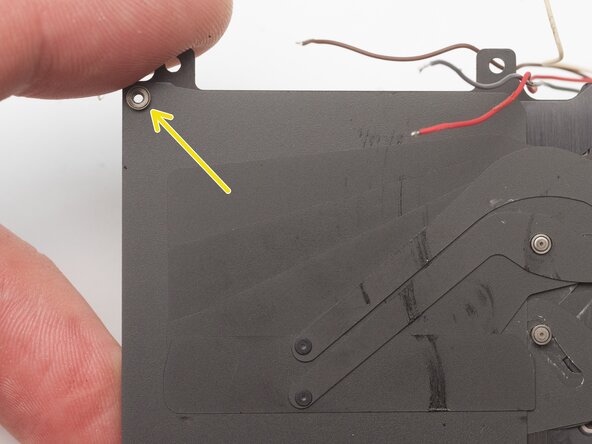
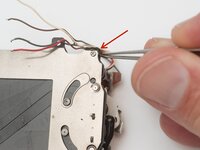
      • Remove three M1.7 x 3 mm screws.

      • Lift shutter unit out of camera body.

      Chiedi a FixBot

      Aggiungi Commento

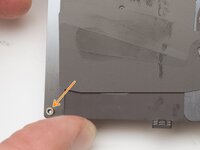
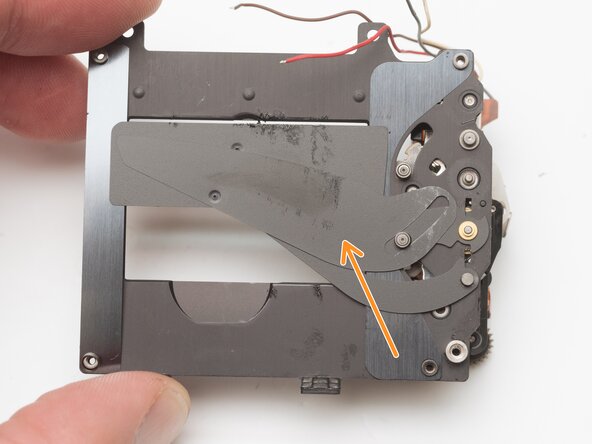
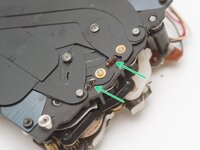
    2. Pentax Super Program Shutter Service, Release the shutter: passo 20, immagine 1 di 1
      • Push the shutter release latch down to fire the shutter.

      • Reducing the tension of the shutter springs makes disassembly and reassembly easier.

      Chiedi a FixBot

      Aggiungi Commento

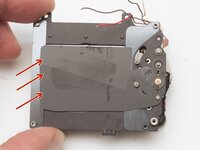
    3. Pentax Super Program Shutter Service, Remove rear plate: passo 21, immagine 1 di 3 Pentax Super Program Shutter Service, Remove rear plate: passo 21, immagine 2 di 3 Pentax Super Program Shutter Service, Remove rear plate: passo 21, immagine 3 di 3
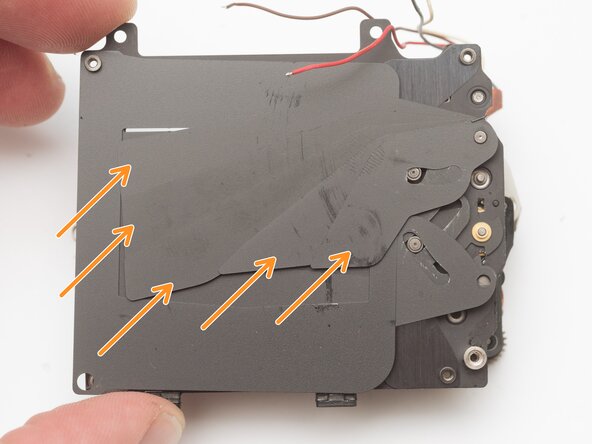
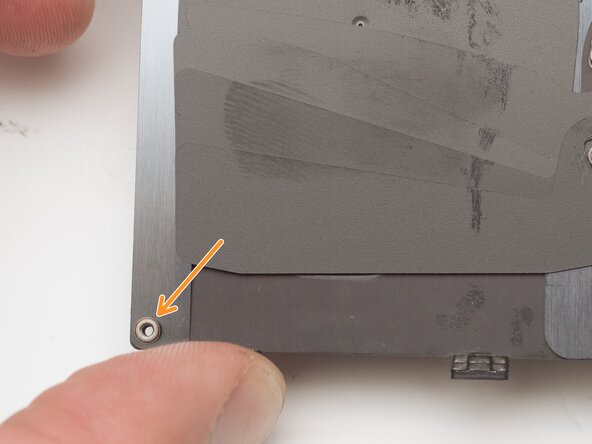
      • Remove old foam seals.

      • Foam seals should be replaced with new material during reassembly.

      • Remove four M1.4 x 2.4 mm screws.

      • Remove top spacer bushing.

      Chiedi a FixBot

      Aggiungi Commento

    4. Pentax Super Program Shutter Service, Remove closing curtain: passo 22, immagine 1 di 2 Pentax Super Program Shutter Service, Remove closing curtain: passo 22, immagine 2 di 2
      • Remove closing curtain linkage.

      • Remove five curtain blades.

      • Installation Notes: Make sure the helper spring is properly hooked on the closing curtain linkage when reassembled.

      Chiedi a FixBot

      Aggiungi Commento

    5. Pentax Super Program Shutter Service, Remove curtain separator: passo 23, immagine 1 di 2 Pentax Super Program Shutter Service, Remove curtain separator: passo 23, immagine 2 di 2
      • Remove curtain separator.

      • Remove lower separator bushing.

      Chiedi a FixBot

      Aggiungi Commento

    6. Pentax Super Program Shutter Service, Remove opening curtain: passo 24, immagine 1 di 2 Pentax Super Program Shutter Service, Remove opening curtain: passo 24, immagine 2 di 2
      • Remove three curtain blades.

      • Remove opening curtain linkage.

      Chiedi a FixBot

      Aggiungi Commento

    7. Pentax Super Program Shutter Service, Clean the shutter: passo 25, immagine 1 di 3 Pentax Super Program Shutter Service, Clean the shutter: passo 25, immagine 2 di 3 Pentax Super Program Shutter Service, Clean the shutter: passo 25, immagine 3 di 3
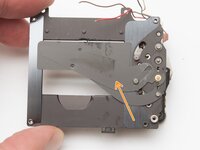
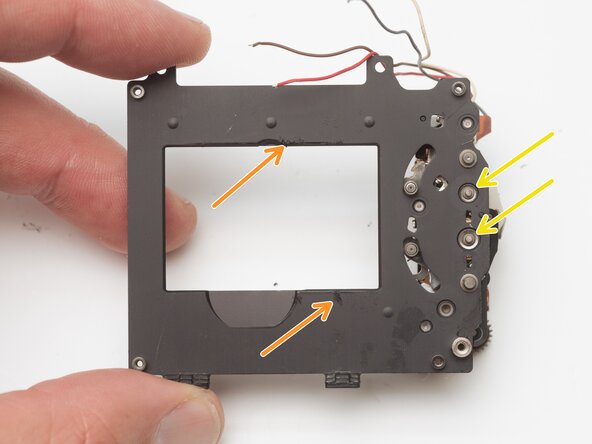
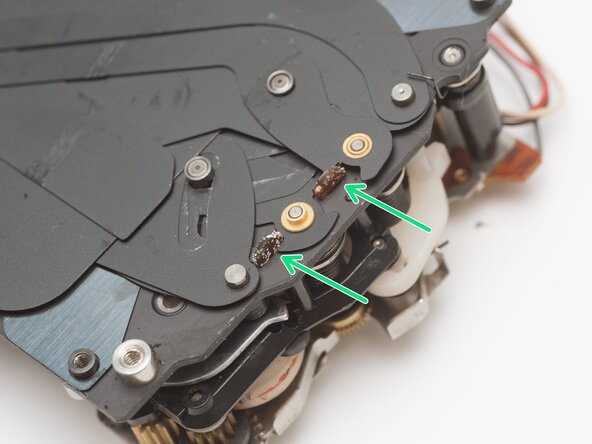
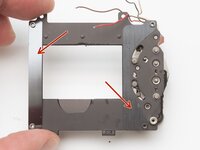
      • Remove two curtain guides.

      • Clean any residue from the shutter frame and blades using isopropyl alcohol or other solvent.

      • Clean the curtain pivots.

      • Remove degraded rubber dampers and clean the surrounding area. They do not need to be replaced.

      Chiedi a FixBot

      Aggiungi Commento

Conclusione

To reassemble your device, follow these instructions in reverse order.

Annulla: non ho completato questa guida.

Sam Gustafson

Membro da: 09/01/22

14.444 Reputazione

78 guide realizzate

0Commenti sulla guida

Aggiungi Commento

Visualizza statistiche:

Ultime 24 ore: 1

Ultimi 7 giorni: 6

Ultimi 30 giorni: 36

Tutti i Tempi: 644