Salta al contenuto principale
Unisciti alla Community delle riparazioni - Crea un account

Palm IIIxe Button Replacement

Cosa ti serve

    1. Palm IIIxe Button Replacement, Battery: passo 1, immagine 1 di 3 Palm IIIxe Button Replacement, Battery: passo 1, immagine 2 di 3 Palm IIIxe Button Replacement, Battery: passo 1, immagine 3 di 3
      • Turn the device over so it is face down and remove the stylus, and battery cover.

      Chiedi a FixBot

      Aggiungi Commento

    2. Palm IIIxe Button Replacement: passo 2, immagine 1 di 2 Palm IIIxe Button Replacement: passo 2, immagine 2 di 2
      • Now remove the two batteries by pulling on the cloth black tab.

      • Remember, when inserting the batteries, to keep the tab below them to make it easier to remove the batteries in the future.

      • If this tab is not visible, use the flat head screwdriver and gently pry out the batteries by pushing on the positive end (opposite the spring).

      Chiedi a FixBot

      Aggiungi Commento

    1. Palm IIIxe Button Replacement, Motherboard: passo 3, immagine 1 di 3 Palm IIIxe Button Replacement, Motherboard: passo 3, immagine 2 di 3 Palm IIIxe Button Replacement, Motherboard: passo 3, immagine 3 di 3
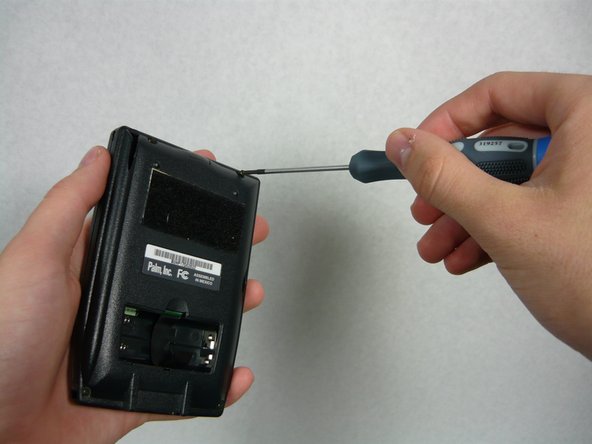
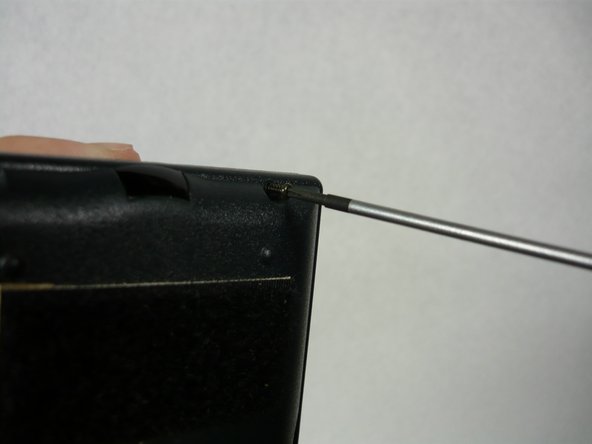
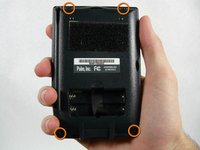
      • It is recommended that you do the disassembly over a cookie sheet so you don’t lose any small parts . Zip-loc bags are great for keeping the four small screws all in one place.

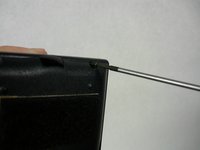
      • Using a Philips #0 or #00 screwdriver, locate and unscrew the four screws holding the back cover on the device.

      • Make sure to keep these screws in a bag or somewhere you will not lose them.

      Chiedi a FixBot

      Aggiungi Commento

    2. Palm IIIxe Button Replacement: passo 4, immagine 1 di 3 Palm IIIxe Button Replacement: passo 4, immagine 2 di 3 Palm IIIxe Button Replacement: passo 4, immagine 3 di 3
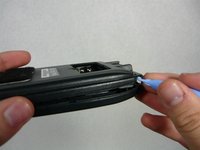
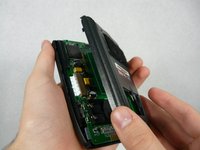
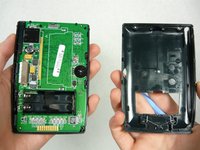
      • Take the plastic opening tool and insert into the seam between the two covers and pop off the cover then set it aside.

      • You may need to do this multiple places around the perimeter to undo all the snaps but it should come off with little pressure.

      Chiedi a FixBot

      Aggiungi Commento

    3. Palm IIIxe Button Replacement: passo 5, immagine 1 di 3 Palm IIIxe Button Replacement: passo 5, immagine 2 di 3 Palm IIIxe Button Replacement: passo 5, immagine 3 di 3
      Strumento utilizzato in questo passaggio:
      Tweezers
      $4.99
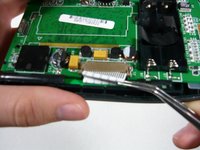
      • This is a delicate part and may require a magnifying lens.

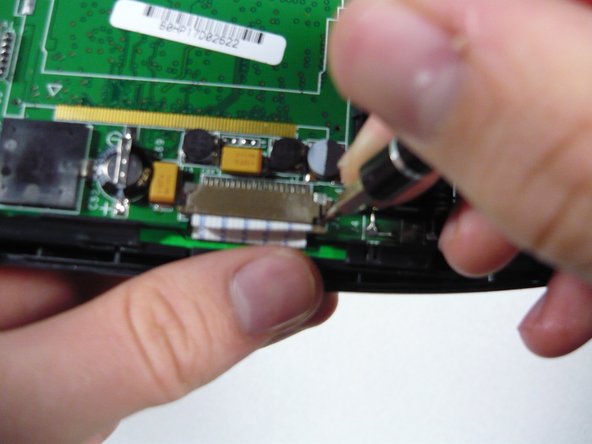
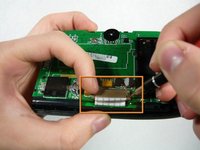
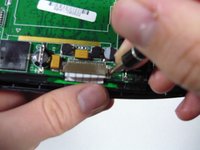
      • Locate the brown serial connector on the left side of the device. Using the flat head screw driver bit push the little tabs (one on each side) out towards you as pictured.

      • They should extend about 1/16 of an inch (1.5 mm).

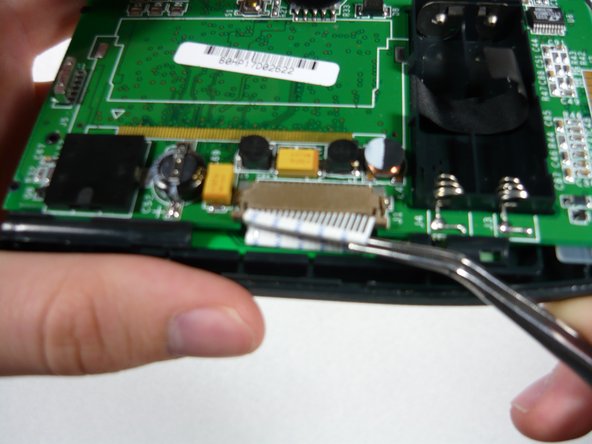
      • Now take the tweezers and gently pry out the serial tab as shown .

      • It is flexible but don’t bend it back and forth too much as it will eventually break.

      Chiedi a FixBot

      Aggiungi Commento

    4. Palm IIIxe Button Replacement: passo 6, immagine 1 di 3 Palm IIIxe Button Replacement: passo 6, immagine 2 di 3 Palm IIIxe Button Replacement: passo 6, immagine 3 di 3
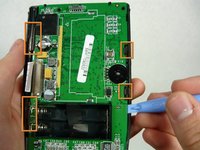
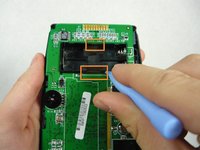
      • Take the plastic opening tool and gently pry the circuit board out of the plastic tabs around the perimeter located as shown.

      • You must also pry the circuit board away from the battery case (picture 2).

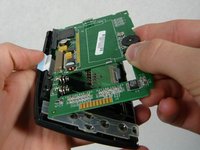
      • Now gently lift up the circuit board from the right side and set it on the cloth.

      • Remember, when reinserting the circuit board, insert it under the left tabs at an angle then gently press the right side down. (picture 3) Also keep the serial tab out of the way.

      Chiedi a FixBot

      Aggiungi Commento

    1. Palm IIIxe Button Replacement, Button: passo 7, immagine 1 di 3 Palm IIIxe Button Replacement, Button: passo 7, immagine 2 di 3 Palm IIIxe Button Replacement, Button: passo 7, immagine 3 di 3
      Strumento utilizzato in questo passaggio:
      Tweezers
      $4.99
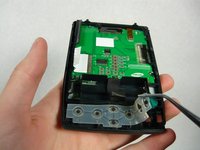
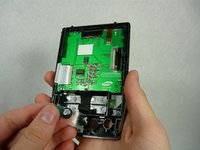
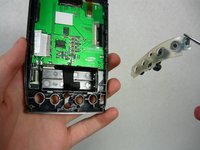
      • Use the tweezers, or your fingers, to remove the physical button strip.

      • If any buttons fall off the strip simply place them back on: they fit on in specific orientations so don’t force them on; look at the shape of the hole in the button.

      Chiedi a FixBot

      Aggiungi Commento

Conclusione

To reassemble your device, follow these instructions in reverse order.

Annulla: non ho completato questa guida.

Jacob

Membro da: 04/15/10

1 Reputazione

3 guide realizzate

Team

Cal Poly, Team 16-1, Maness Spring 2010 Membro di Cal Poly, Team 16-1, Maness Spring 2010

CPSU-MANESS-S10S16G1

4 Membri

16 guide realizzate

0Commenti sulla guida

Aggiungi Commento

Visualizza statistiche:

Ultime 24 ore: 2

Ultimi 7 giorni: 8

Ultimi 30 giorni: 39

Tutti i Tempi: 1,948