Salta al contenuto principale
Unisciti alla Community delle riparazioni - Crea un account

P775DM3 RAM Replacement

Cosa ti serve

    1. P775DM3 RAM Replacement, Battery: passo 1, immagine 1 di 2 P775DM3 RAM Replacement, Battery: passo 1, immagine 2 di 2
      • Unlock the lock circled in red.

      Chiedi a FixBot

      Aggiungi Commento

    2. P775DM3 RAM Replacement: passo 2, immagine 1 di 3 P775DM3 RAM Replacement: passo 2, immagine 2 di 3 P775DM3 RAM Replacement: passo 2, immagine 3 di 3
      • Lift the battery while unlocking the lock circled in red.

      Chiedi a FixBot

      Aggiungi Commento

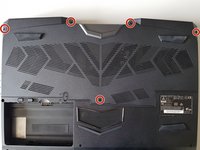
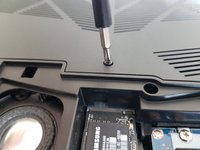
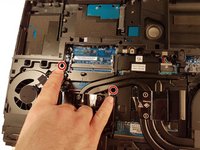
    1. P775DM3 RAM Replacement, Access to major components: passo 3, immagine 1 di 2 P775DM3 RAM Replacement, Access to major components: passo 3, immagine 2 di 2
      • Unscrew the five screws circled in red.

      Chiedi a FixBot

      Aggiungi Commento

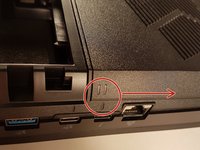
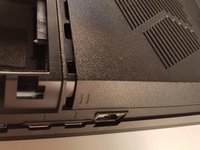
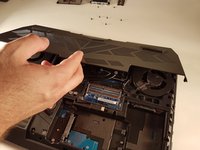
    2. P775DM3 RAM Replacement: passo 4, immagine 1 di 2 P775DM3 RAM Replacement: passo 4, immagine 2 di 2
      • Slide the plate in the direction of the red arrow.

      Chiedi a FixBot

      Aggiungi Commento

    3. P775DM3 RAM Replacement: passo 5, immagine 1 di 2 P775DM3 RAM Replacement: passo 5, immagine 2 di 2
      • Lift the plate.

      Chiedi a FixBot

      Aggiungi Commento

    1. P775DM3 RAM Replacement, Keyboard: passo 6, immagine 1 di 2 P775DM3 RAM Replacement, Keyboard: passo 6, immagine 2 di 2
      • Unscrew the two screws circled in red

      Chiedi a FixBot

      Aggiungi Commento

    2. P775DM3 RAM Replacement: passo 7, immagine 1 di 3 P775DM3 RAM Replacement: passo 7, immagine 2 di 3 P775DM3 RAM Replacement: passo 7, immagine 3 di 3
      • Press a paper clip in the three places marked in red

      • Lift the keyboard and feel free to put some strength

      Chiedi a FixBot
      Aggiungi Commento

    3. P775DM3 RAM Replacement: passo 8, immagine 1 di 2 P775DM3 RAM Replacement: passo 8, immagine 2 di 2
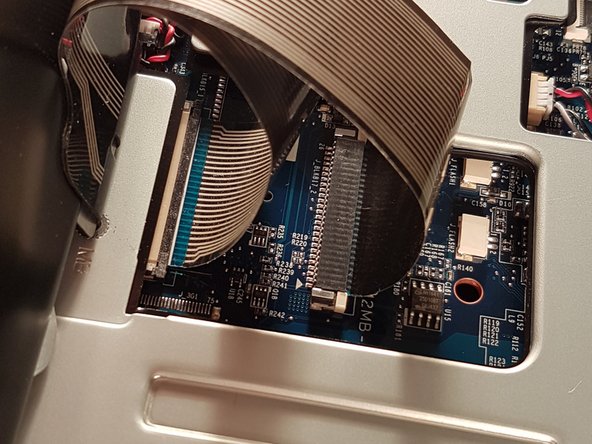
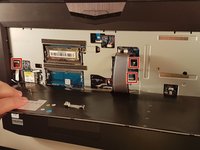
      • Disconnect the three framed connectors in red

      Chiedi a FixBot
      Aggiungi Commento

    4. P775DM3 RAM Replacement: passo 9, immagine 1 di 2 P775DM3 RAM Replacement: passo 9, immagine 2 di 2
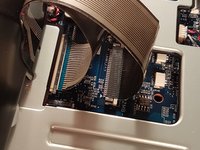
      • Pull the white drawer in the direction of the arrow to unlock the connector

      • Disconnect the red circled connector

      Chiedi a FixBot
      Aggiungi Commento

    5. P775DM3 RAM Replacement: passo 10, immagine 1 di 2 P775DM3 RAM Replacement: passo 10, immagine 2 di 2
      • Pull the black drawer in the direction of the arrow to unlock the connector

      • Disconnect the red circled connector

      Chiedi a FixBot

      Aggiungi Commento

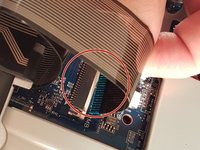
    6. P775DM3 RAM Replacement: passo 11, immagine 1 di 3 P775DM3 RAM Replacement: passo 11, immagine 2 di 3 P775DM3 RAM Replacement: passo 11, immagine 3 di 3
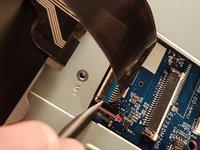
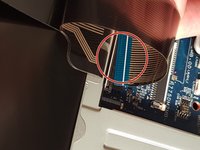
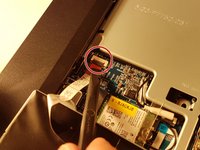
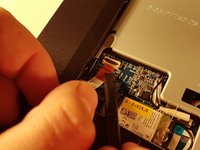
      • Lift the flap that holds the connector circled in red

      • Disconnect the red circled connector

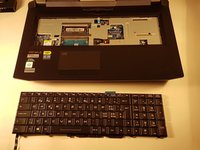
      • Remove the keyboard

      Chiedi a FixBot

      Aggiungi Commento

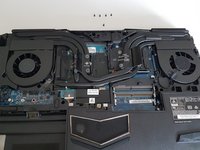
    1. P775DM3 RAM Replacement, RAM: passo 12, immagine 1 di 3 P775DM3 RAM Replacement, RAM: passo 12, immagine 2 di 3 P775DM3 RAM Replacement, RAM: passo 12, immagine 3 di 3
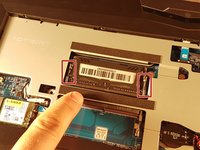
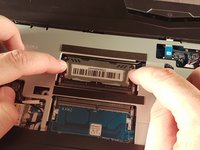
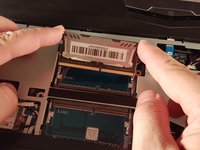
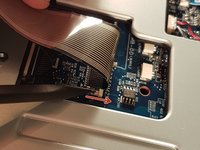
      • Spread the two clips in red.

      • Remove the RAM card.

      Chiedi a FixBot
      Aggiungi Commento

Conclusione

To reassemble your device, follow these instructions in reverse order.

Annulla: non ho completato questa guida.

Un ringraziamento speciale a questi traduttori:

fr en

100%

Questi traduttori ci stanno aiutando ad aggiustare il mondo! Vuoi partecipare?
Inizia a tradurre ›

Felice Suglia

Membro da: 06/15/13

33.589 Reputazione

283 guide realizzate

0Commenti sulla guida

Aggiungi Commento

Visualizza statistiche:

Ultime 24 ore: 1

Ultimi 7 giorni: 5

Ultimi 30 giorni: 25

Tutti i Tempi: 646