Introduzione
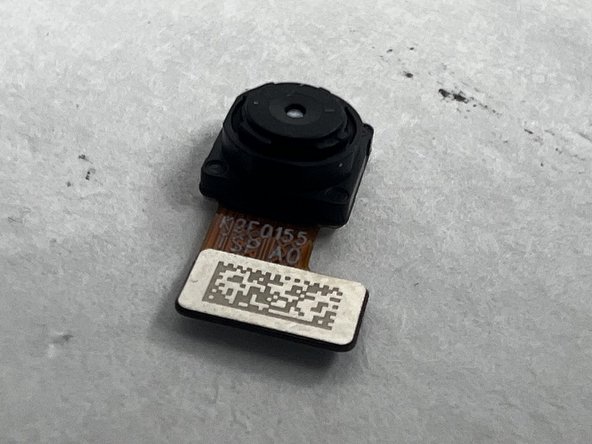
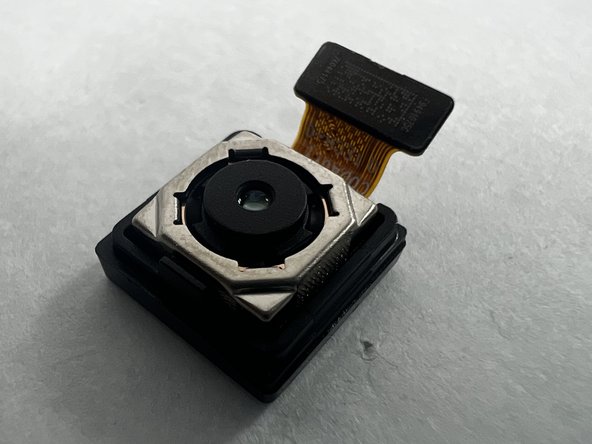
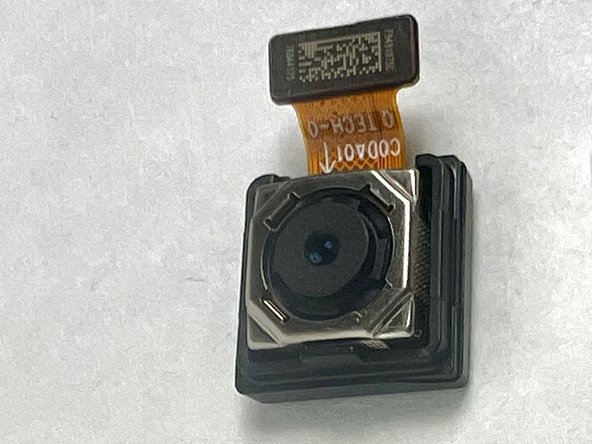
Is your OnePlus Nord N200 rear cameras failing to take clear photos or not working at all? If so, it might be time to replace the camera component. This guide will walk you through the replacement process step by step on how to replace the cameras in your OnePlus Nord N200, model number DE2118.
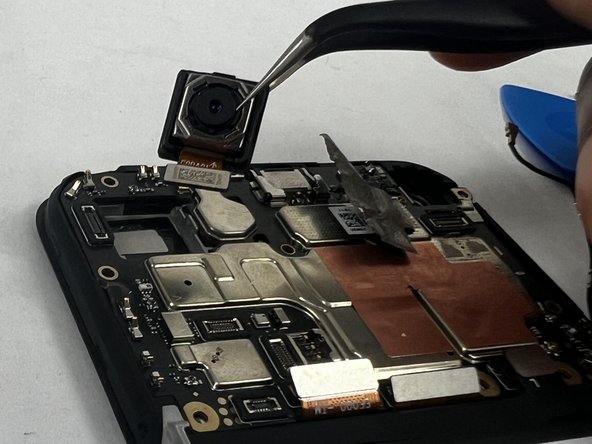
This guide is intended to walk you through the necessary steps for replacing the rear camera modules of your device, helping restore full functionality. You’ll need a set of precision tools and a new camera module specifically designed for the OnePlus Nord N200. With these tools in hand, you can restore your phone’s ability to capture photos.
Symptoms that suggest the need for a camera replacement include blurry or distorted photos despite clean lenses, the camera app crashes or fails to open, black screen within the camera app, and error messages related to camera hardware.
For more detailed troubleshooting, please visit our comprehensive troubleshooting page.
Important Tips and Warnings:
Ensure that your OnePlus Nord N200 is powered off before beginning any repair work to avoid short circuits or other damage.
After replacing the camera but before fully reassembling the phone, power on your device to test the new camera’s functionality. This avoids having to disassemble again in case of issues.
It's a good practice to back up your data before starting the repair to protect against potential data loss.
Cosa ti serve
-
-
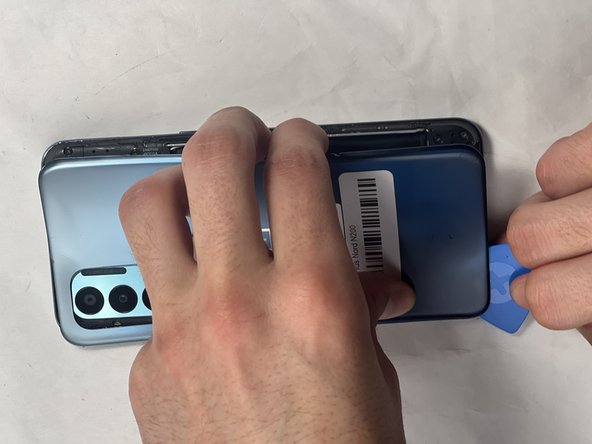
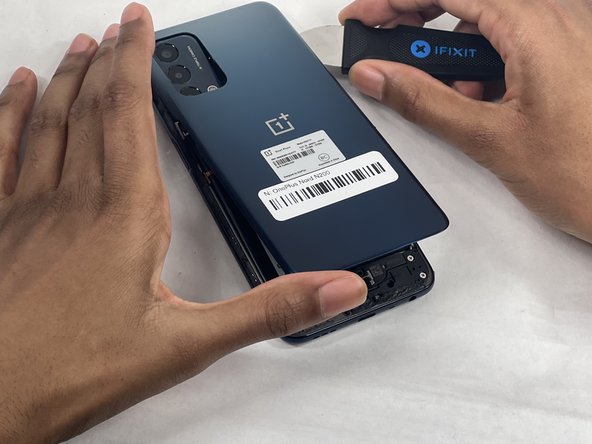
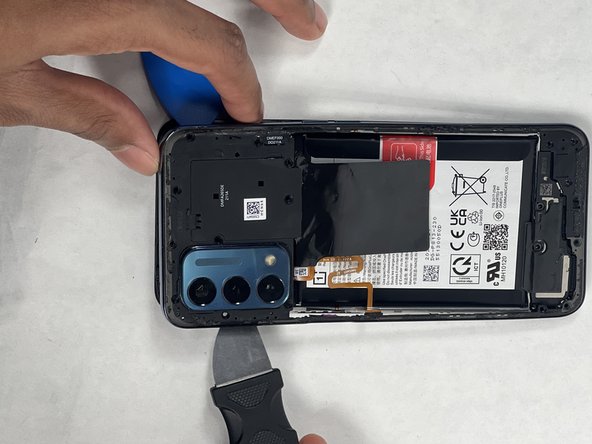
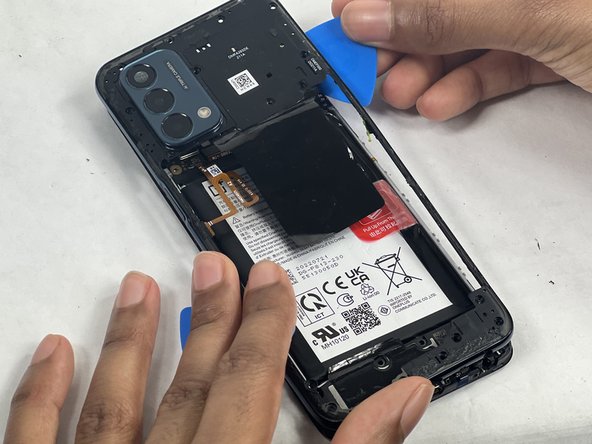
Insert the Jimmy into the seam between the rear glass and the midframe at the bottom edge of the phone to create a gap.
-
-
-
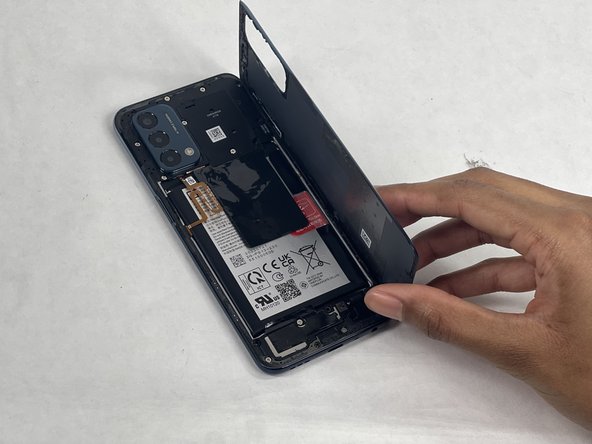
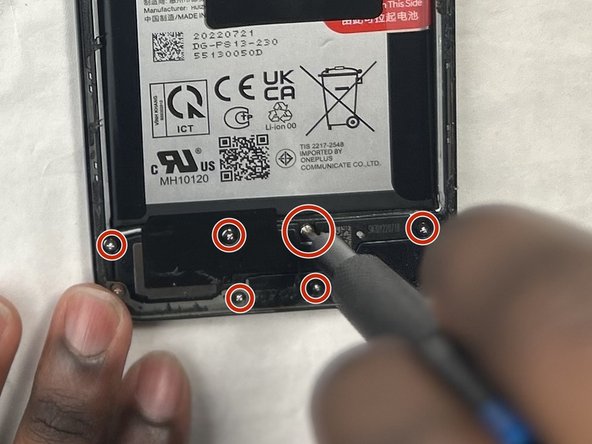
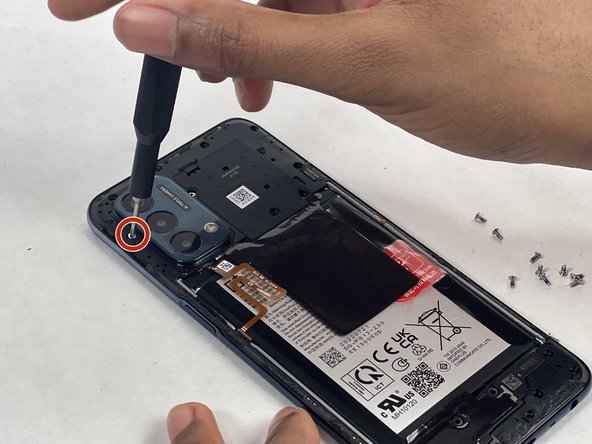
Use a Phillips #00 screwdriver to remove the sixteen 3.6 mm-long screws securing the midframe.
-
-
-
-
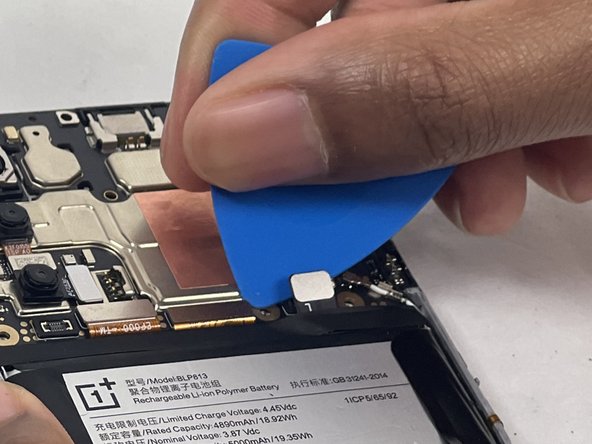
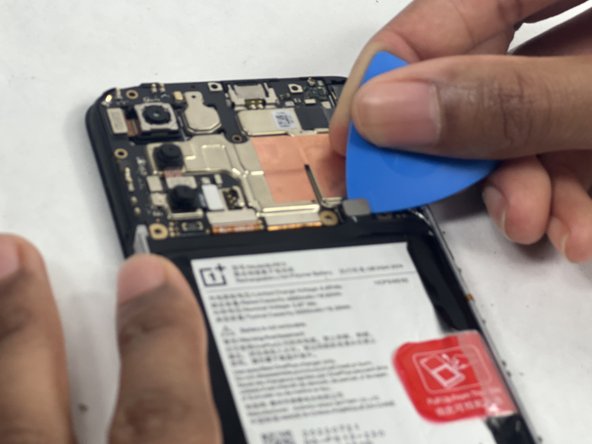
Place a spudger or an opening pick under the connector's edge and pry straight up to disconnect the battery.
-
-
-
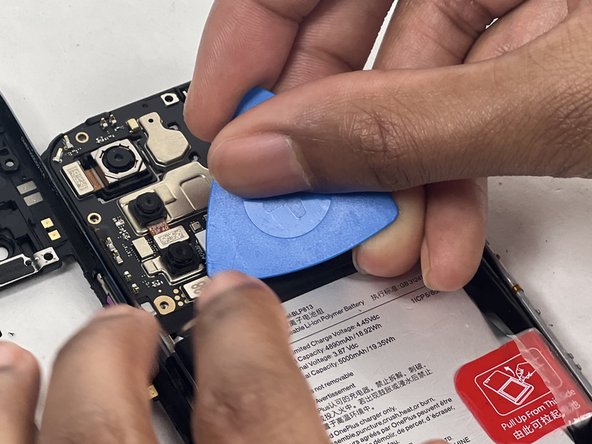
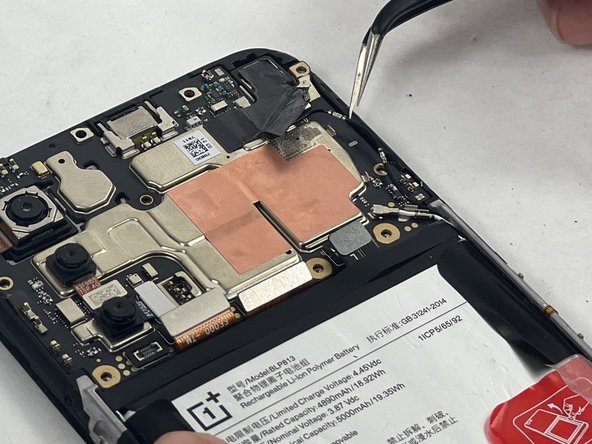
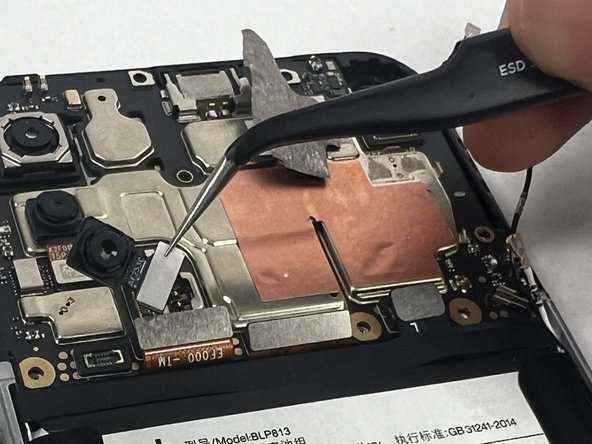
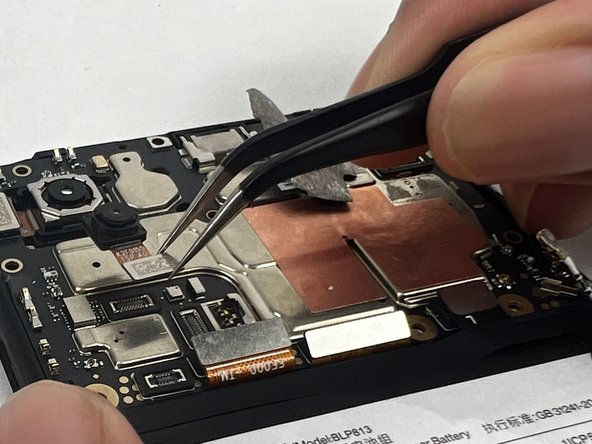
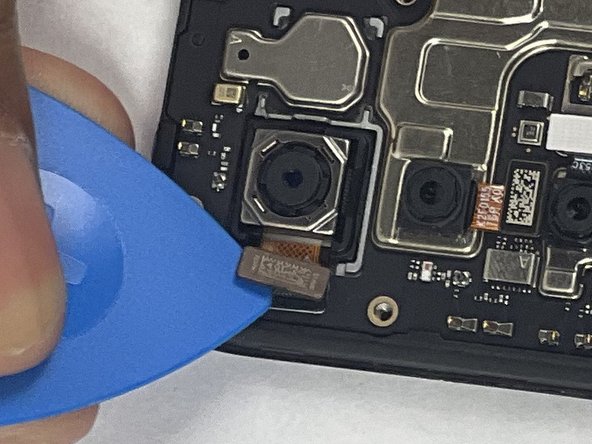
Peal the tape up in the upper right corner of the phone to reveal the black coaxial cable.
-
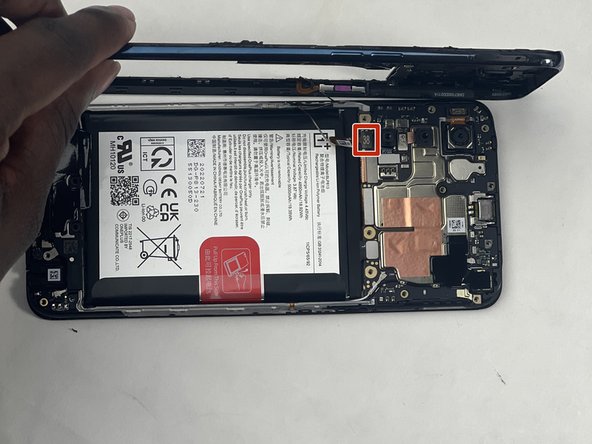
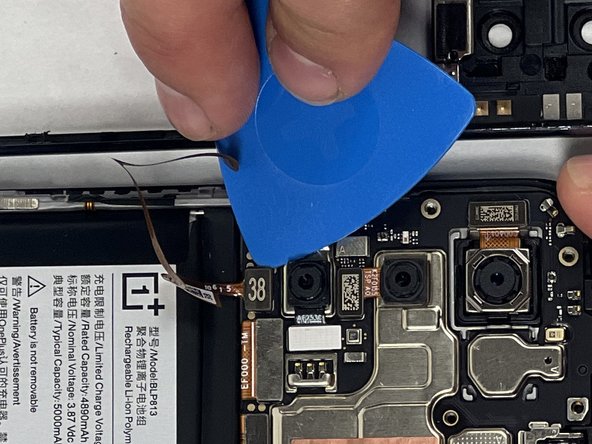
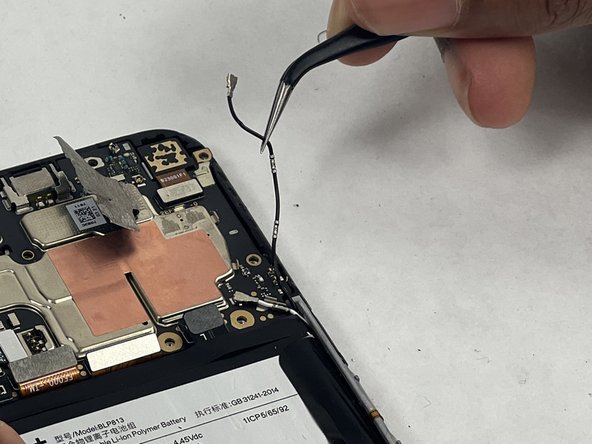
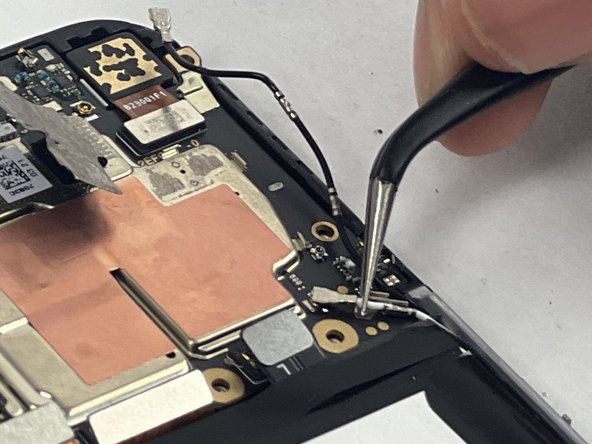
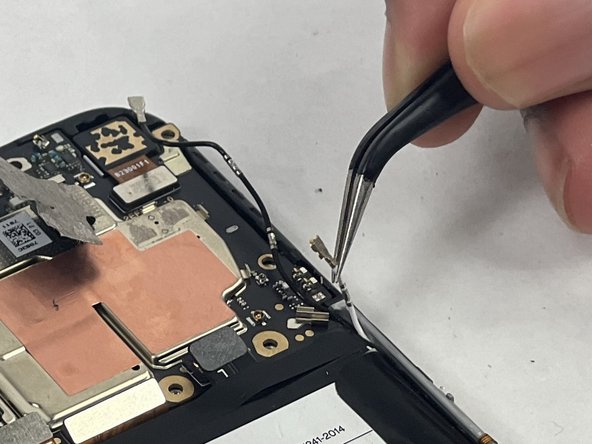
To disconnect the black coaxial cable, slide a thin, ESD-safe pry tool or angled tweezers under the metal neck of the connector (as close to the head as possible) and lift straight up from the board.
-


To reassemble your device, follow these instructions in reverse order.Take your e-waste to an R2 or e-Stewards certified recycler.
To reassemble your device, follow these instructions in reverse order.Take your e-waste to an R2 or e-Stewards certified recycler.

Team

UMass Dartmouth, Team 1-1, Konn Spring 2024 Membro di UMass Dartmouth, Team 1-1, Konn Spring 2024
UMASSD-KONN-S24S1G1
4 Membri
9 Guide realizzate